|
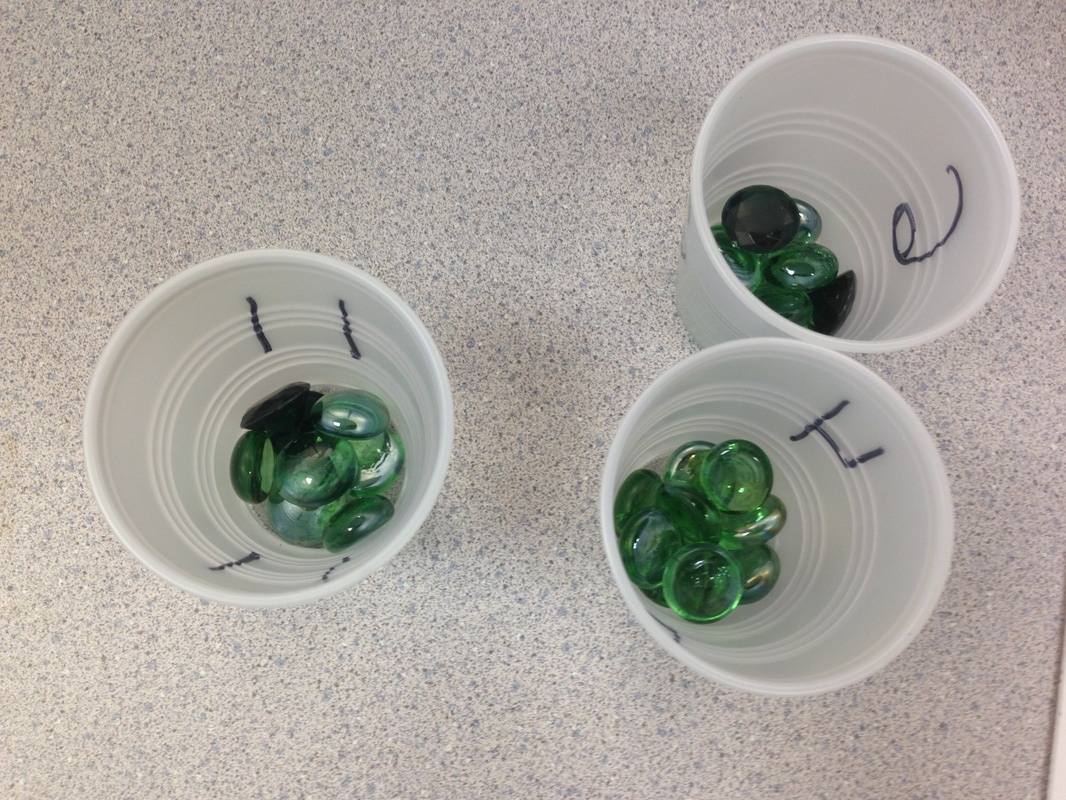
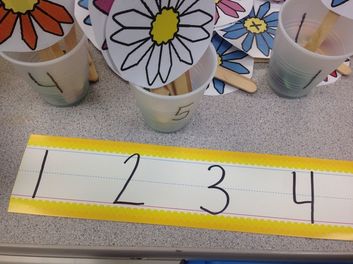
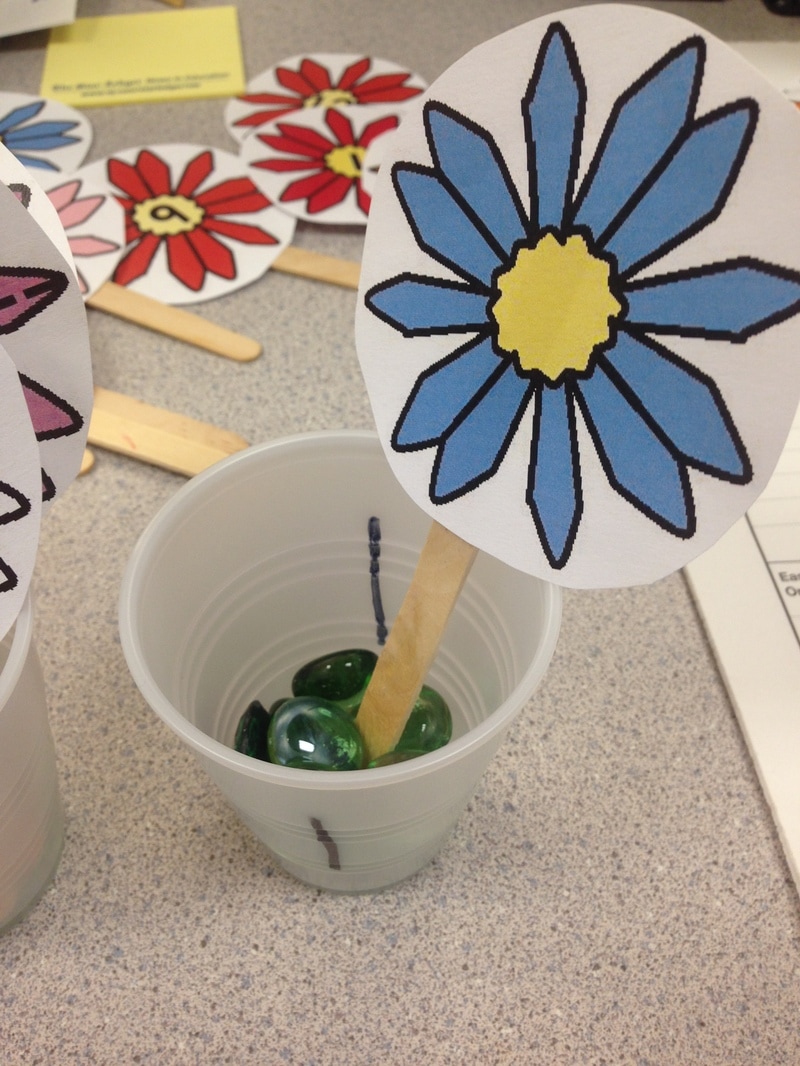
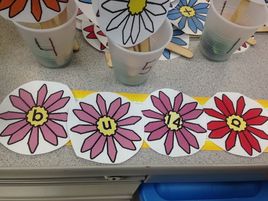
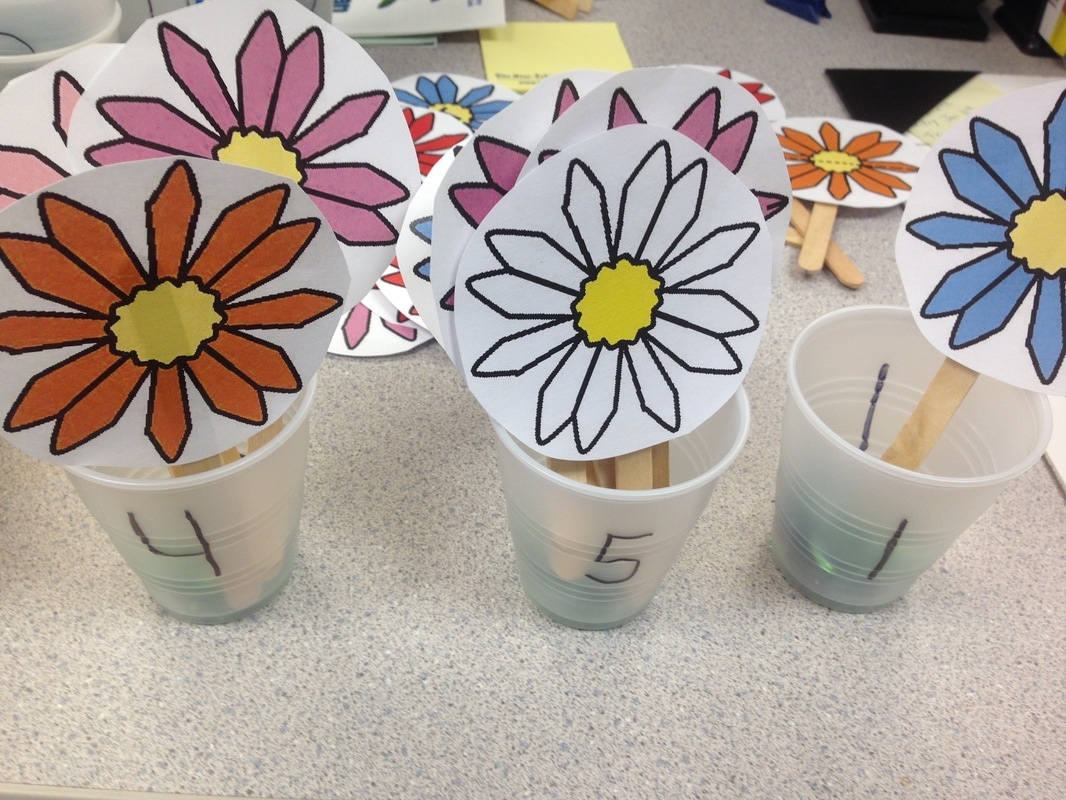
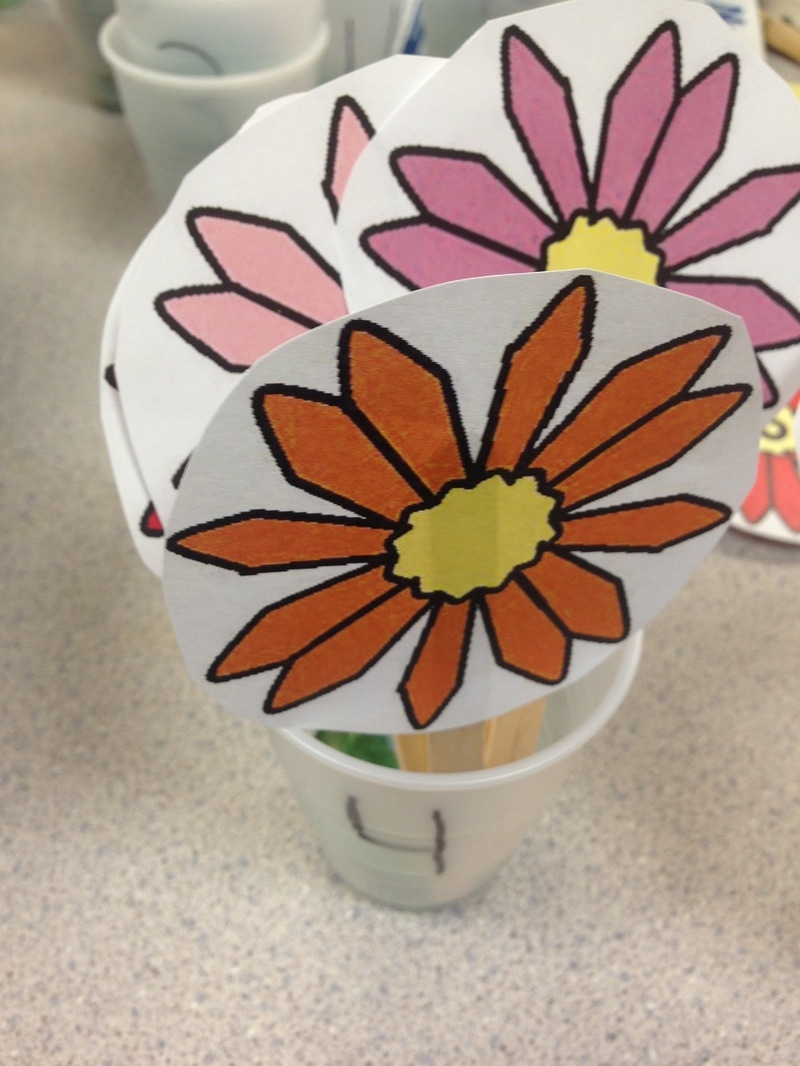
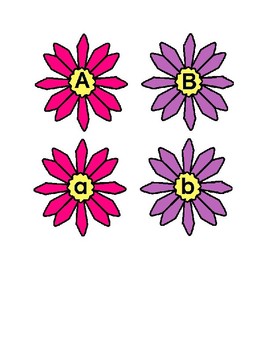
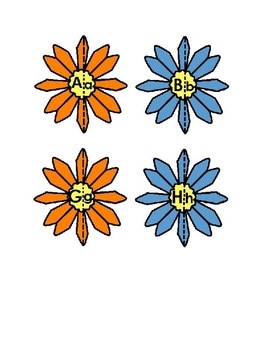
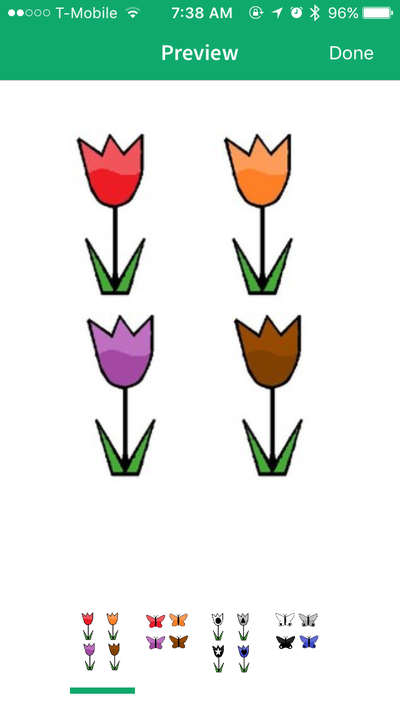
We have currently been doing themes in my classroom with flowers, garden and Spring. The students have been enjoying our planting, germinating and propagating activities. While learning about flowers and gardens, we worked on some counting and number identification too! This activity is a great way to learn how to identify numbers, count and work on fine motor skills.  Get the number flowers HERE. Materials: -Get flower activity here. -dried black beans, pebbles or stones (I used green stones found at The Dollar Tree in the aisle where the vases are) -plastic cup -marker to write the numbers - popsicle sticks or straws -tape - laminate and laminating machine for longer use. This activity can be done a few different ways. Use the numbers 0-100 to work on Number Matching: -Fill a cup with some material to weigh the cup down and make it easier to stick popsicles into it like dried black beans, pebbles, or like the green stones I used from The Dollar Tree. -Write numbers that you want your child or students to work on to the front of the cups. -Tape or glue flower numbers onto popsicle sticks. -Review numbers with students -Students will be able to match numbers or sort number into the correct cups. 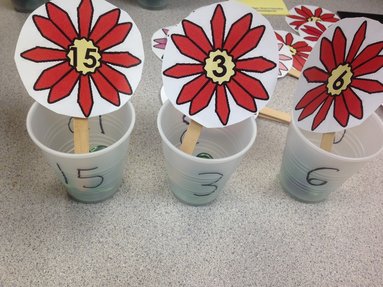 Number Line: Students can create a their own number line or match flowers to numbers that are already on a number line. Work on number orders. You can work on this in a small field (1-3) for younger students or students just learning numbers, or make it more challenging with numbers 1-5, 5-10 or 1-20. Work on 1:1 correspondence. In the photo below I used flowers I had (numbers and letters) to have students place on each number.
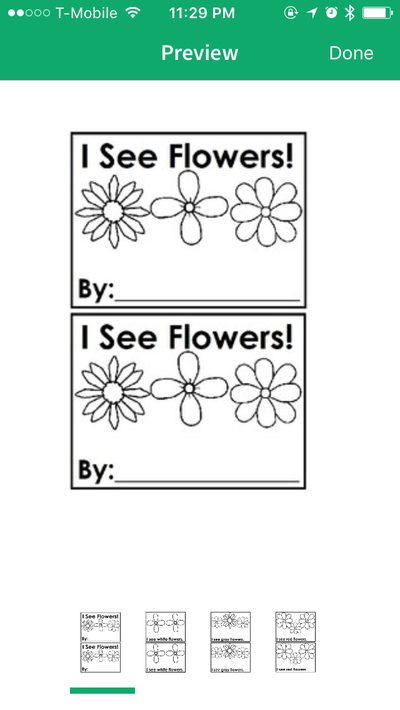
There are many different ways to use this activity: matching just the flowers to each other, attach clothes pins to it that has a number on the clothes pin, hole punch a hole into flowers and use links or paper clips to attach the matching numbers. I hope your child or students enjoy this activity as much as my class did. Thank you for reading the blog! Get your alphabet flowers here to do similar activities but with letters! You may be interested in these activities: -Counting Flowers Emergent Reader Book -I See Spring Emergent Reader Book -flower letter puzzles -Flower & butterfly color matching -I See Flowers Emergent Reader Book Thank you for reading the blog!
0 Comments
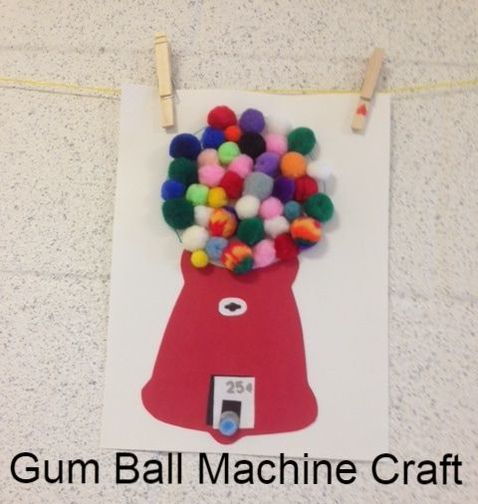  We did a gumball machine craft in class. Our students had a lot of fun with this craft. It's so bright and colorful and made a cheerful display outside our classroom. We used a template to cut out construction paper to make the gum ball machine. This is a great activity to work on fine motor skills, hand-eye coordination, following directions, color identification and/or counting. While using the printable, you can set up the craft a few different ways depending what works best for you. Materials Needed: -Print Free Template from my TpT site (download link at bottom of the blog) -Construction Paper (red and white) -Glue -Multiple Color Pom Poms -Marker Craft can be done multiple ways. First download and print the printable (link at bottom). -You can either use the printable (color or black & white) to have students glue pom poms right onto the printed gumball machine. If you use the blank one, students can cut and glue on the 25 cent square, or students can practice writing 25. 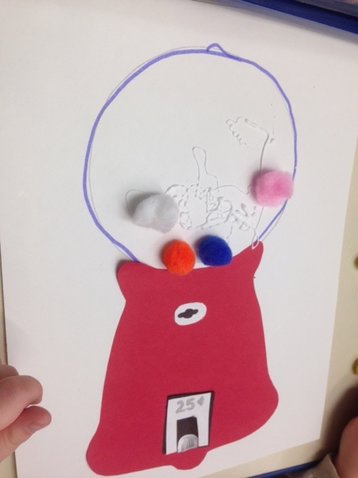 -Print up the black and white template pages. Then cut out the bottom part of the gumball machine and cut out the top circle part. Use the cut out to trace onto a red piece of construction paper. Cut out this piece or have your student or child cut it out. Either have your student or child trace the top part of the gumball machine. Or you can trace it in pencil and let them trace it in marker. Glue down the pieces for the red gumball machine. If you student needs to know where to glue, place a few x's with pencil to show them a spot to put glue. 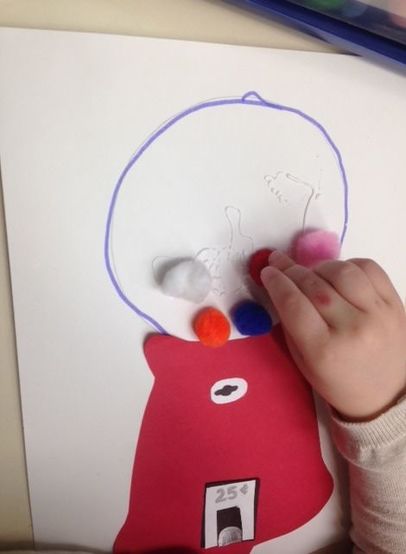 Squeeze glue onto the globe part of the gumball machine and let your student or child decorate it with pom poms. Make sure they cover the entire circle with pom poms! Have them use their pinchey fingers to really work on the fine motor skills. If they haven't already, have them glue on the 25 cent piece onto the bottom of the machine. Students that are able to write or trace numbers can practice on the blank square that is in the printable. Then they will glue on a pom pom (gumball) onto the gray half circle. 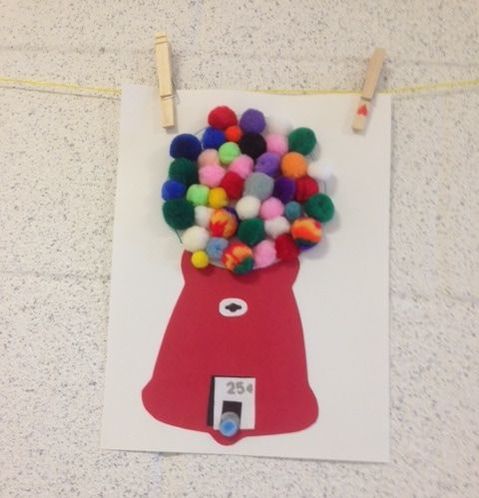  Download free template here or click on the photo above to get the freebie on my TpT site. 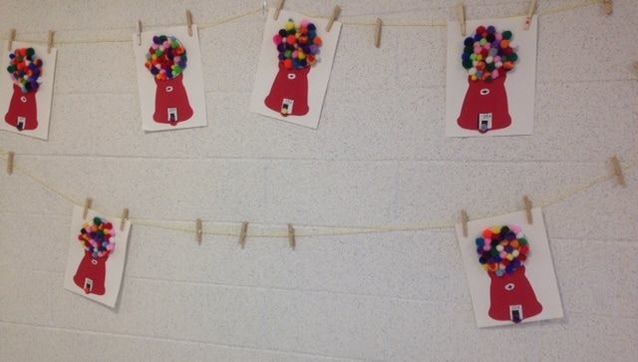 Above is the display of the class gum ball machines! Our class had a lot of fun making these.
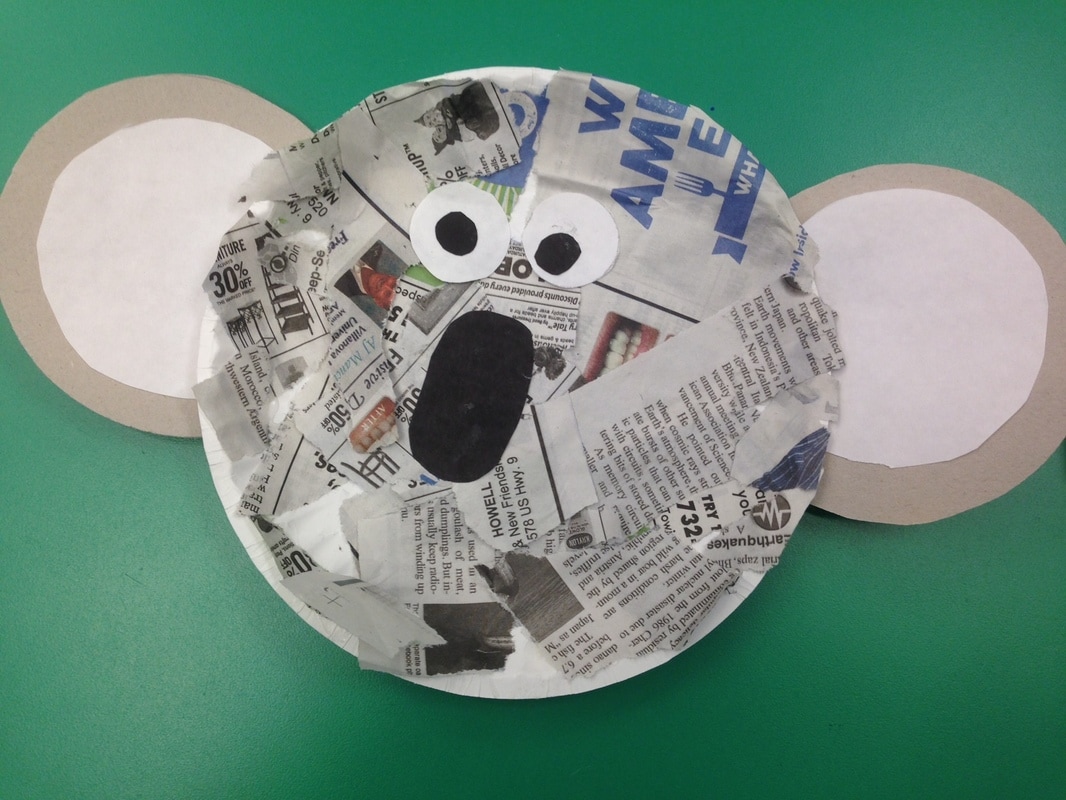
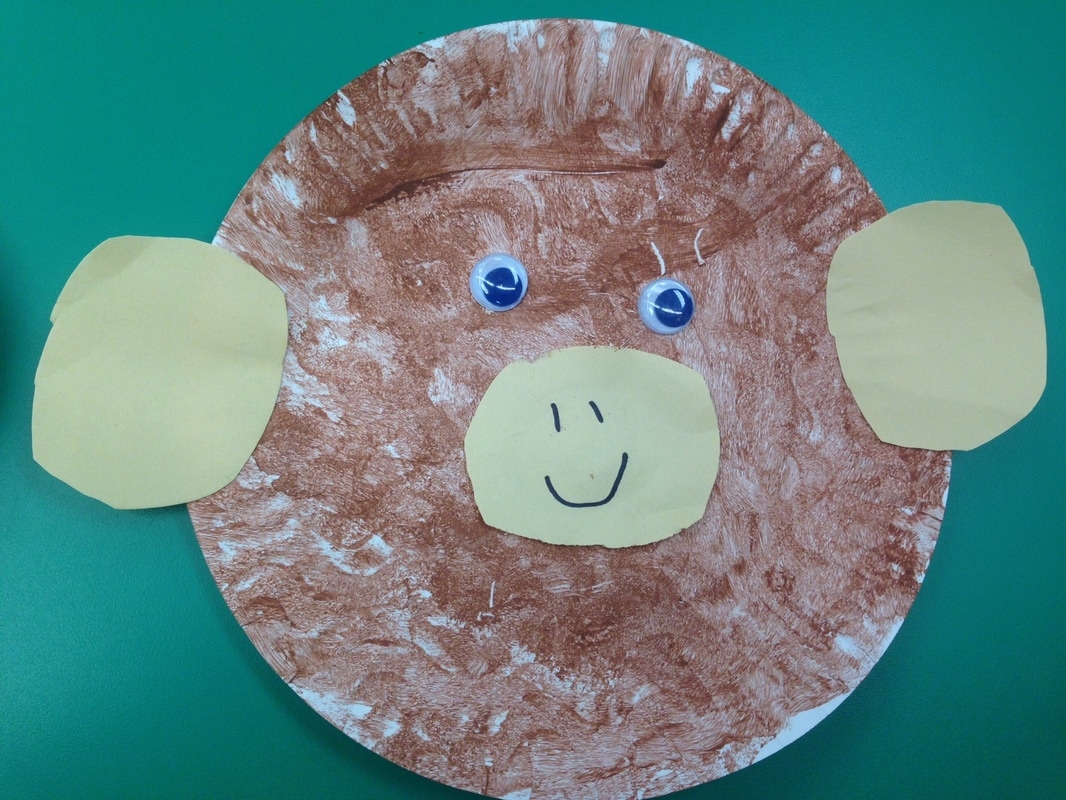
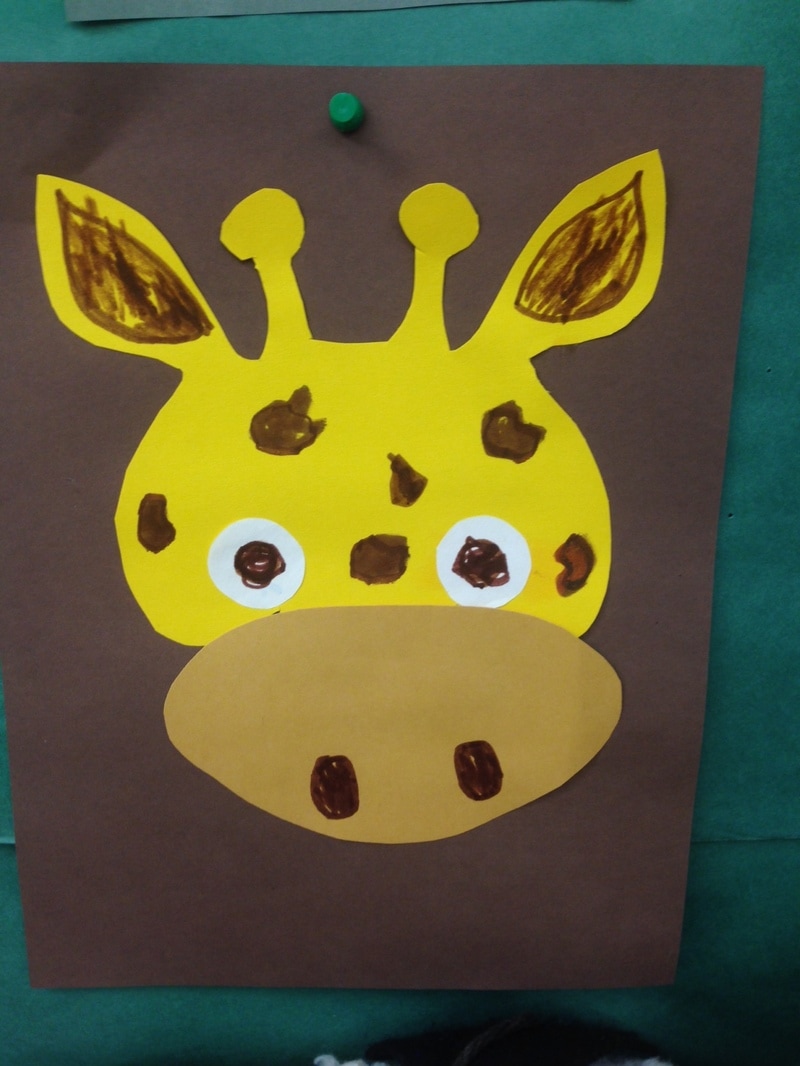
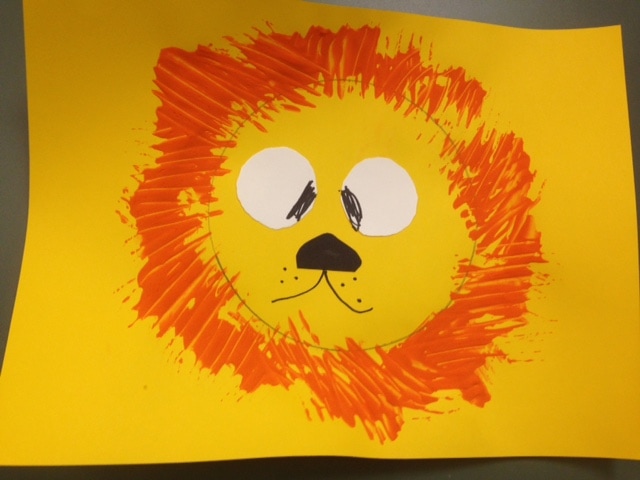
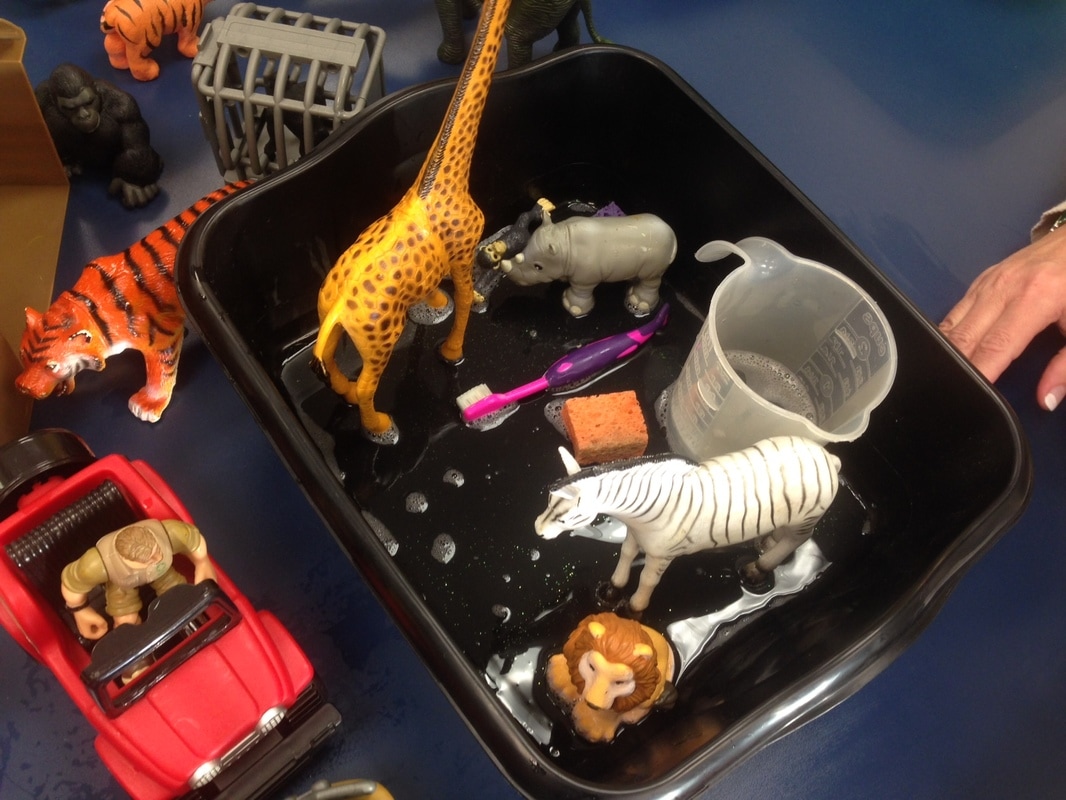
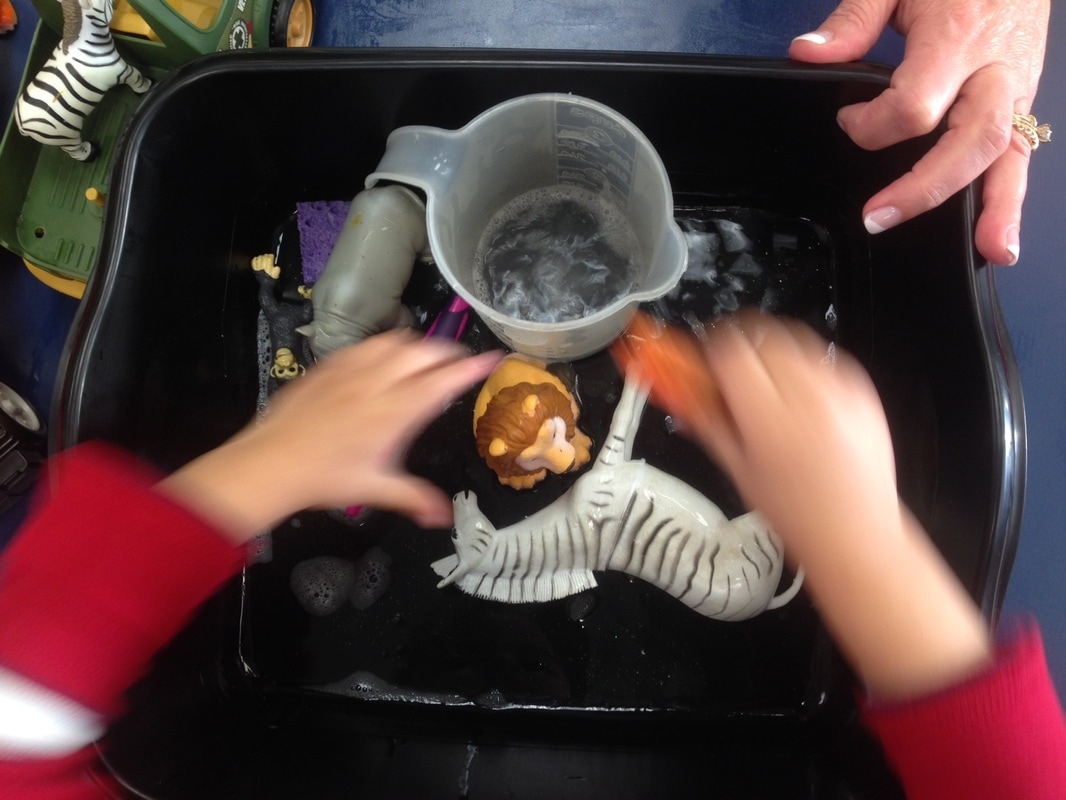
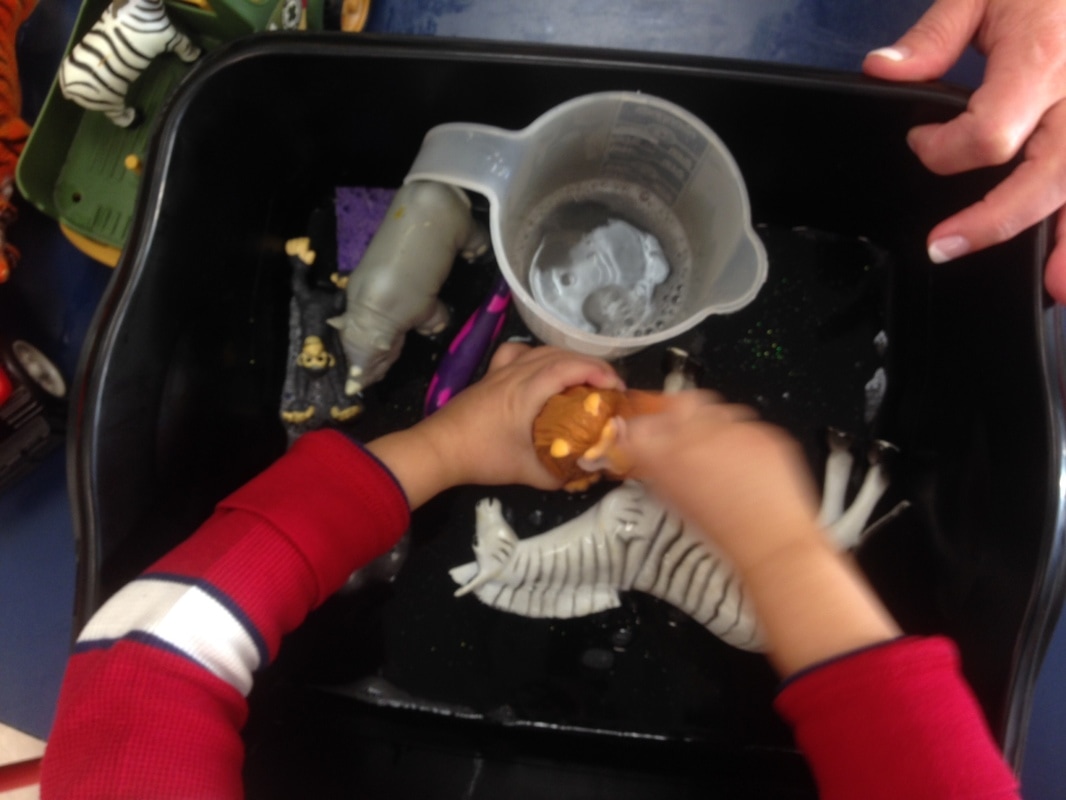
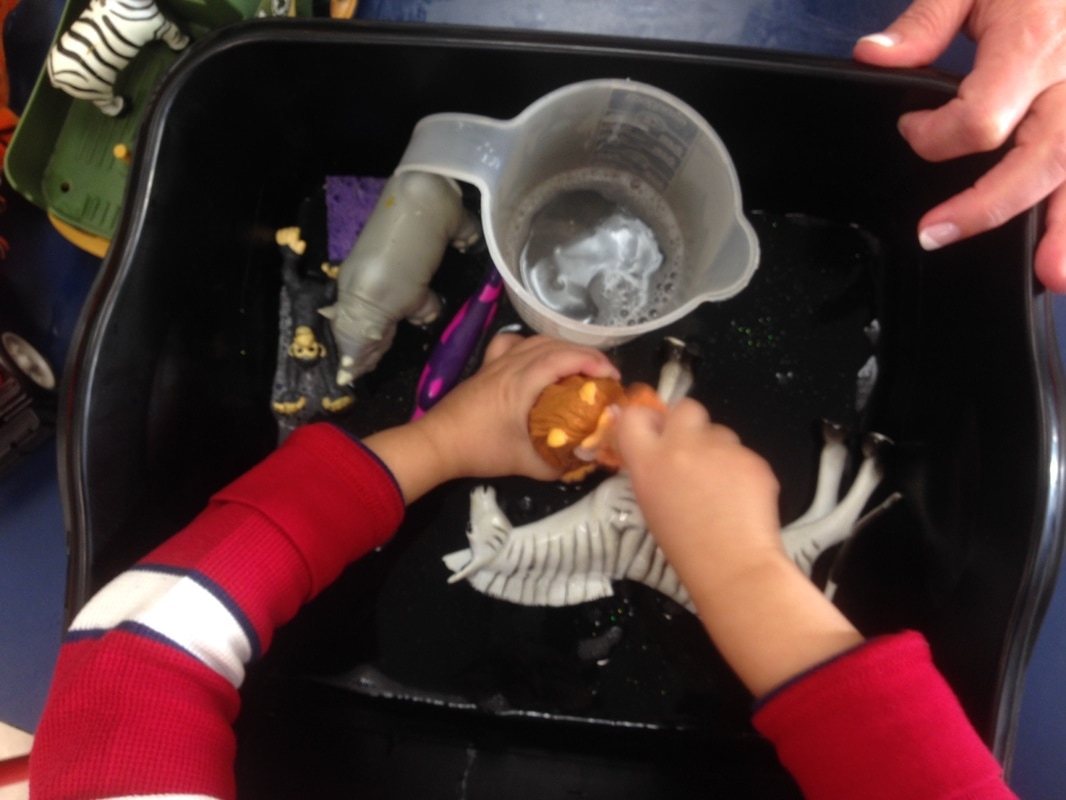
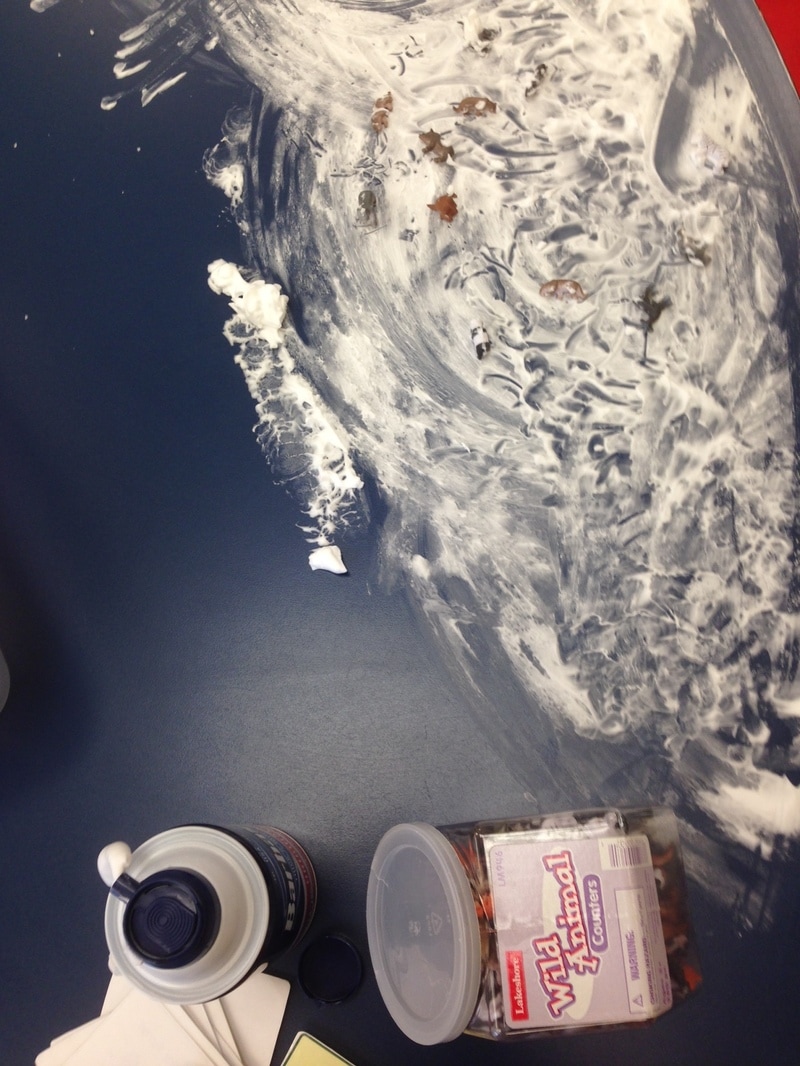
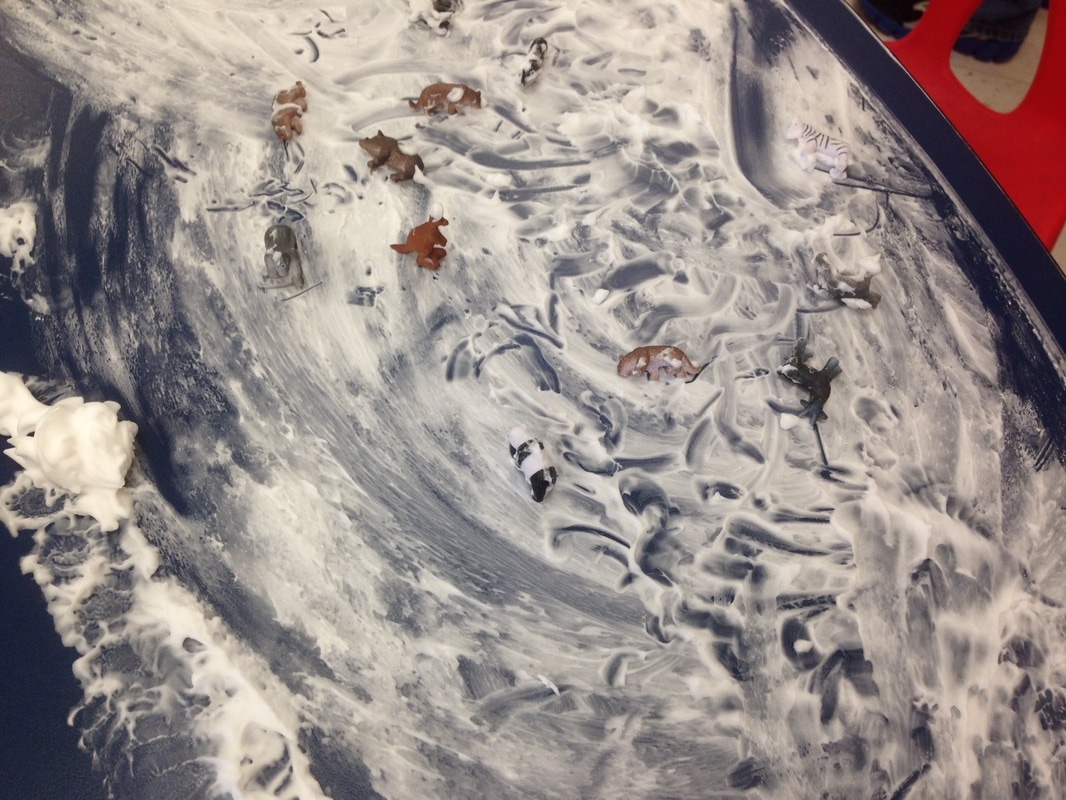
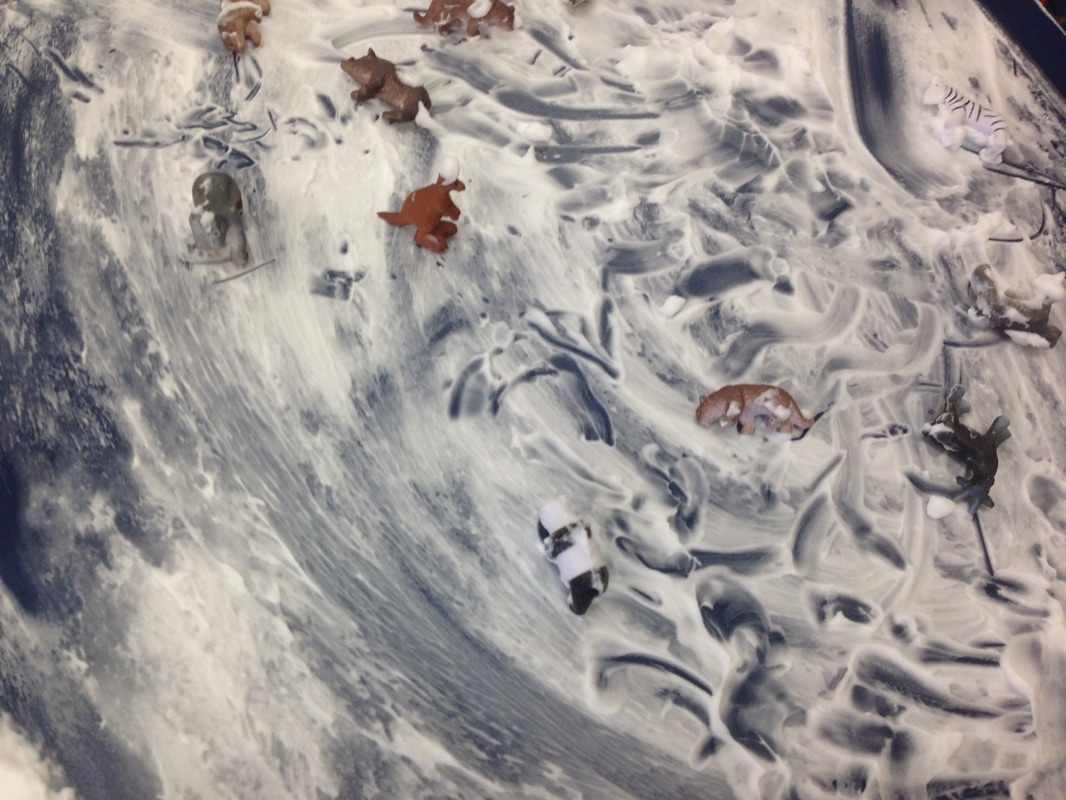
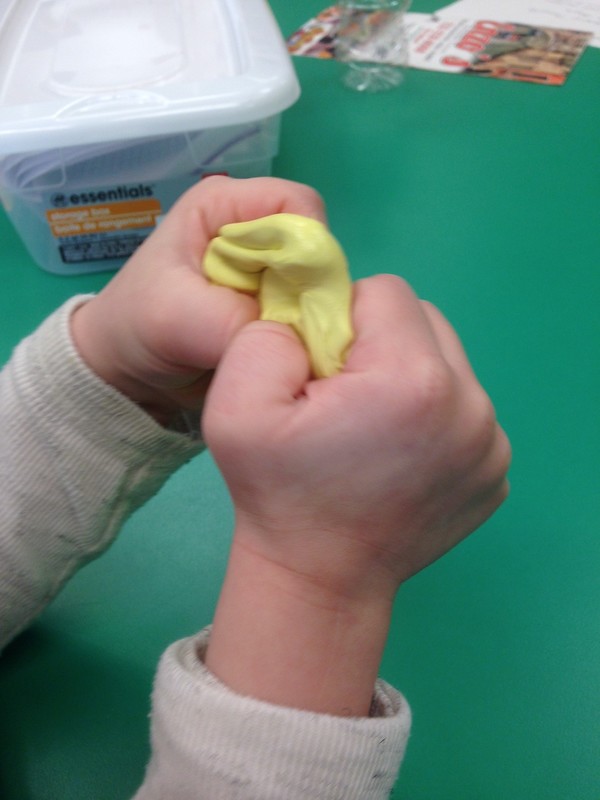
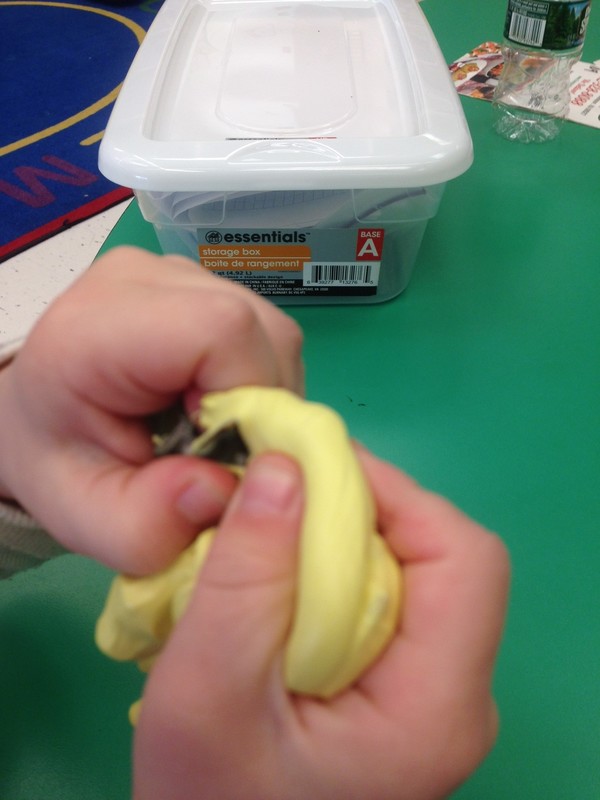
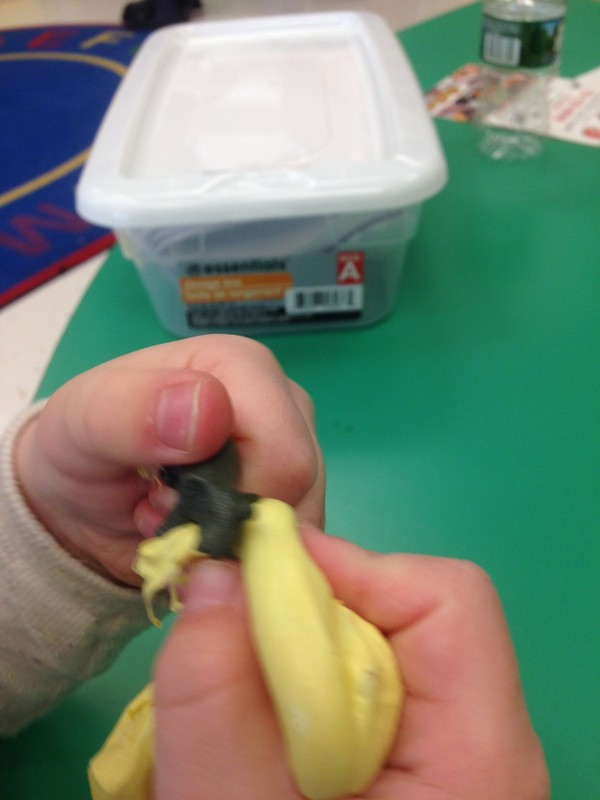
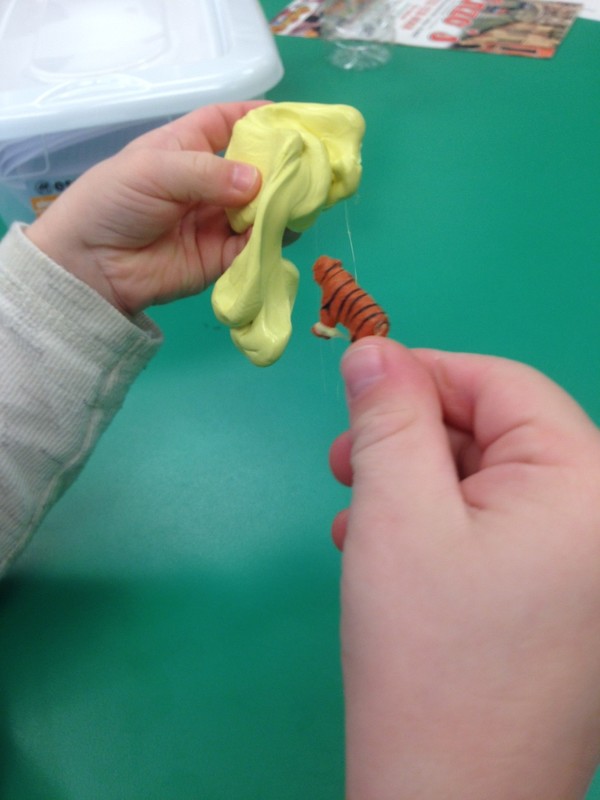
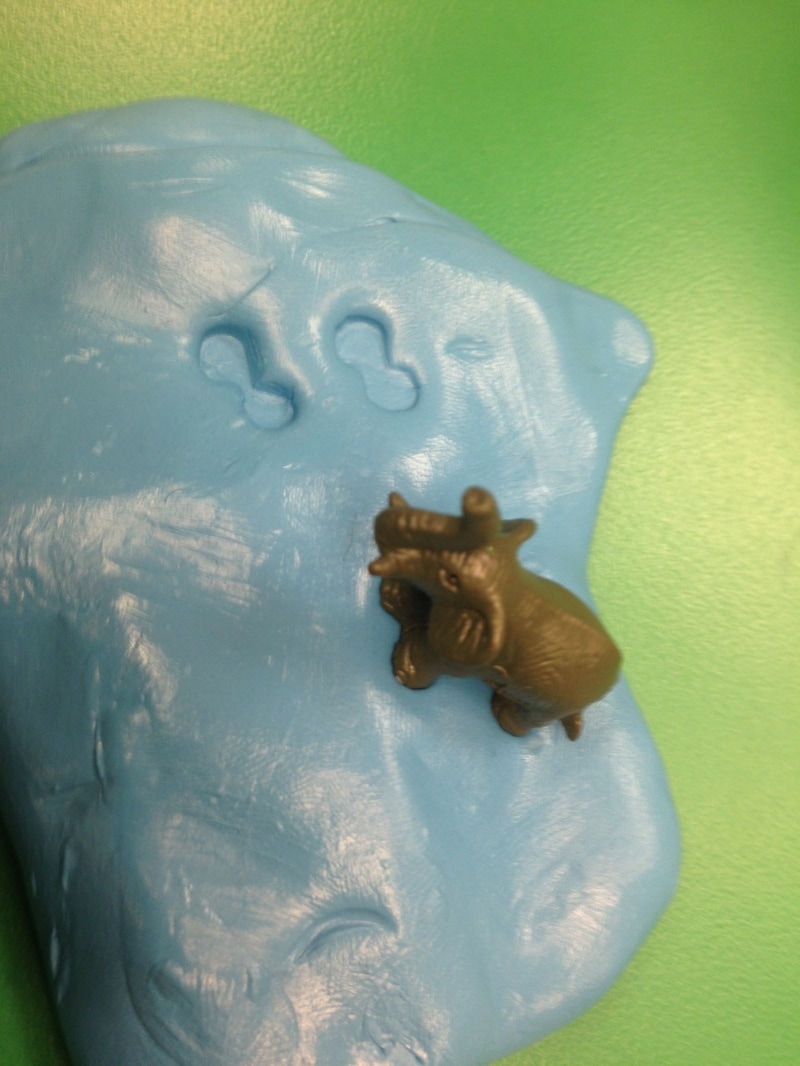
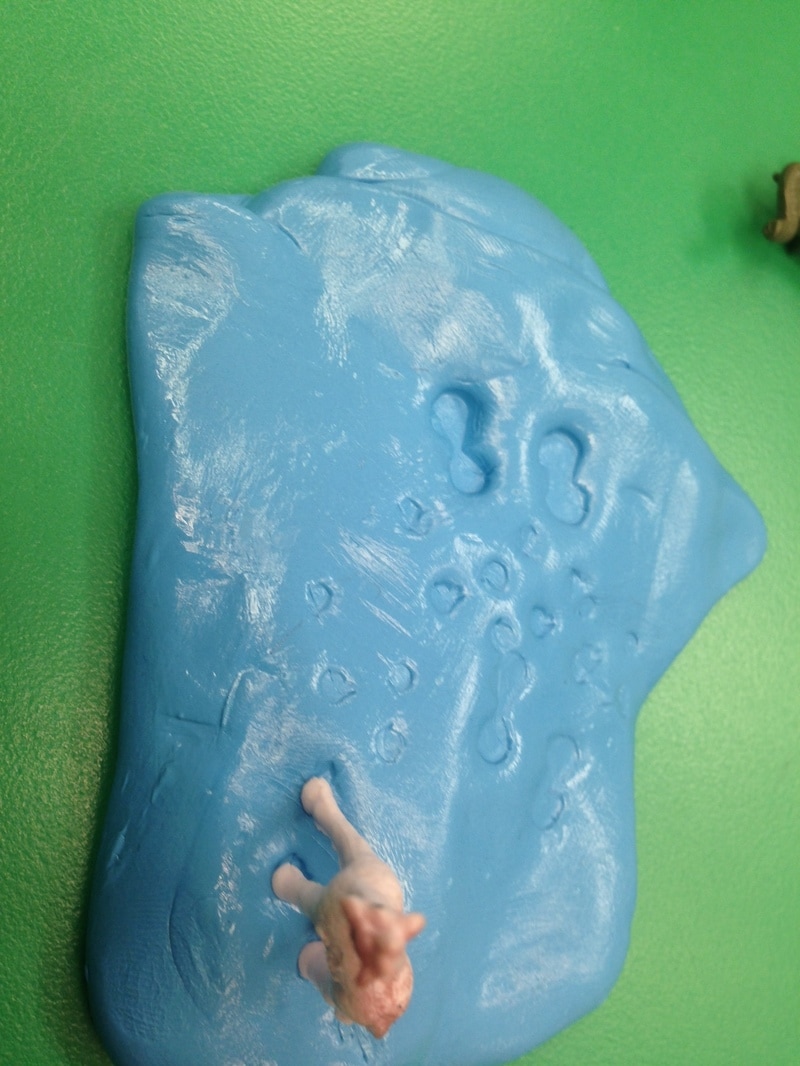
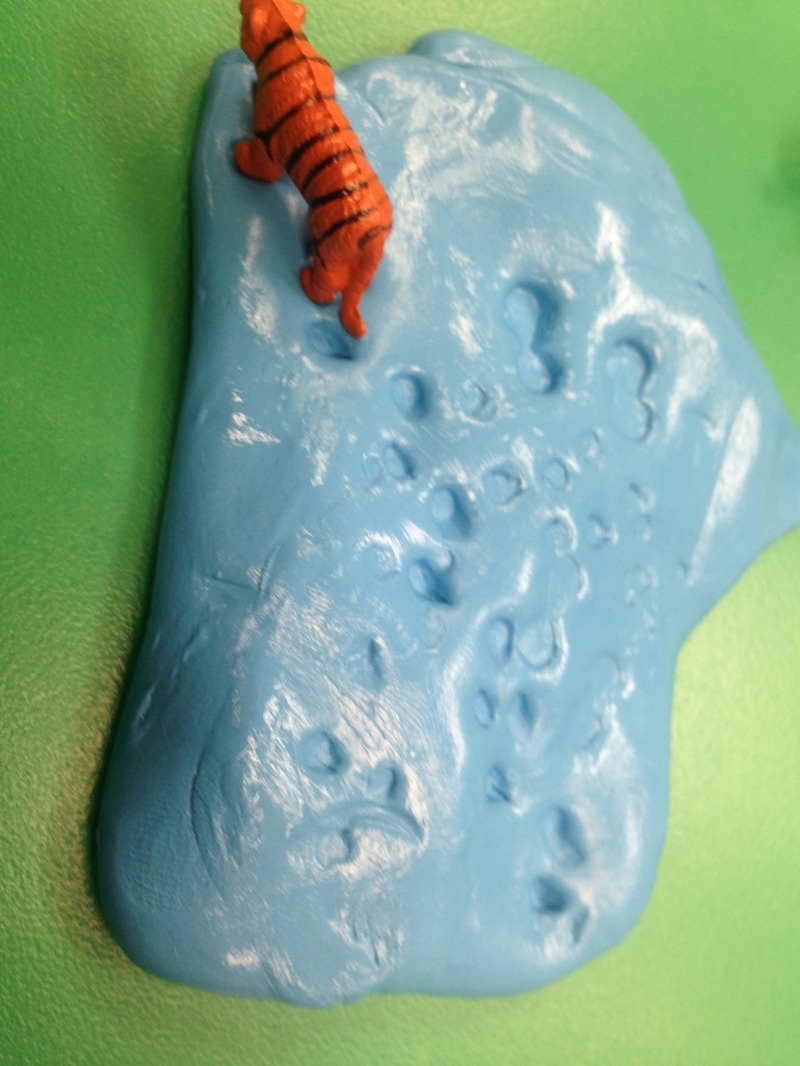
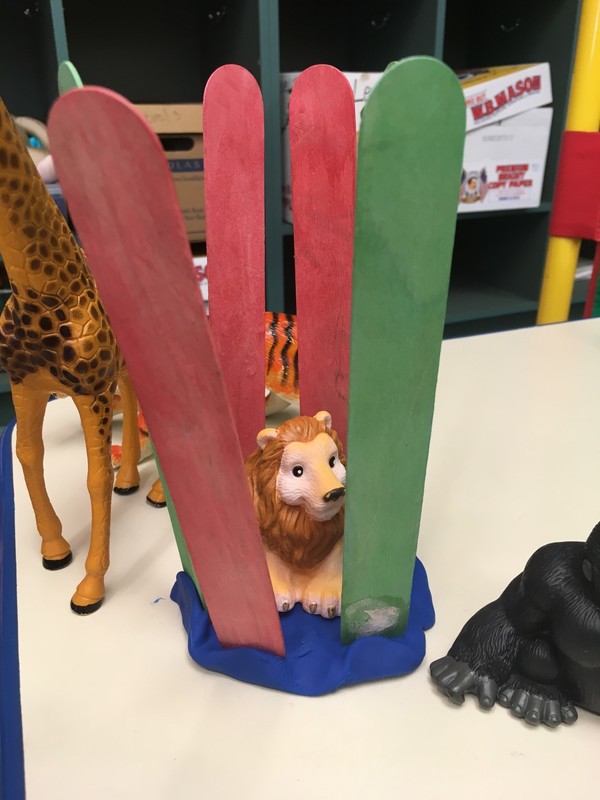
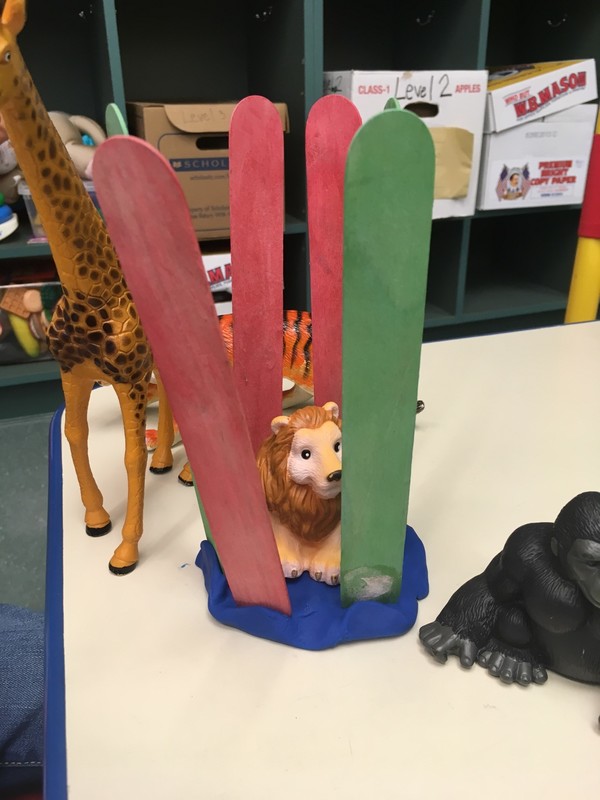
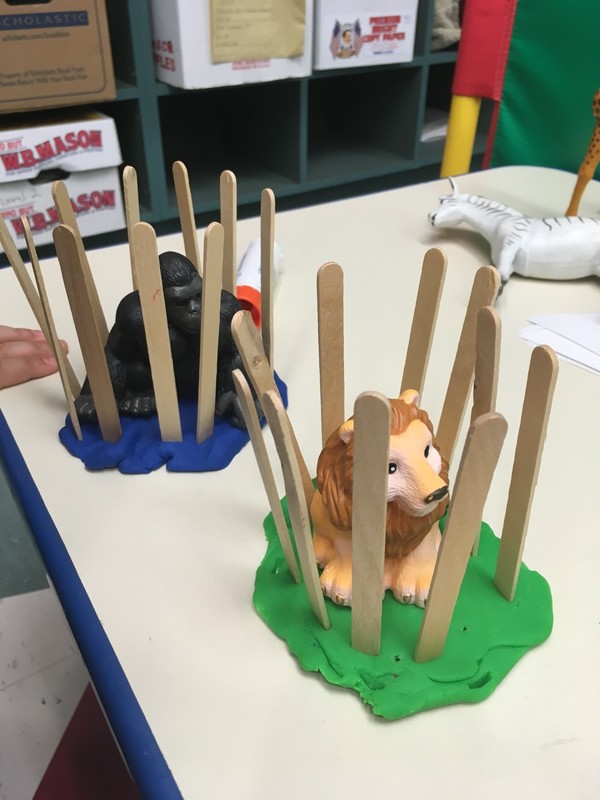
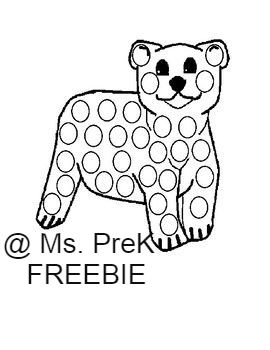
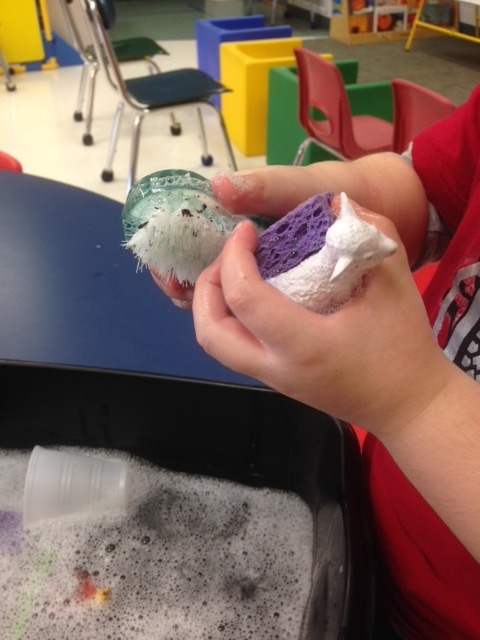
Thanks for reading my blog and I hope you enjoyed! Check out some other freebies at my TpT Store: -Penguin Q-Tip Painting & Template freebie -Rainbow & Shamrock Do-A-Dot and Templates freebie -Winter Do-A-Dot Freebie -Penguin & Arctic Animal D-o-A-Dot Freebie -Spring & Summer Do-A-Dot Freebie -Holiday Do-A-Dot Freebie You may also want to check out my Emergent Reader Books, File Folder Games and Activities at my TpT store! Thanks! 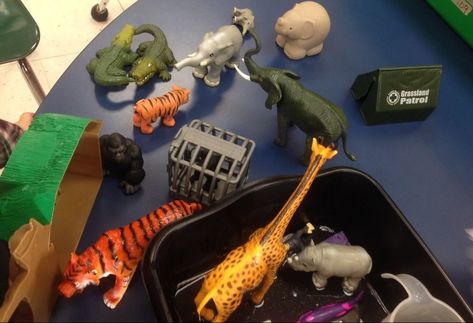 Last week our class did a theme on Zoo Animals. We washed zoo animals, created zoo homes in play dough, completed art crafts and found zoo animals in therapy putty. The students had a lot of fun with our theme! Hope this blog gives you some ideas to use in your classroom or at your home that are fun and hands-on. 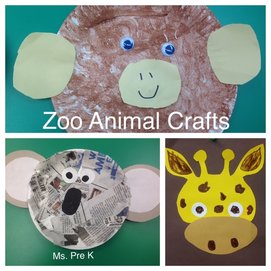 Zoo Animal Crafts Monkey Plate Craft: Have students paint paper plate all brown. They can use sponges, fun patterned rollers to give a textured look, with a fork or a regular paint brush. Have some brown or tan circles cut out of construction paper. Students will use glue to add two ears and mouth. Students can either make their own nose & mouth, trace or be given help hand over hand. Use googly eyes for the monkeys eyes. Newspaper Koala Bear: Have students rip up up newspaper pieces and glue onto paper plate. Prior to activity, cut out large gray circles and smaller white circles, a black oval, and small white circles & smaller black circles for the eyes. Students will follow directions of the teachers or use a little x to mark where students need to glue and place pieces. Giraffe Art Craft: Cut out giraffe pieces prior to activity out of construction paper. Use a brown marker to make circles onto the giraffe. Have students color in each circle. Great activity to work on hand writing skills, fine motor and hand-eye coordination. Lion Craft: Using a yellow or orange piece of construction paper, draw a circle on it with a pencil. This will help set up a area for your student or child to know where to paint. Cut out two white circles for the eyes and a triangle (with curved edges) out of black construction paper for the nose. Let the students use a fork to 'paint'. Students will be able to color in the black area on the eyes and trace a mouth. 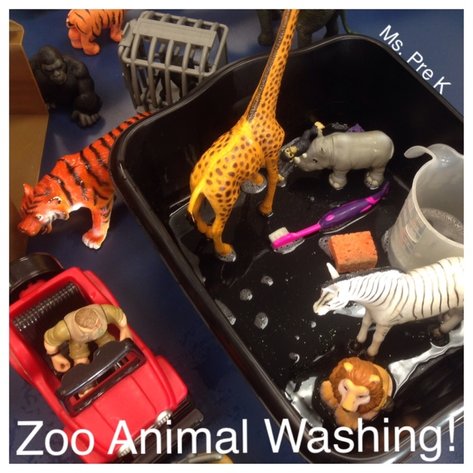 Zoo Animal Washing: Place warm water or warm soapy water into a bin with plastic animals. Students will use sponges or tooth brushes to wash their animals. This is a great activity to work on sensory input, fine motor skills, hand-eye coordination and learning about different zoo animals. Practice labeling the zoo animals and their sounds they make. We did this with Farm animals too and the students love both! 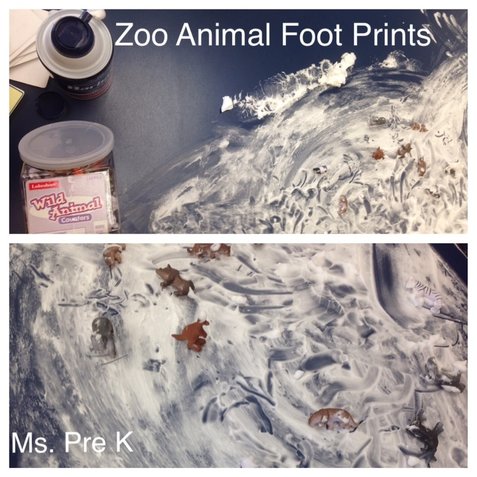 Sensory Play with Shaving Cream- Zoo Animal Footprints: Using plastic Zoo Animals or Wild Animal Counters, place them onto shaving cream. Students will be able to move them around to create foot prints and play with the shaving cream. This is a great activity to give your child or student sensory input, to work on fine motor skills and to learn cause and effect (what happens to the shaving cream when you place an animal on it and move it). Searching For 'Missing' Zoo Animals: Hide little Zoo Counters into therapy putty. Students will then need to use their fine motor skills to move the putty around and pull the animals out. Students can have fun after making prints in the therapy putty. Zoo Animal Homes: Use large or small Popsicle sticks. Have students help you flatten out some play dough. Students will place one of the plastic zoo animals onto the middle of the play dough. Then they will place Popsicle sticks into the play dough around the zoo animal. This is a great activity to work on fine motor skills.
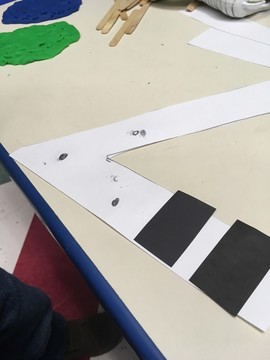
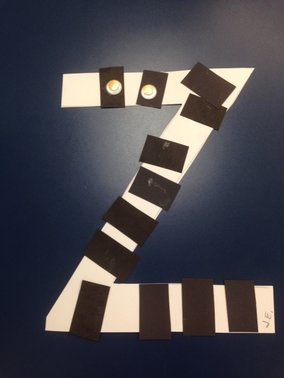
Z is for Zebra: This activity is great for working on the letter Z. Cut out a large letter Z out of white construction paper and then cut rectangles of black construction paper. Mark with a pencil little circles where students need to add glue (see above photo). Practice making the Z sound. Some other zoo activities you may enjoy:
Creating homes with blocks and stuffed animals Free Gross Motor Farm Animal Movement Free Animals Home & Clip It Cards Free Monkey Template Pets & Wild Animal Sorting Zoo Counting Cards Freebie Thanks for reading my blog! I hope you enjoyed! Check out my new Spring Emergent Reader book- I See Spring Emergent Reader You may also like some of my spring & farm activities found on my TpT site: Farm Animal Tail Matching Rain Cloud Number Match Spring & Summer Do-A-Dot Freebie Shape Barn Freebie
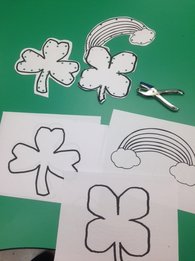
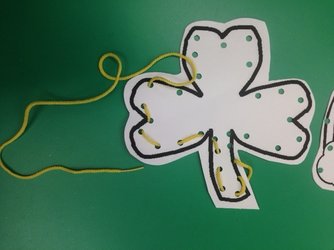
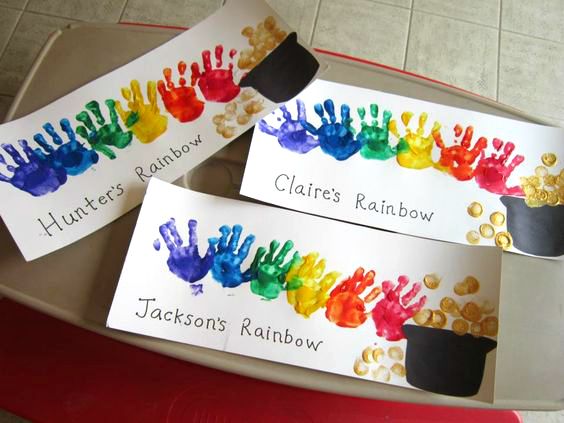
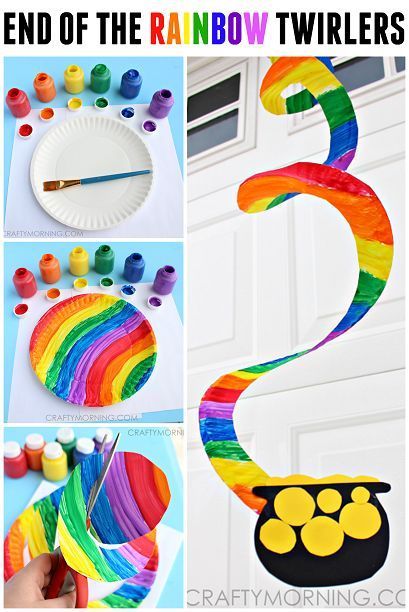
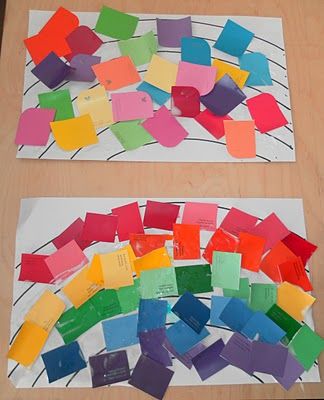
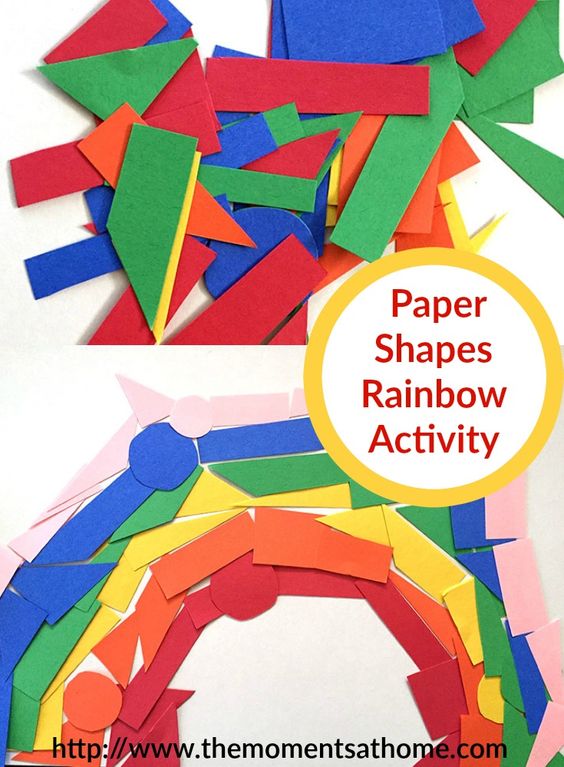
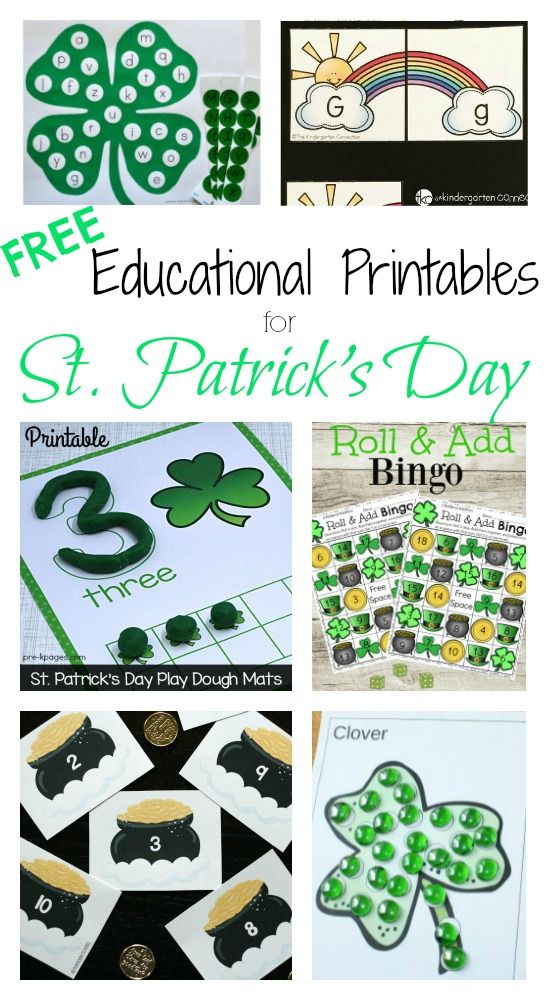
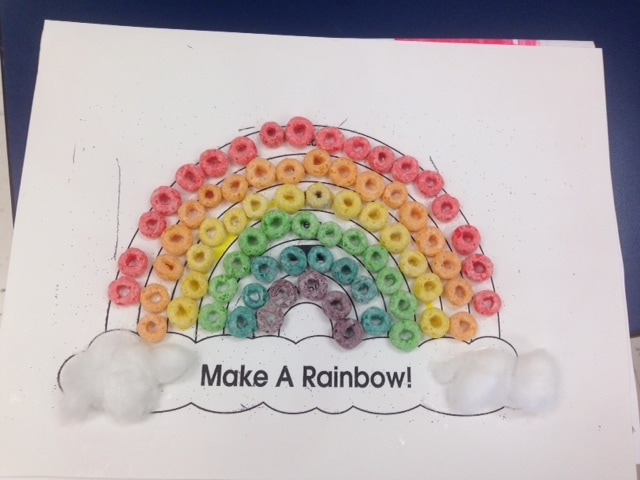
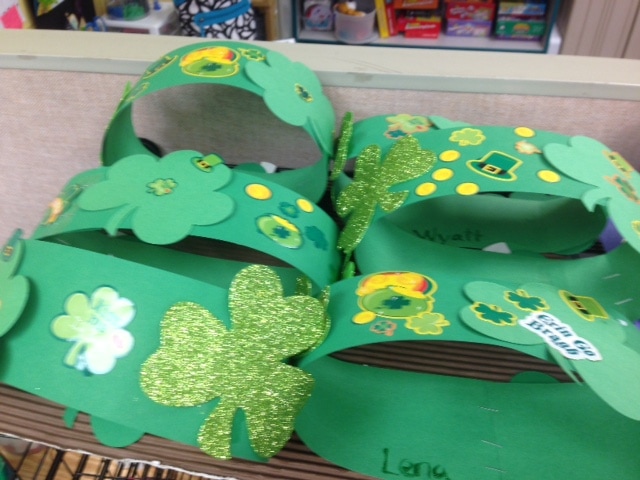
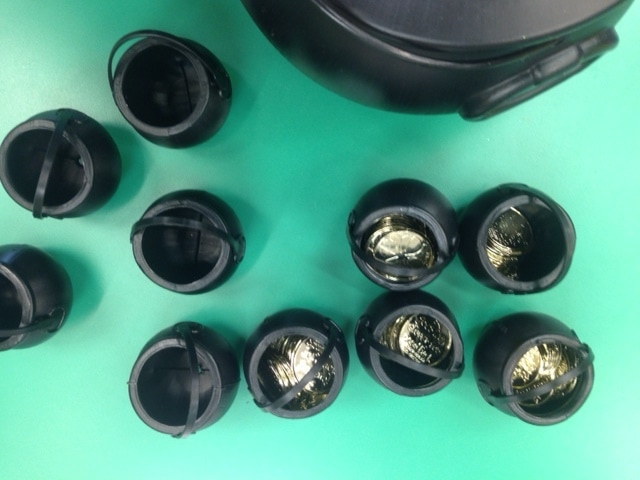
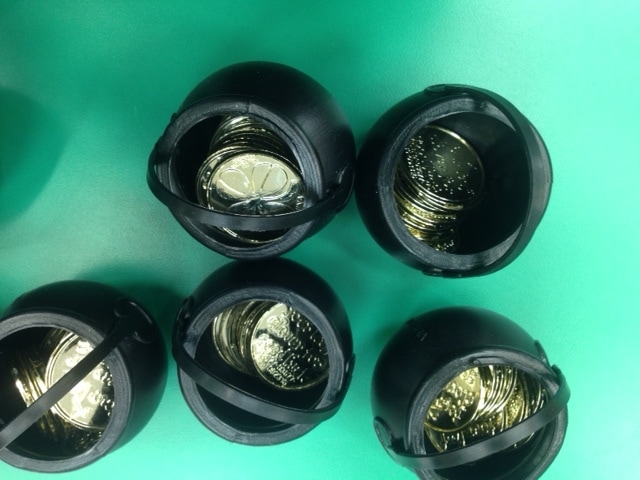
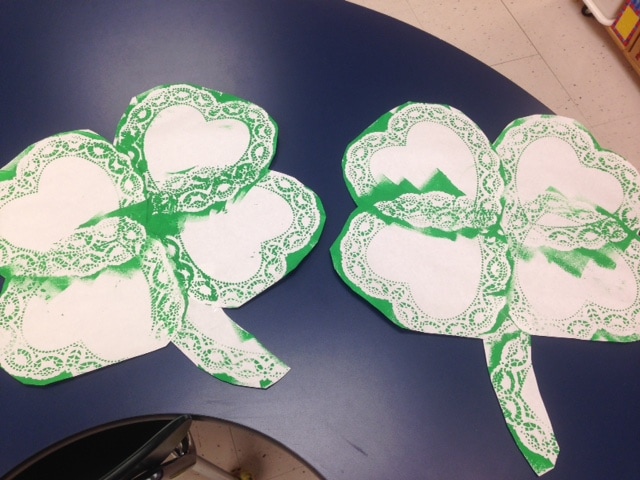
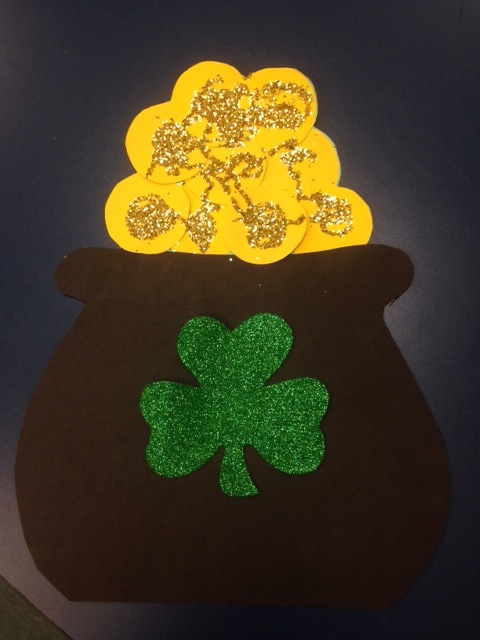
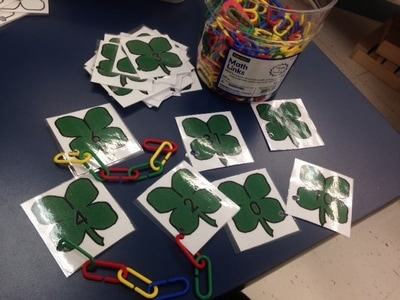
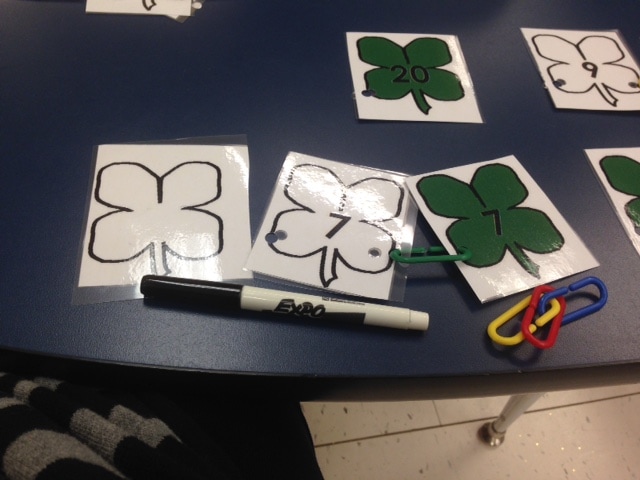
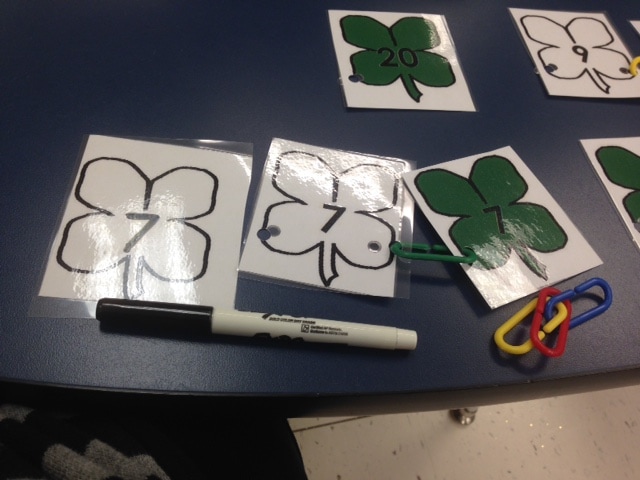
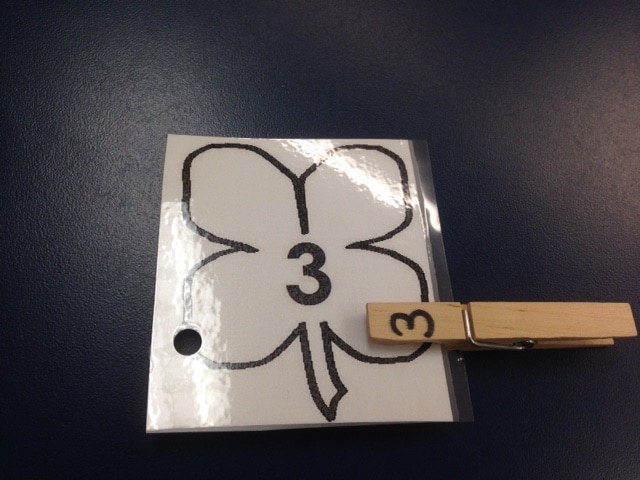
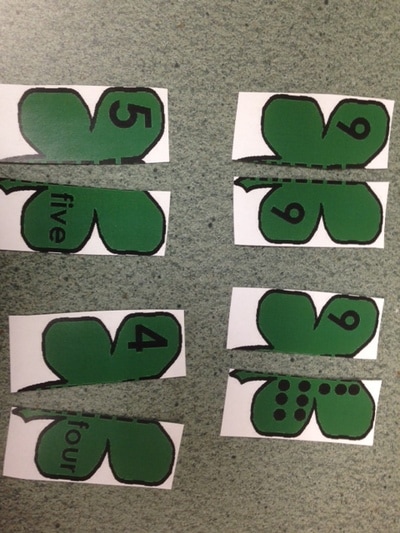
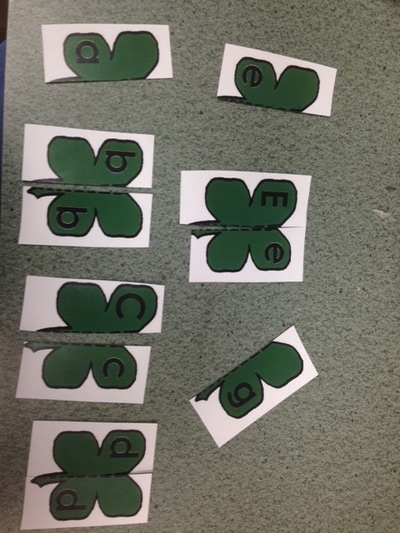
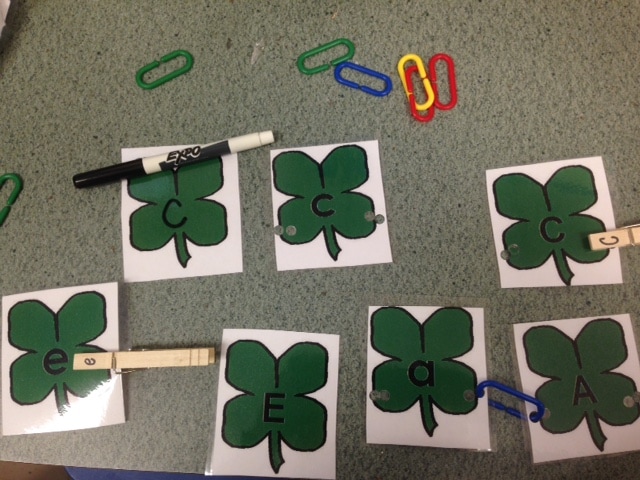
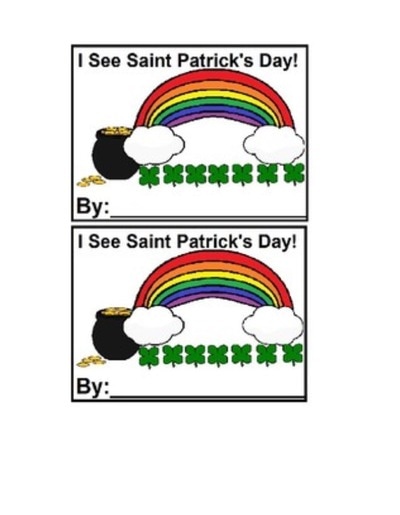
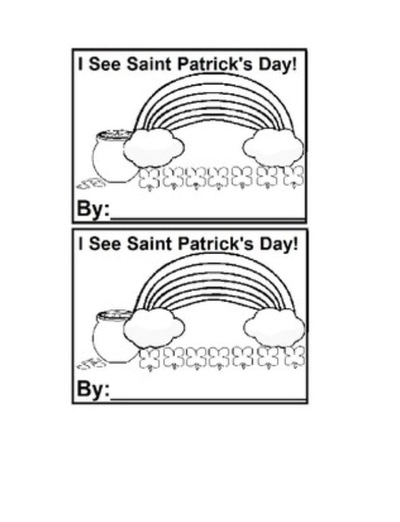
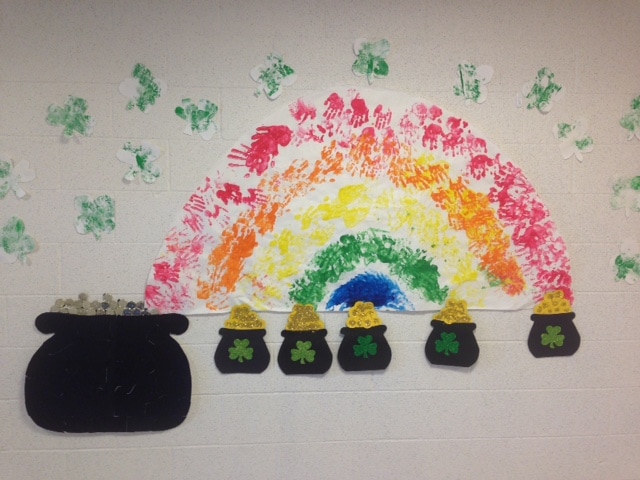
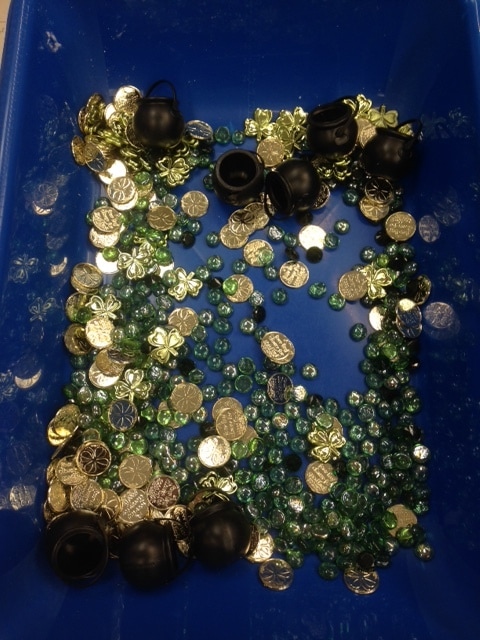
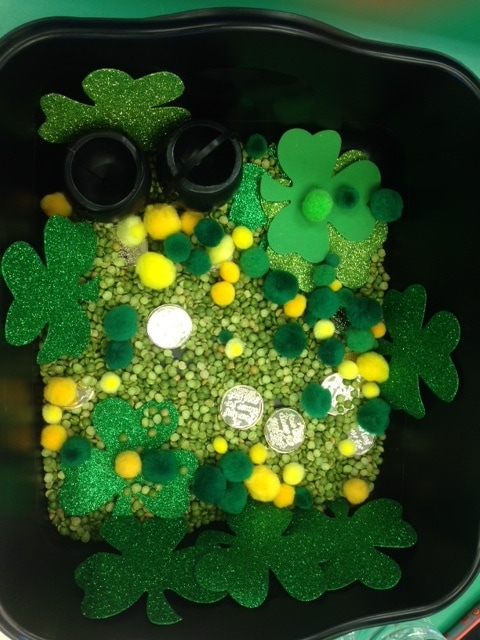
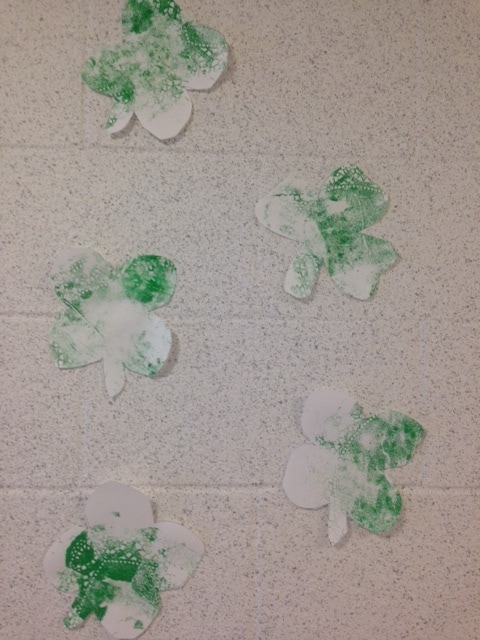
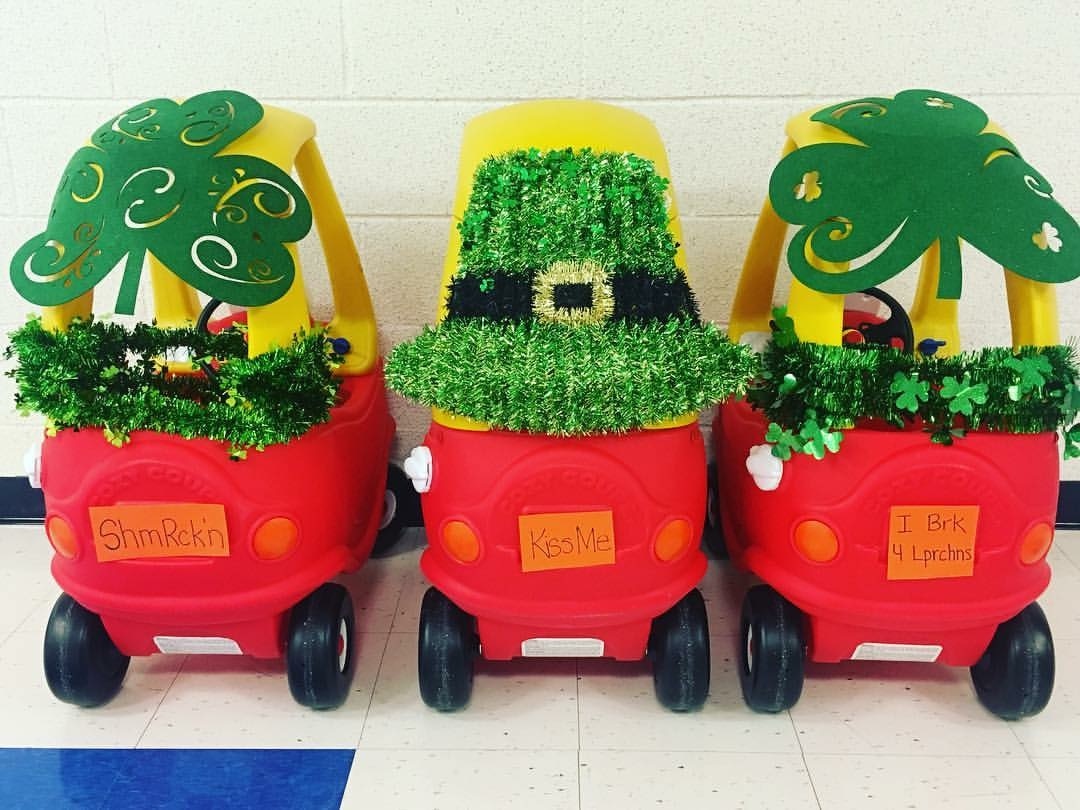
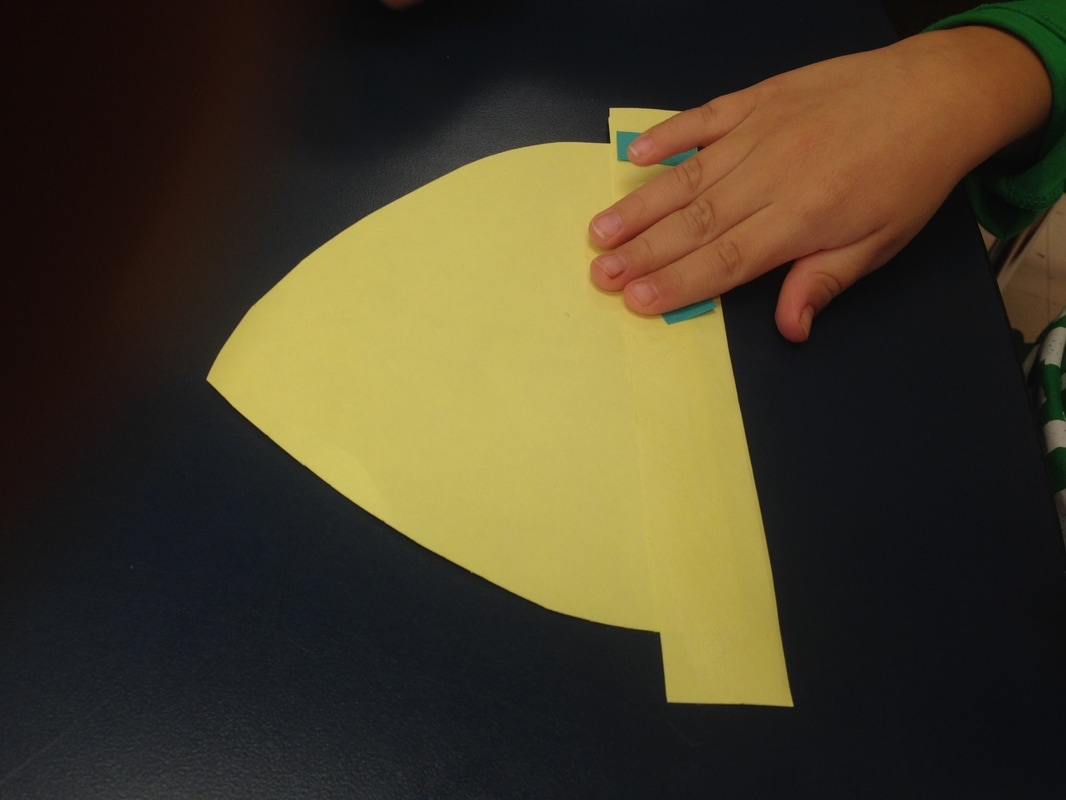
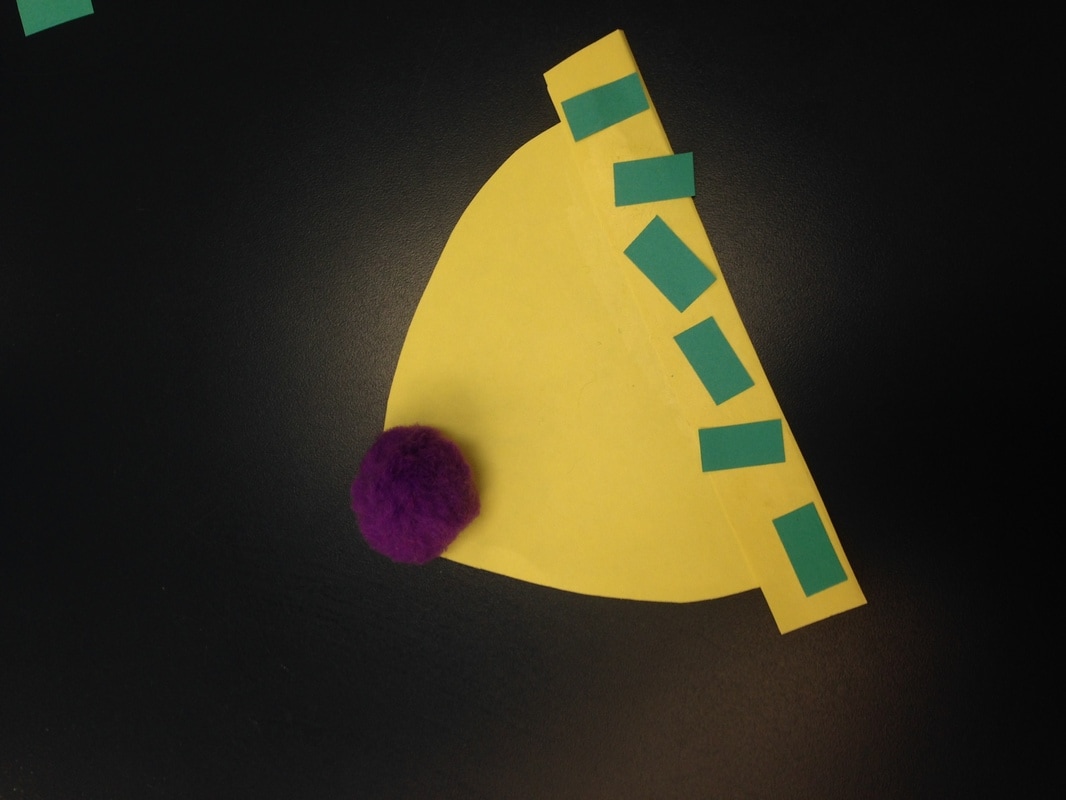
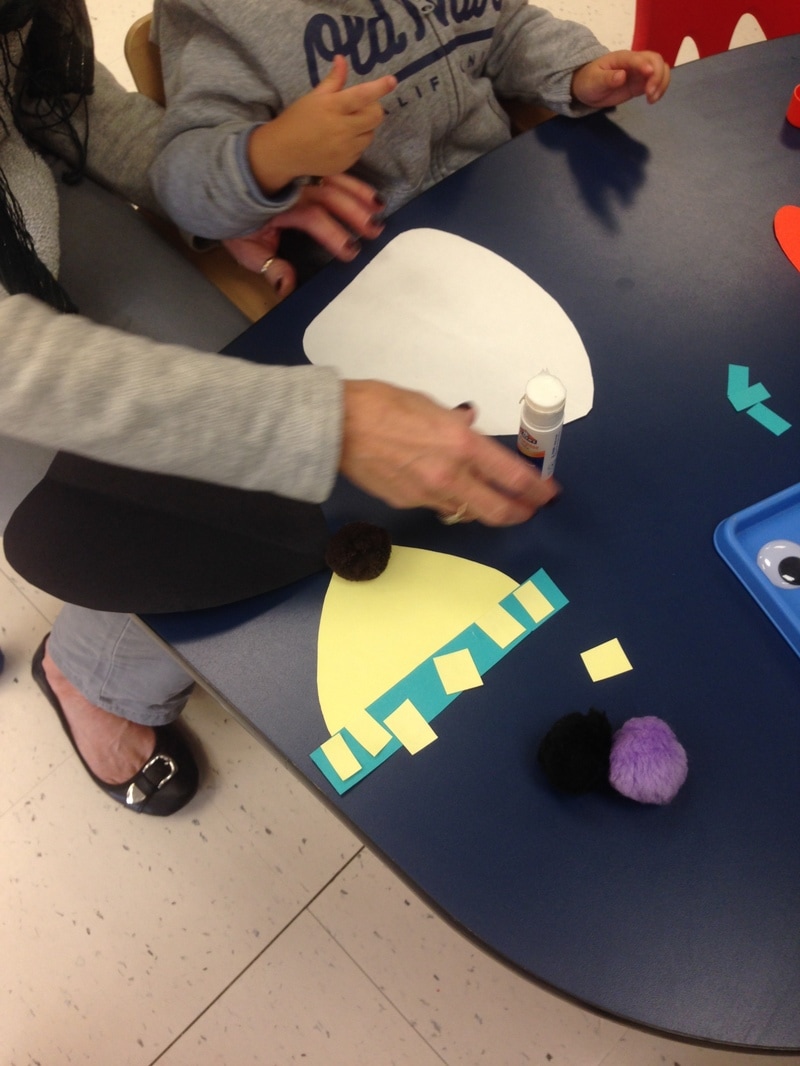
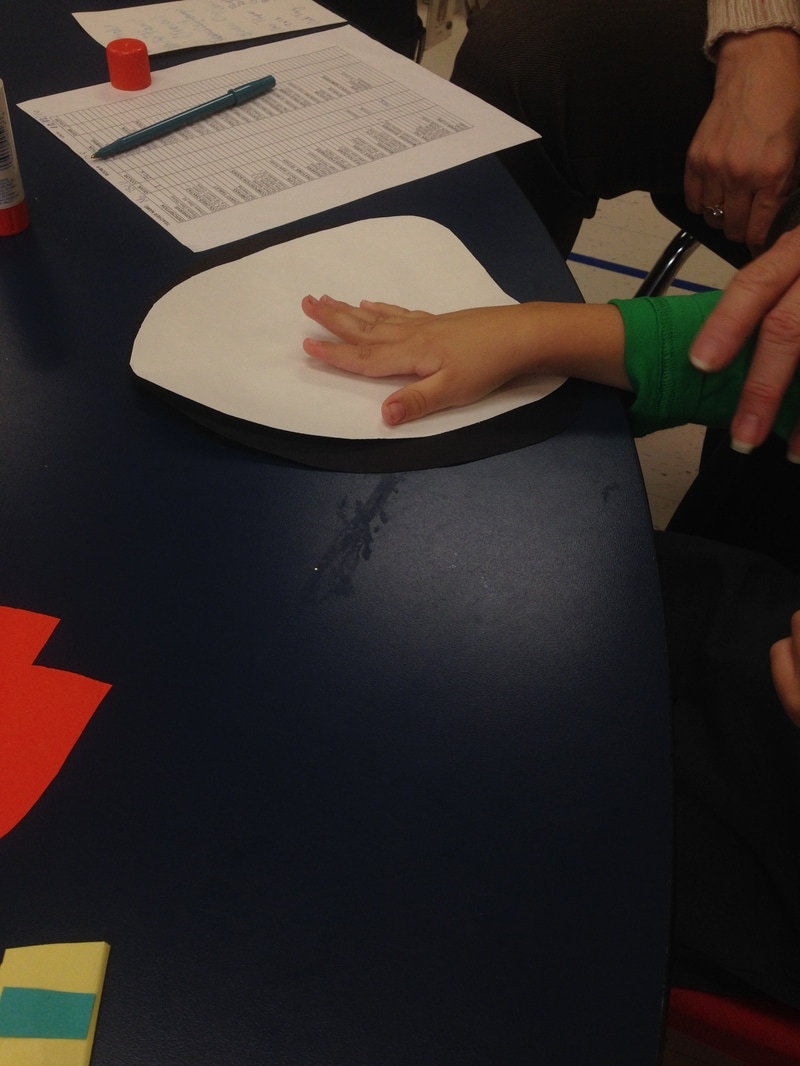
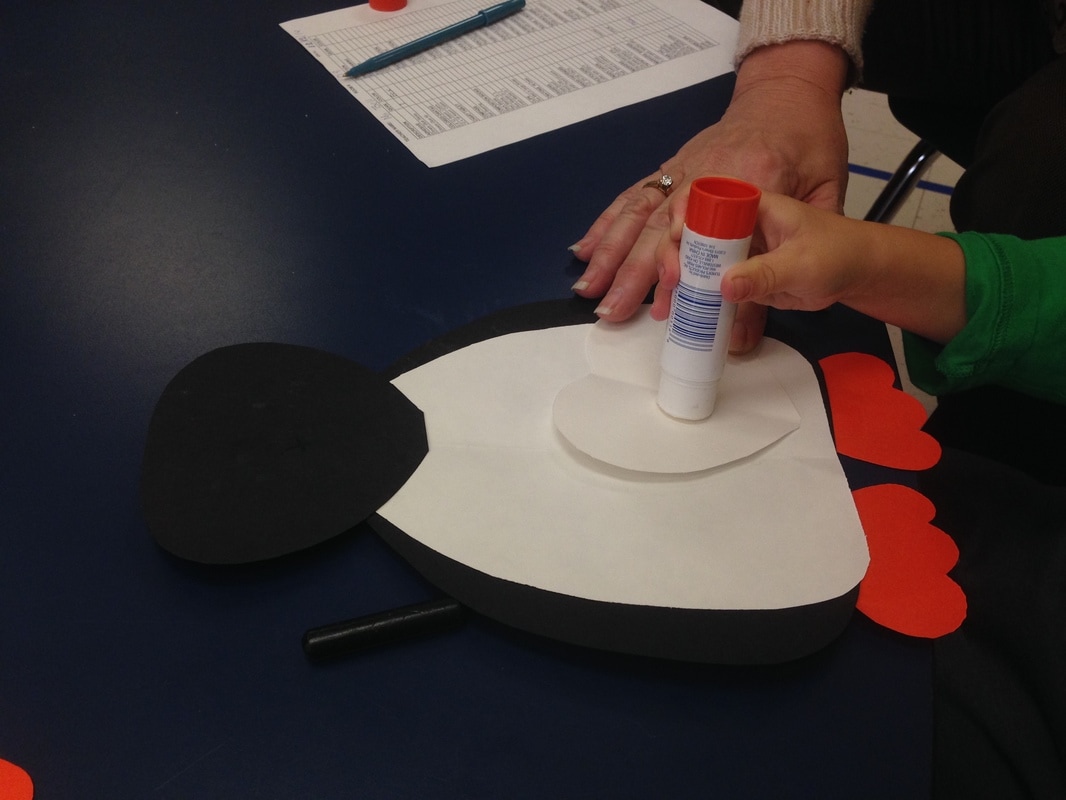
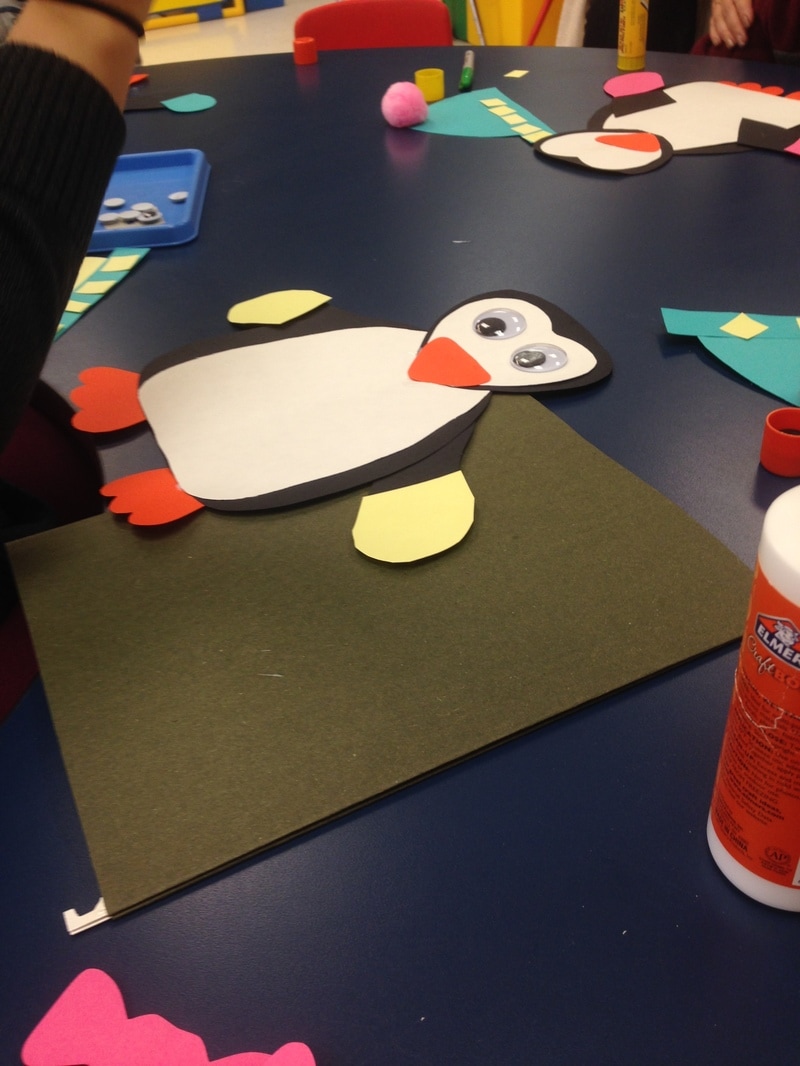
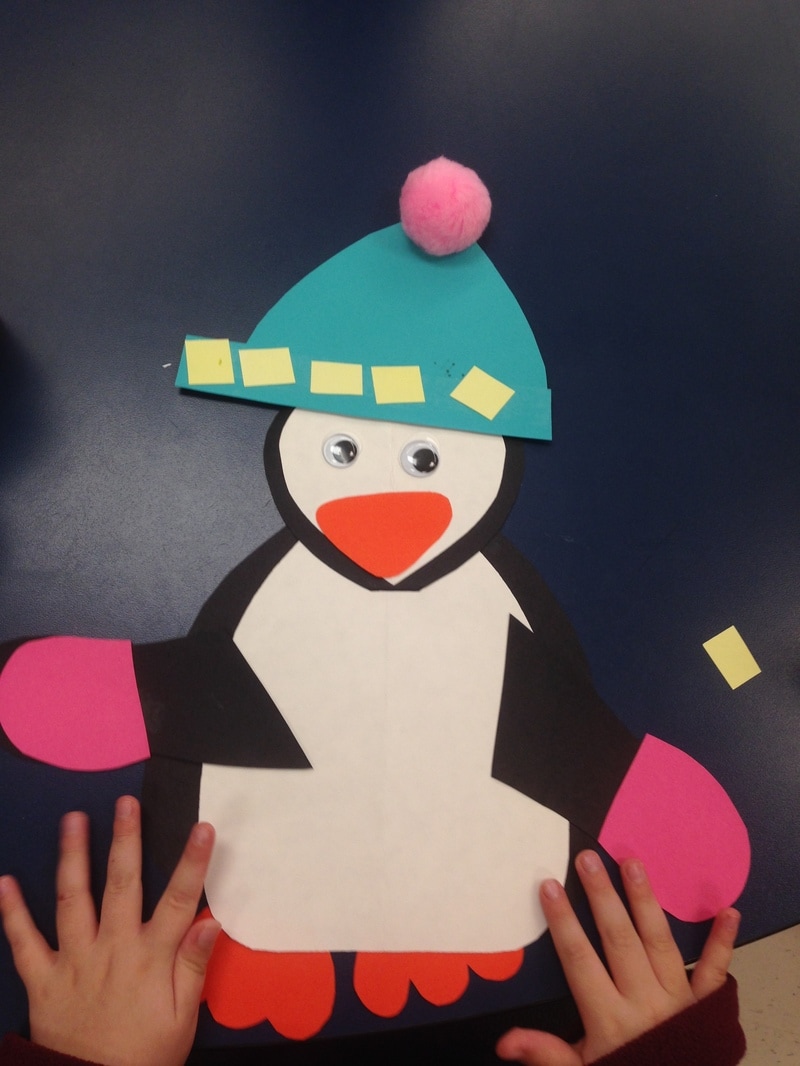
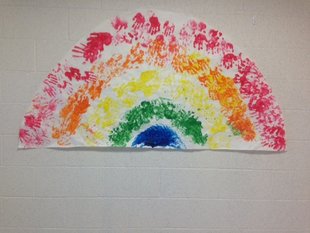 Our students created this rainbow using their hands. The bottom is hard to see but there are two purple hands on the blue part. 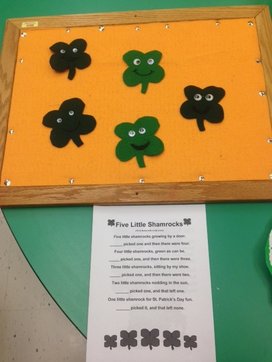 -We did some felt activities using this Five Little Shamrock poem freebie found here. In the printable is five shamrocks if you aren't able to make these felt shamrocks. - Rainbow craft- great fine motor activity to work on color sorting with Fruit Loops. Use cotton balls for the clouds. - St. Patrick's Day Hats- use construction paper to create the circle for the hat. Adjust according to the child's head size. Let them decorate with foam shamrocks & stickers. -Finding Gold Game- I used little cauldrons that I found at Rite Aid around Halloween & gold coins from the Dollar Tree. I had the class close their eyes while I sprinkled gold coins all around the room. The students had to find the coins, come back to Circle and then we counted each students pot of gold. They loved it! -Four Leaf Clover Doilies: Students used foam rollers to paint over heart doilies. I cut out their prints and taped them together to create these large four leaf clovers. It didn't come out exactly how I was expecting but it still looked cute. Next time I'm going to try to use smaller heart doilies or larger paper. - Pot O'Gold- Made with construction paper, foam glitter shamrock from Dollar Tree & glitter onto the gold. -One Printable of Number Shamrocks Numbers 0-100= Six Activities: -Linking Shamrocks- Have students identify number, then add that number of links to it. Create by printing, laminating & hole punching a hole into the corner. - Matching Numbers- Students will find matching number and place them next to each other or if hole punched, they can connect them with a link. -Practice Writing Numbers-When laminated, it becomes a dry erase board. Have students use one shamrock number as a visual, then they use a blank laminated shamrock to write or trace the number onto. -Clothes Pin Number Matching-Write numbers onto clothes pins. Students will need to find matching numbers and attach clothes pin to the shamrock. Great activity to work on fine motor skills! -Order Numbers- Students will place shamrocks into order according to number. If students are good at numbers 1-10, start them doing numbers 10-20. Also, could work on counting by 10's. -Find Missing Number- Place shamrocks out in a order but leave one or two numbers out. Students will need to find the missing shamrock and put it into the line of numbers. -Number Puzzles: Print & laminate. Students will match the numbers or dots. -One Printable of Letter Shamrocks=Multiple Activities: You can have them link the shamrock letters together according to capital:capital, lower case:lower case or lower case: capital. Students can place them next to them instead of linking together. Practice writing letters Match letters using clothes pins. Find the missing Letters or have them put the letters in order. -Letter Puzzles- Similar to the number shamrock puzzles but not photographed - Shamrock Shape Puzzles - similar to the number shamrock puzzles but not photographed. Emergent Reader Book: I See St. Patrick's Day made in back and white and in color Emergent reader books for counting clovers, four leaf clovers or identifying colors of clovers. Also these books are made in color on my TPT site. -Outside/Bulletin Board Decorations: We took all our crafts and taped them outside our classrooms. We loved our display & the class took photos in front of it! - St. Patrick's Day Sensory Bins: -Bin 1: I used cauldrons from Rite Aide that I found around Halloween time. I used green stones in the vase aisle and coins from The Dollar Tree. Students played with them by filling and dumping their 'pots of gold'. -Bin 2: Filled with dried split peas, green&yellow pom poms, a few gold coins, some foam shamrocks from the Dollar Tree & two cauldrons for filling. -Pot of Gold Puzzle: This work of art was created by one of the paraprofessionals in the class. She cut this cauldron out and created it into puzzle pieces. She had the students help her put it together. Then she used some double sided tape to tape some gold coins for our display. -Parade: Some of the other teachers decorated our little buggies and I thought it was too cute not to take a photo of! All the preschool classes paraded around the school with scarves, musical instruments in wagons, buggies, & walking while wearing green. All the other grades sat in front of their rooms and cheered us on as we walked around! It was a lot of fun for everyone :) Thank you so much for reading my blog. Hope you enjoy and get some ideas to use at home or school! You may also like these Spring Activities- Emergent Reader Book "I See Spring" and to do the same shamrock letter & number activities with the links & clothes pins but with flowers, go here for flower letters, numbers, letter puzzles. 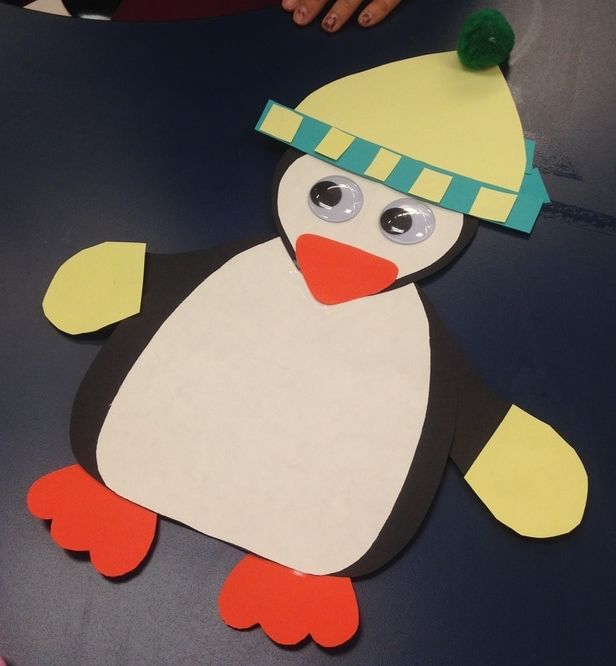 Penguins and polar animals are a great theme to do during the Winter. We did a week long theme for penguins and another week of just polar animals, which included penguins. Our class had a great time learning about the animals, moving around like polar animals and doing fun crafts. We created a penguin during Speech Group. Each student was given the choice to pick between two or three colors for hats and mittens. Below are the step by step instructions and photos. Materials Needed:
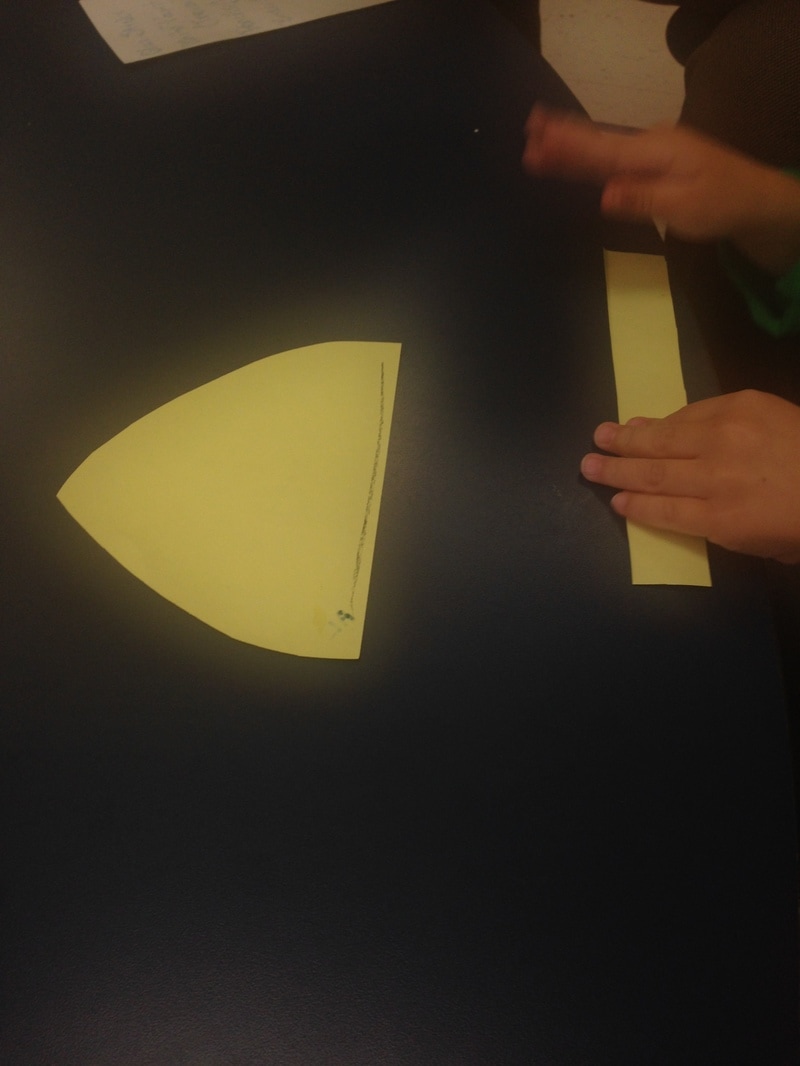
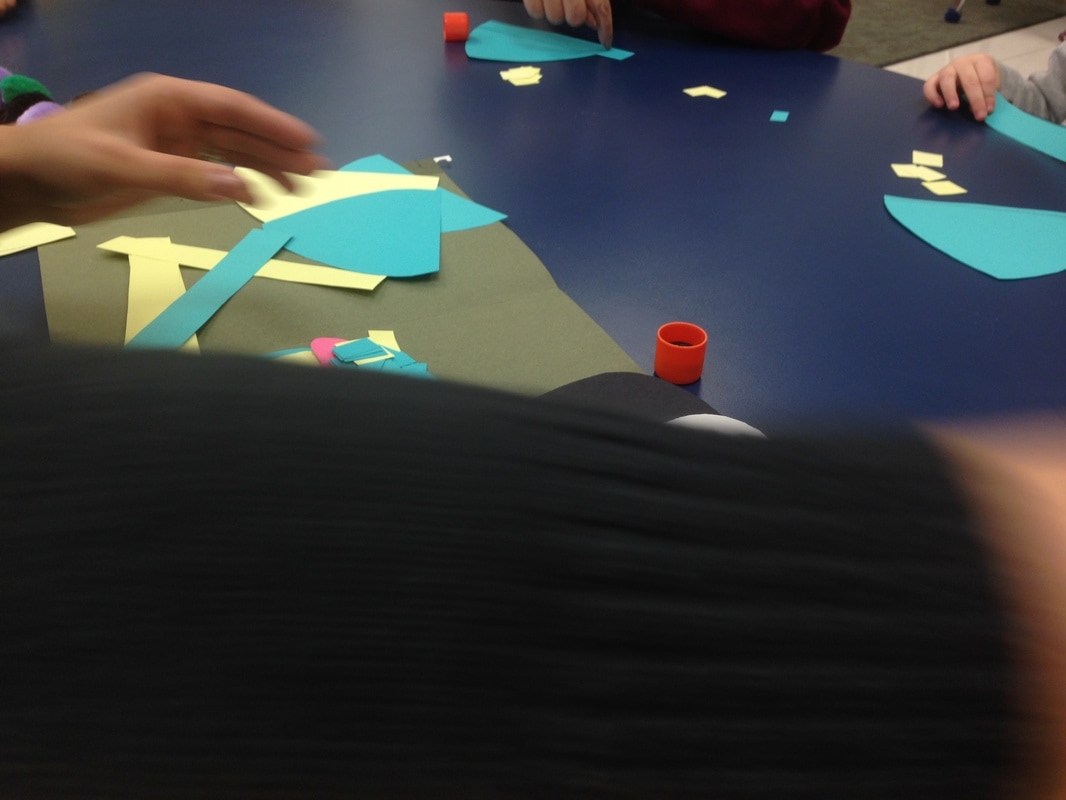
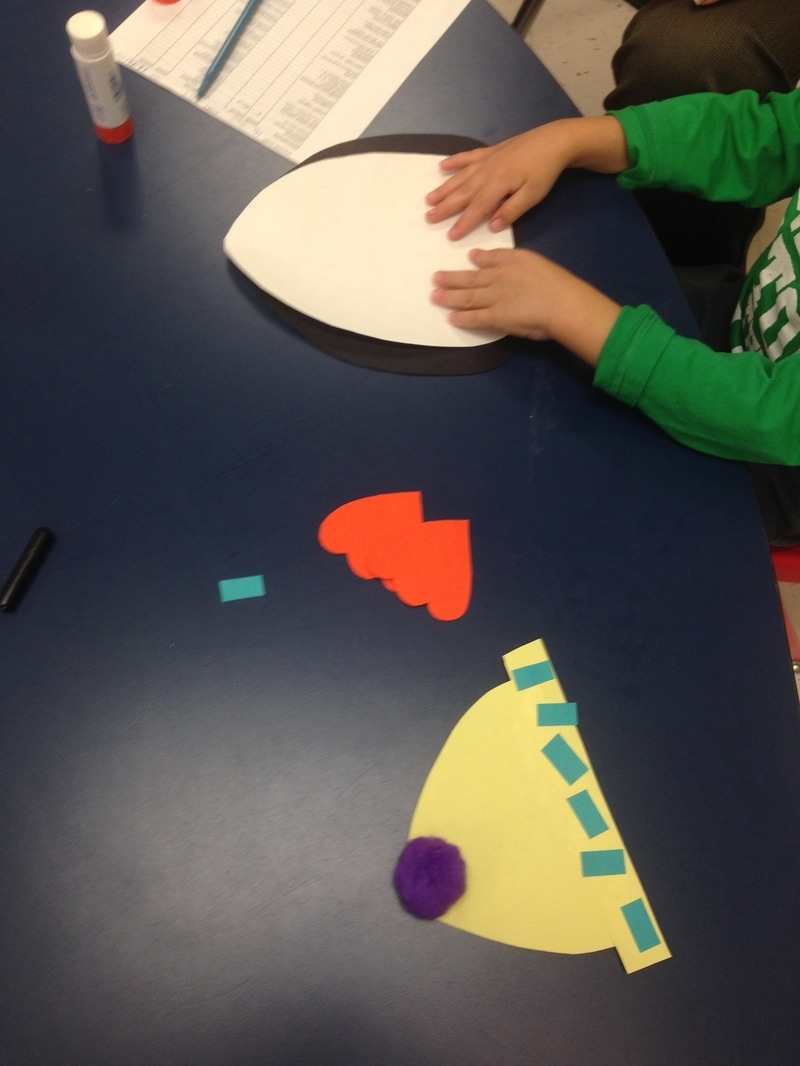
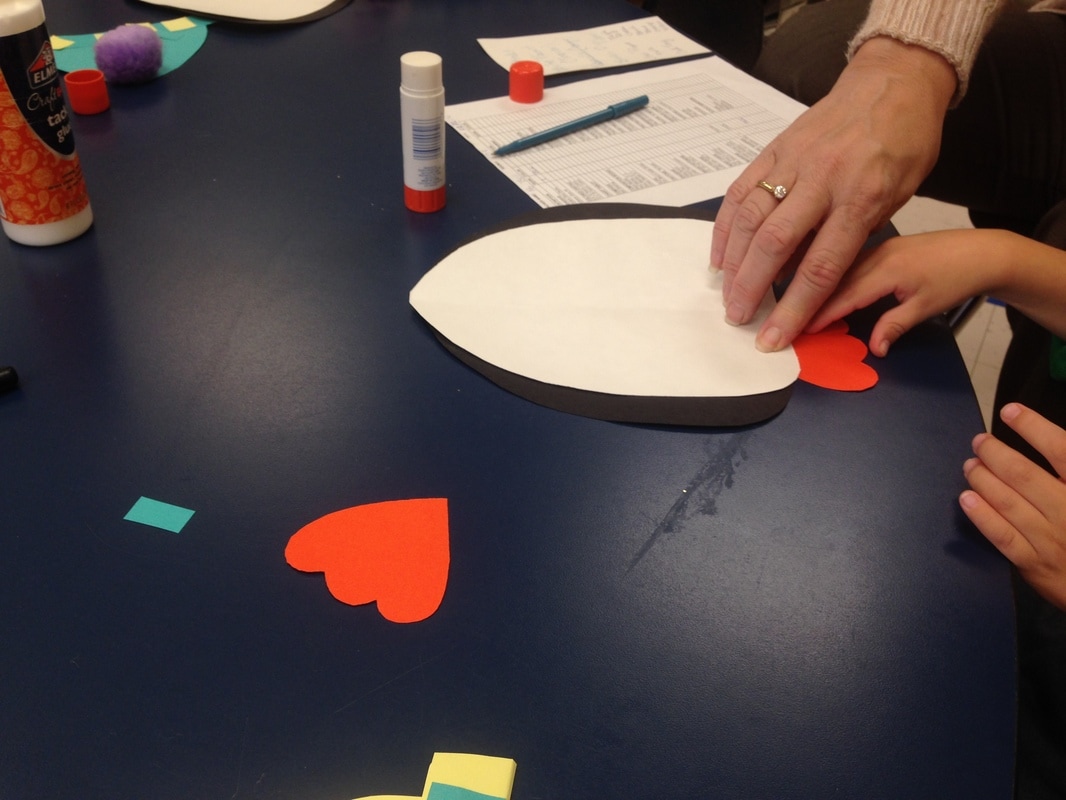
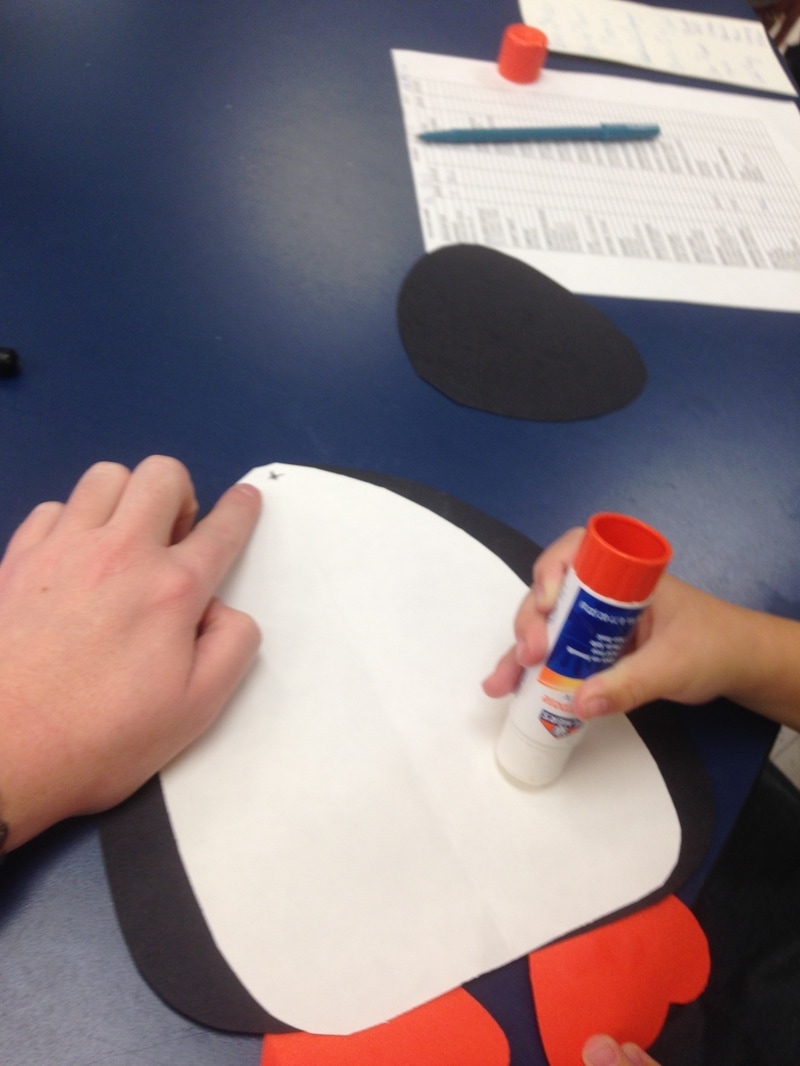
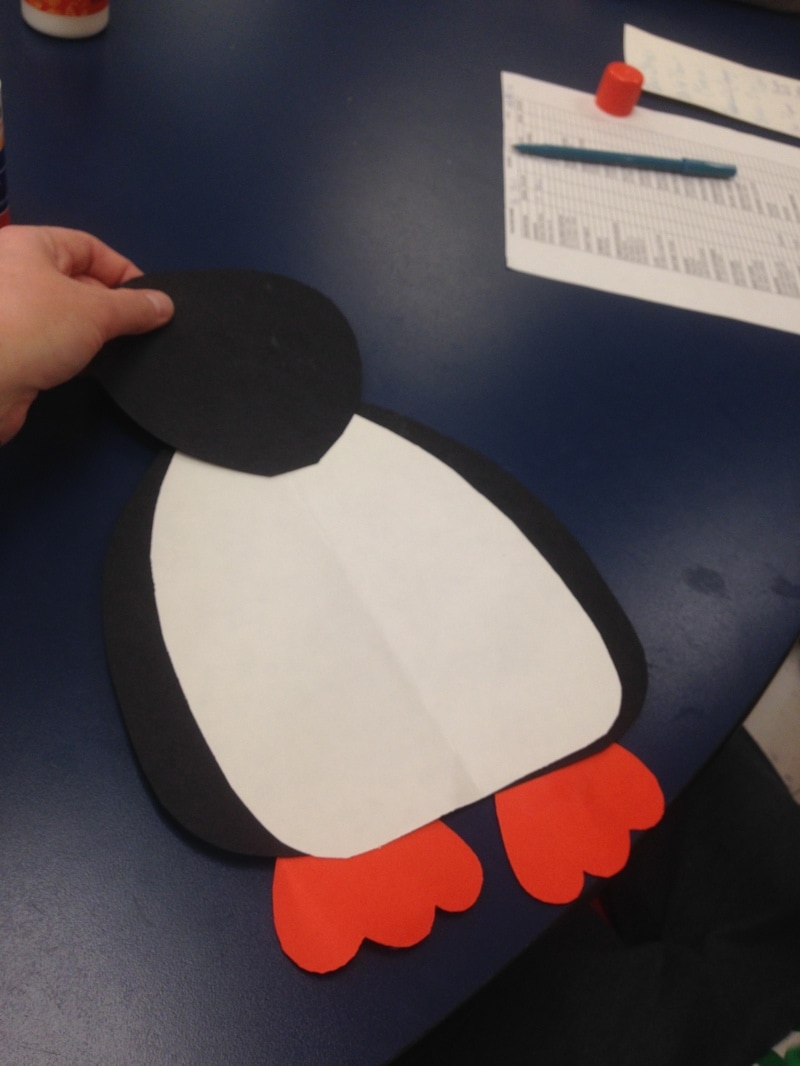
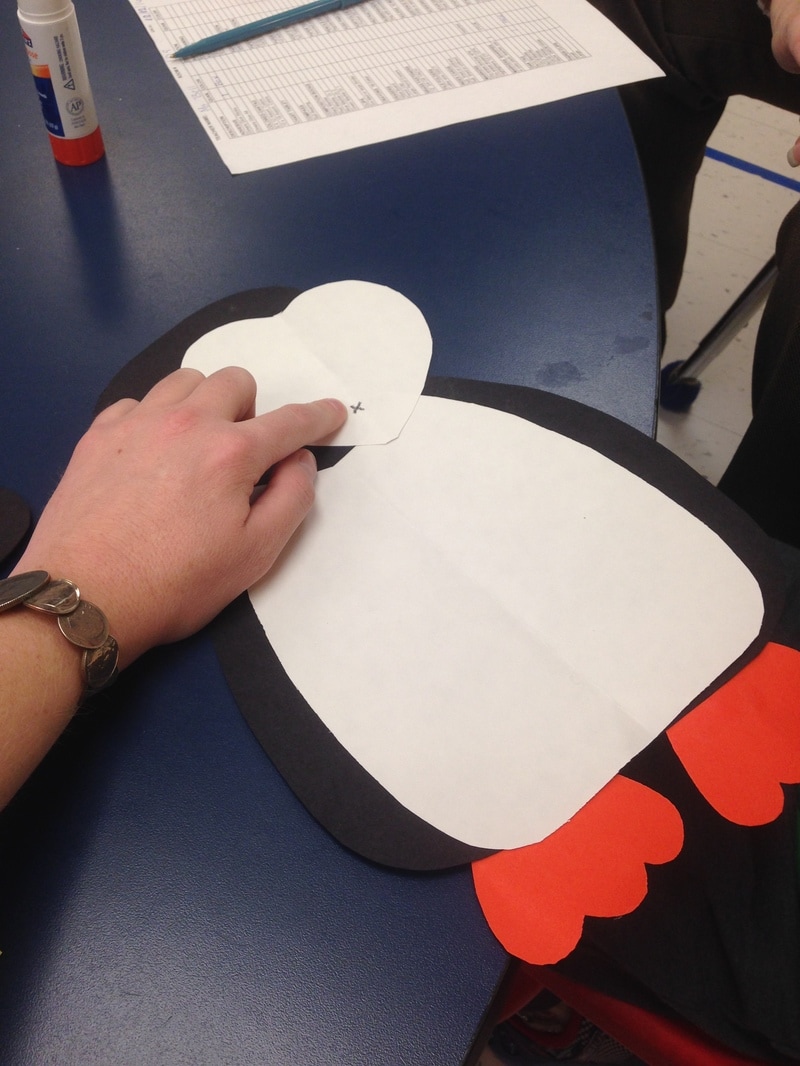
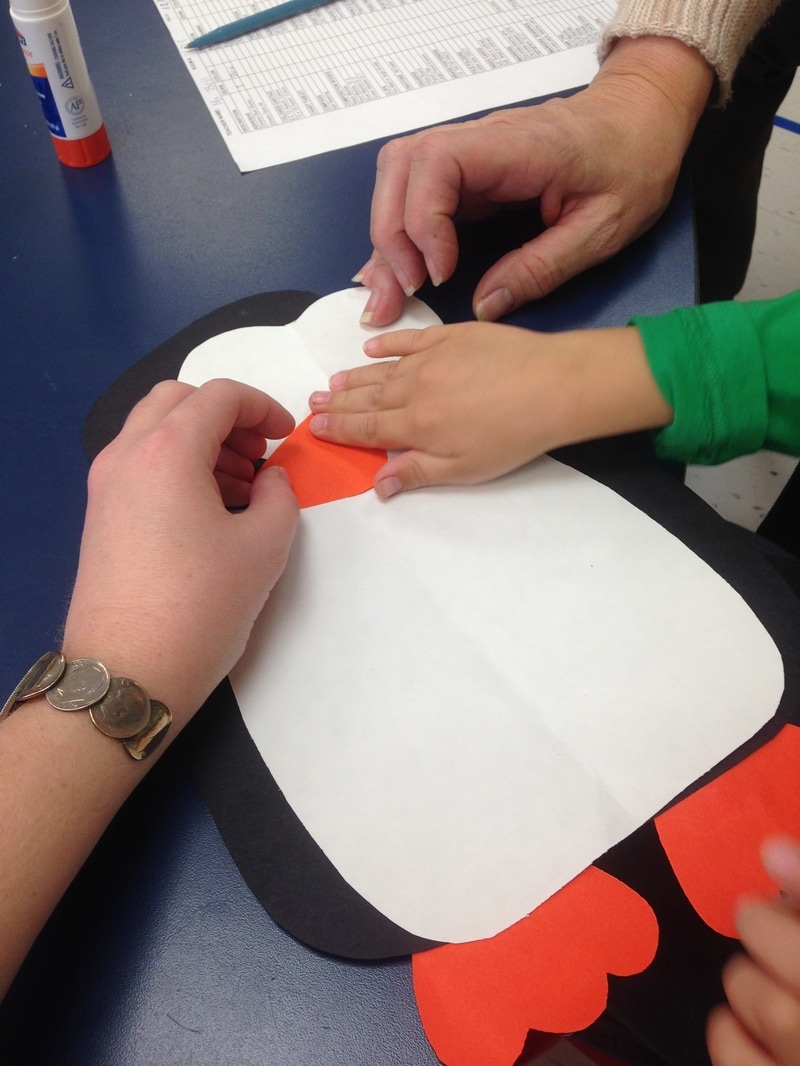
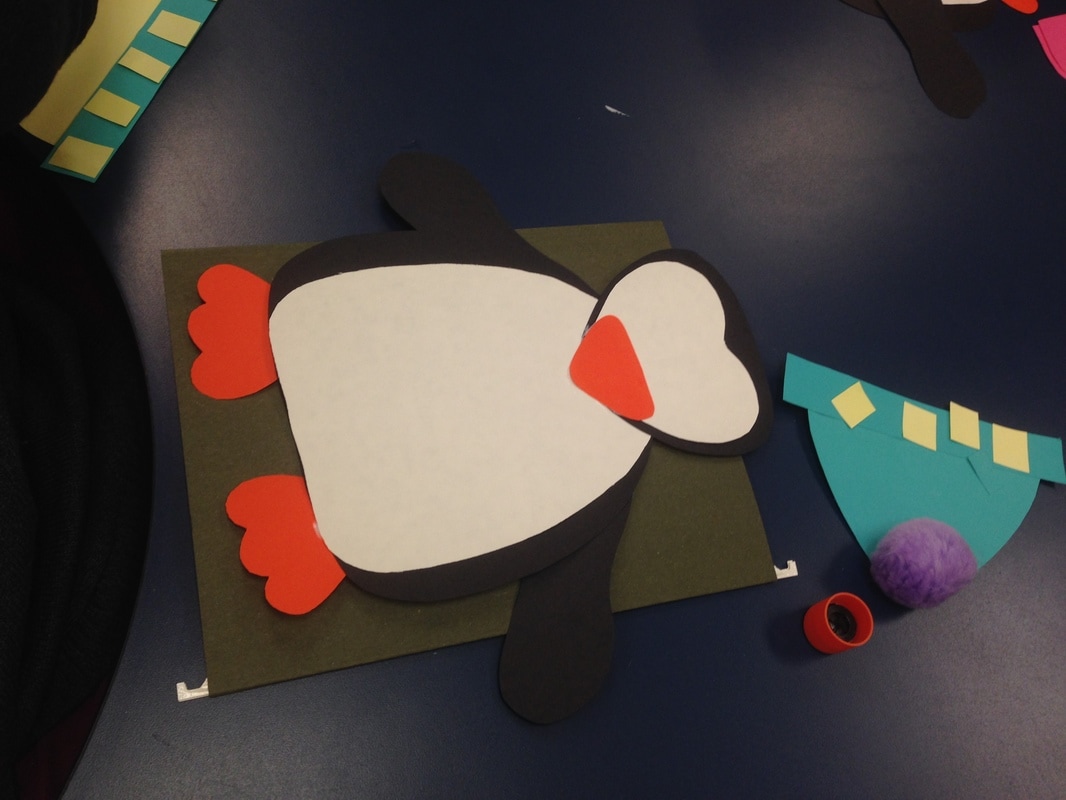
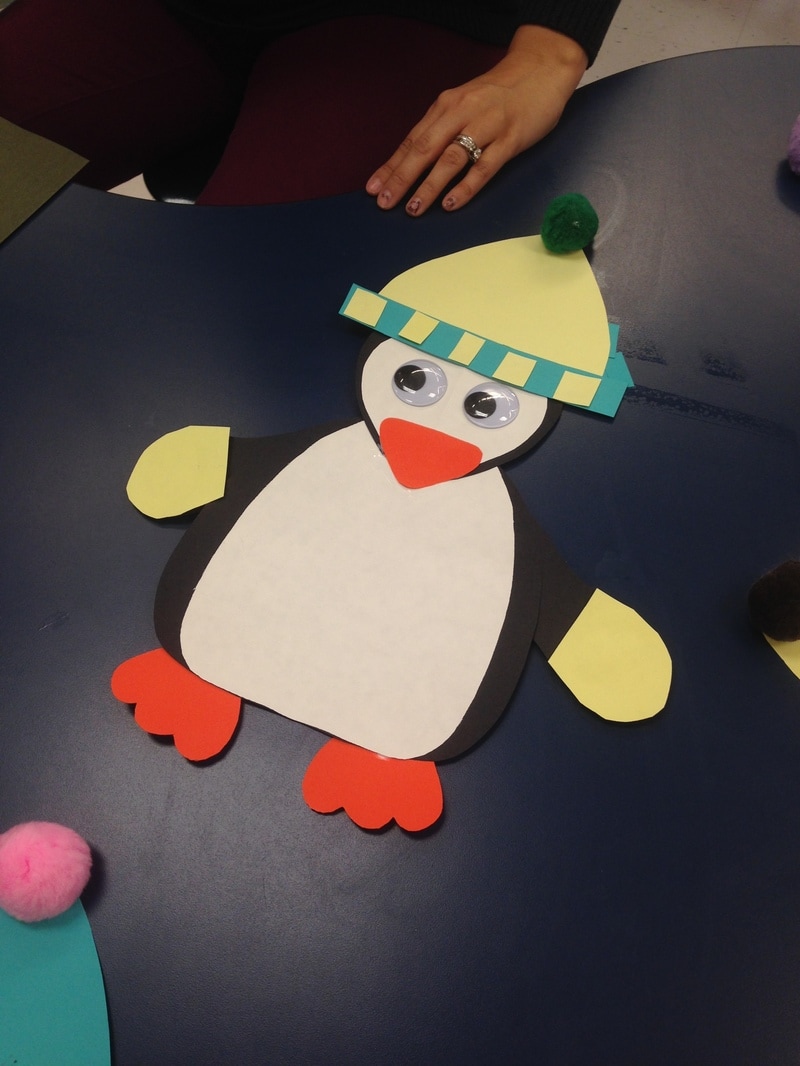
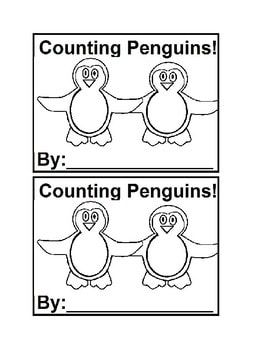
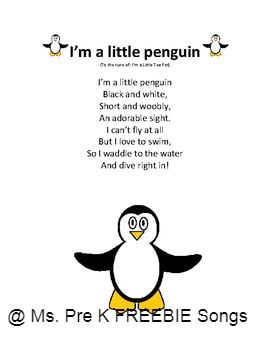
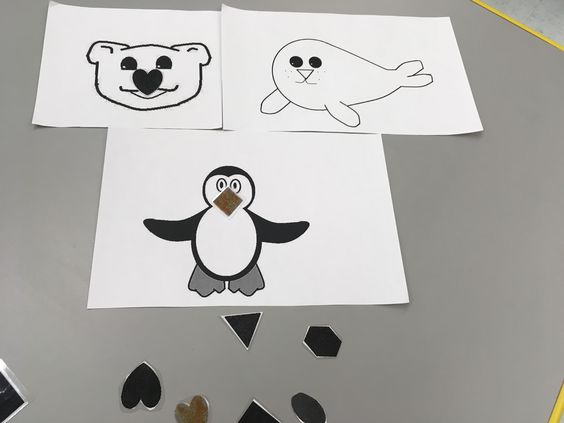
Step 1- Prep materials. Step 2- Students are given two or three choices of hat colors. Mark an 'X' and make a line with crayon on the top part of the hat. This helps students know where they need to glue and place the long rectangle to finish the hat. Step 3- Students are given little squares to glue onto the long rectangle on the bottom of the hat. Students can complete this independently are can be helped with hand over hand if needed to complete this step. Step 4- Students are then given large pom poms to place on top of the hat. Step 5- Students are given the penguin body. Mark another little x onto the body so students know where to glue, or let students glue the body independently. Then the students will place the tear drop white part of the body onto the penguins body. Step 6- Once the body is completed, students are given the feet to glue on the bottom of the body. An x can be placed in the spot that the glue needs to be. Step 7- Mark an x on the top of the white part of the body (see 3rd photo to the right where the finger is pointing to the x.) This is where the student needs to glue and place the face of the penguin. Step 8- An 'x' is marked on the back of the white part of the penguins face. The student will place glue on this spot on the white cut out and place it on the black part of the penguins face. Step 9- Place another x onto the white part of the face to your child or student to place the penguins peak onto. Once this is finished, the child can place googly-eyes onto the face. Step 10- The child will be given the option between two or three gloves of different colors. They will glue it onto their penguin along with the hat they completed earlier. Now your adorable penguin is complete and ready to be displayed! Please check out my blog soon for other winter activities and polar animal theme including more penguin activities. In the mean time, check out my Teacher Pay Teachers site for penguin and polar activities: -Arctic Animal Shape Match -Harp Seal Color Matching -Penguin Color Matching -Polar Bear Color Sorting -I See Penguins Color Emergent Reader Book in black and white & the same book in color. -Penguin Alphabet Matching -Penguin Q-Tip Art Freebie -Counting Penguins Emergent Reader in black and white & in color.
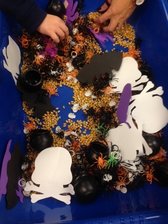
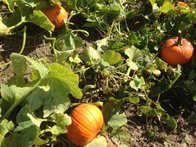
Thanks for reading my blog post. I Hope you and your students have fun creating this adorable penguin! Ms. Pre K 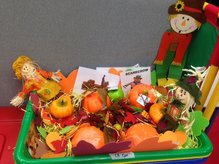 So I'm really behind in my blogging. It is definitely tough keeping up with everything at school, creating & prepping materials and then trying to write about them on the blog. That isn't including the balance of home life, gym, laundry (which is a never ending cycle) and some relaxation thrown in there. I really enjoyed all the fall activities we did this year. October was a fun mix of doing farm activities, going to a field trip to the farm, learning about feelings, Halloween and then our 'fall finale'. Here is the break down of most of our activities: -Fall and Halloween Sensory Bins: Inside the fall sensory bin was pumpkins, apples, felt or silk leaves, laminated print words (words and photos of items like hay, hay bales, scarecrows, leaves, pumpkins, etc.), scarecrows, yellow grass saved from Easter baskets to look like hay. *Inside the Halloween sensory bean is corn, foam skeletons, bats, insects, spiders and various creepy crawlers I bought at The Dollar Tree. Also found these cute cauldrons on sale at Rite Aid.
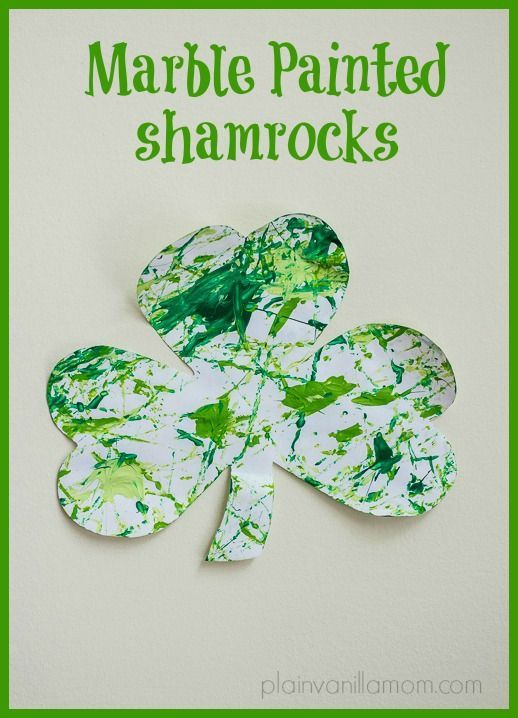
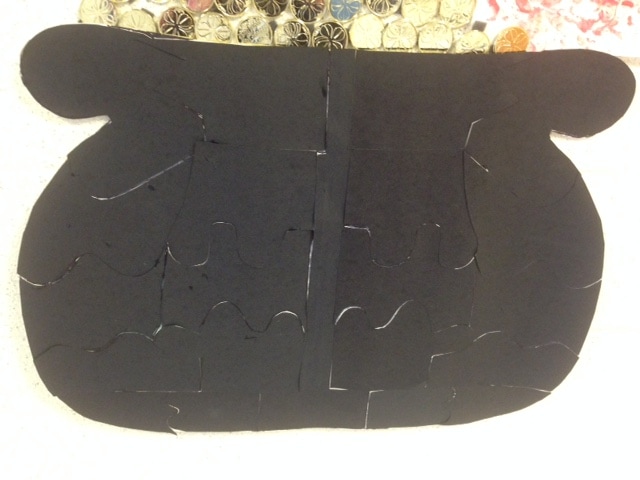
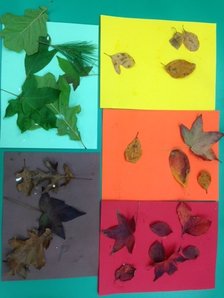
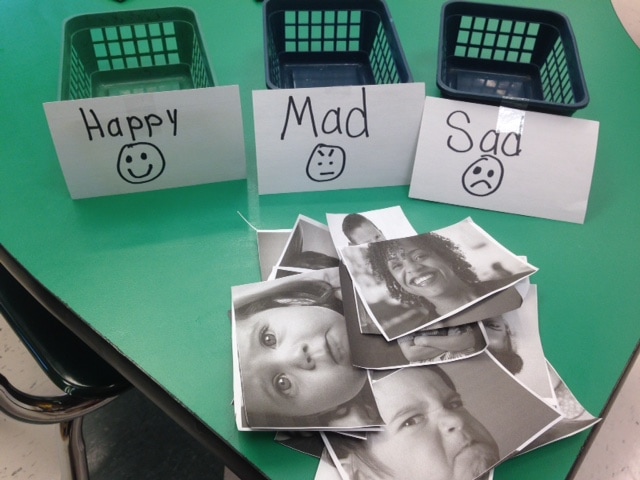
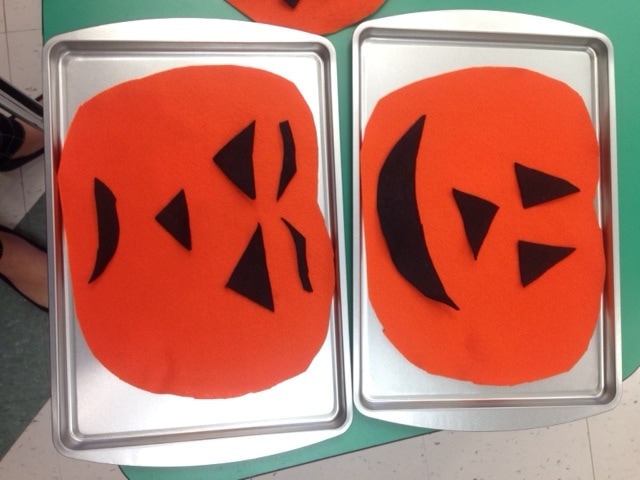
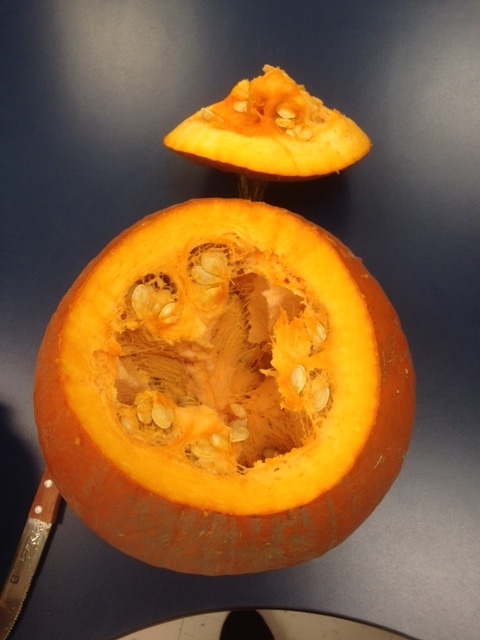
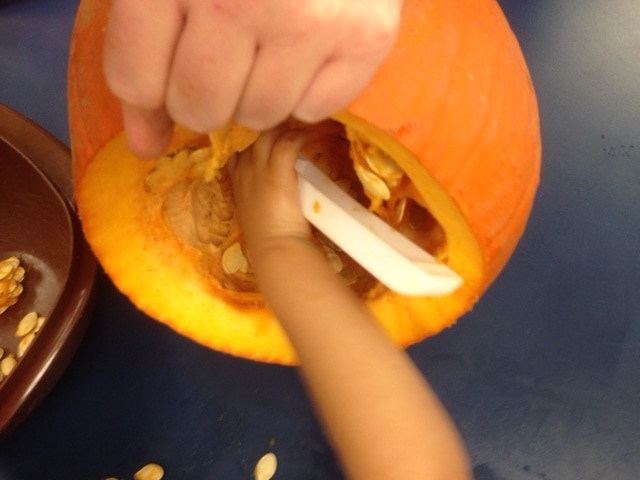
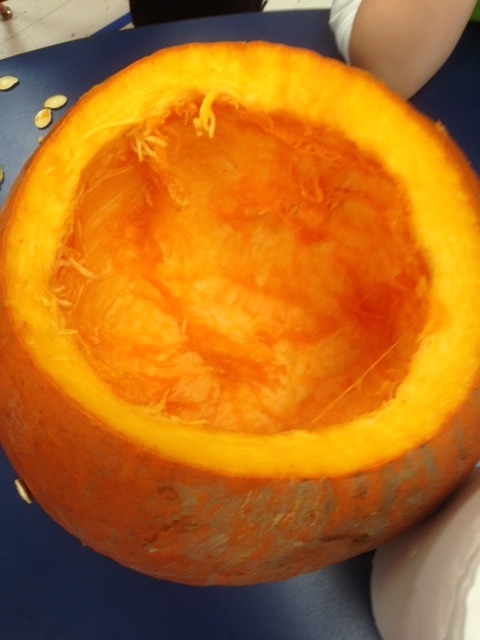
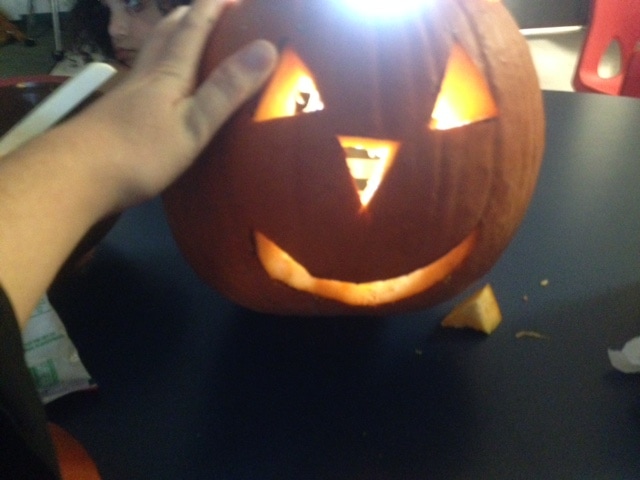
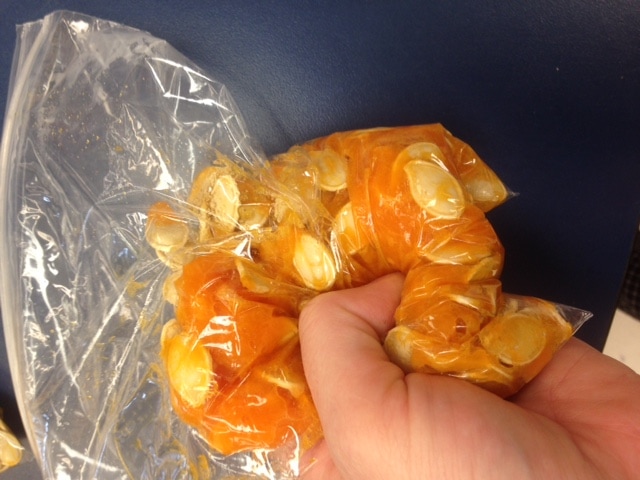
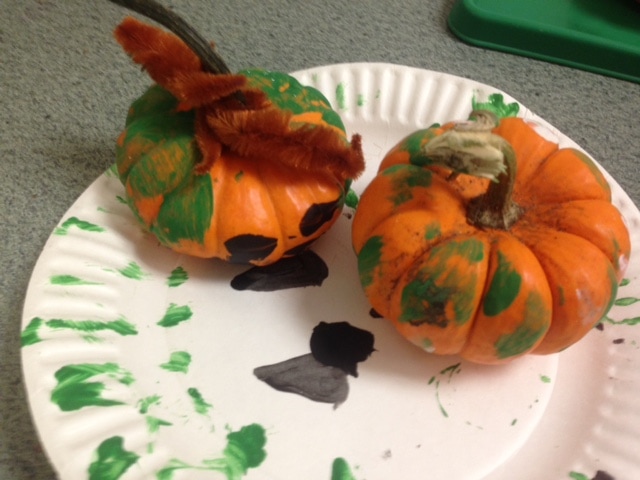
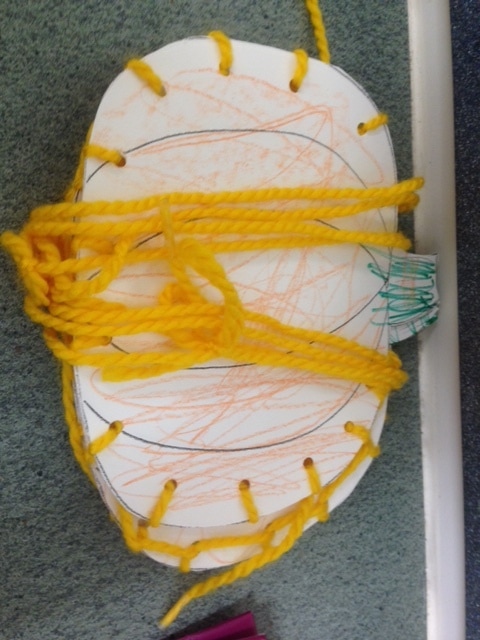
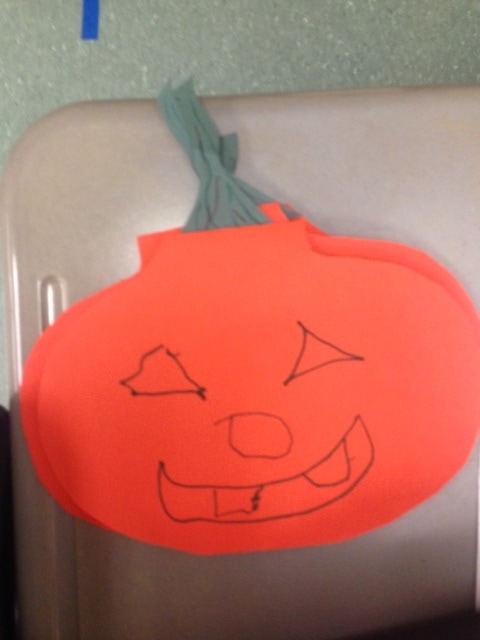
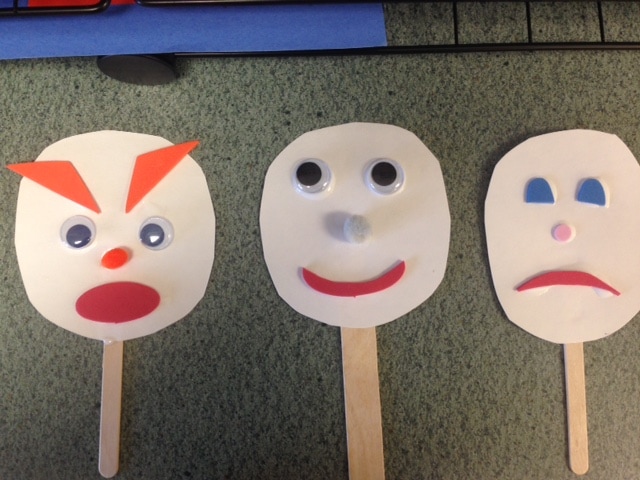
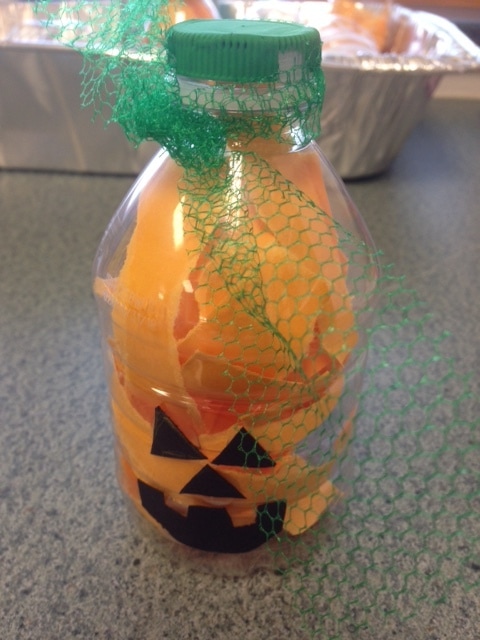
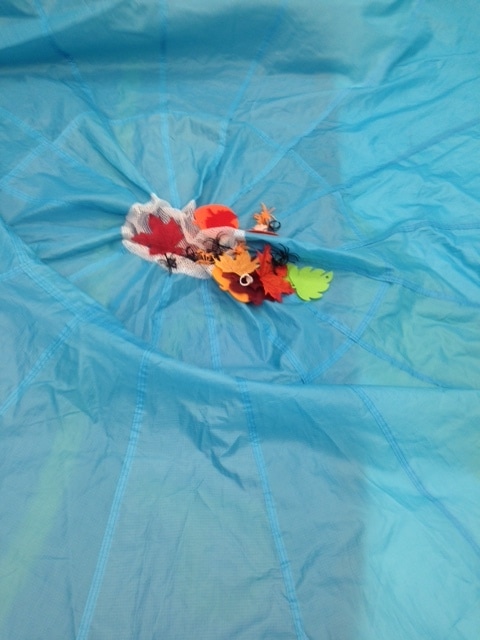
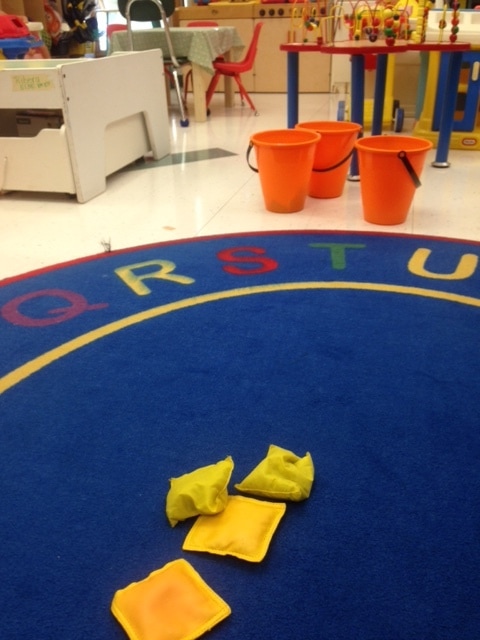
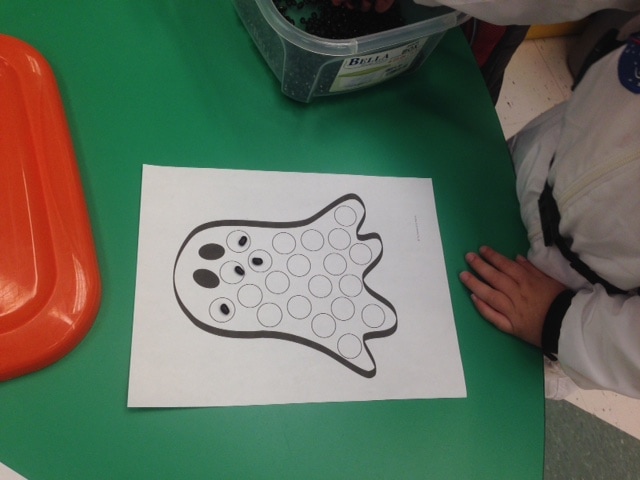
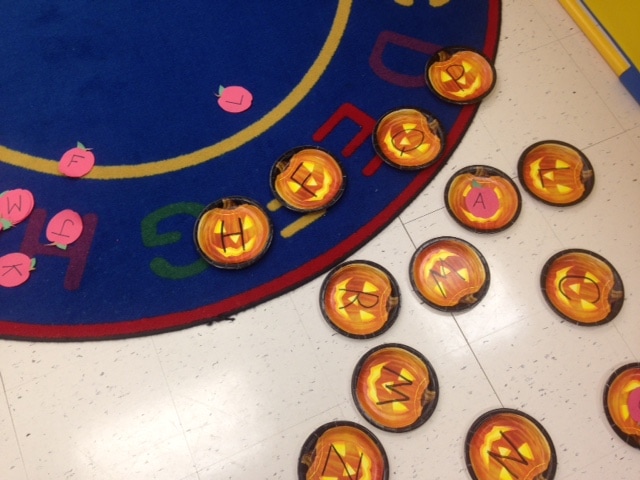
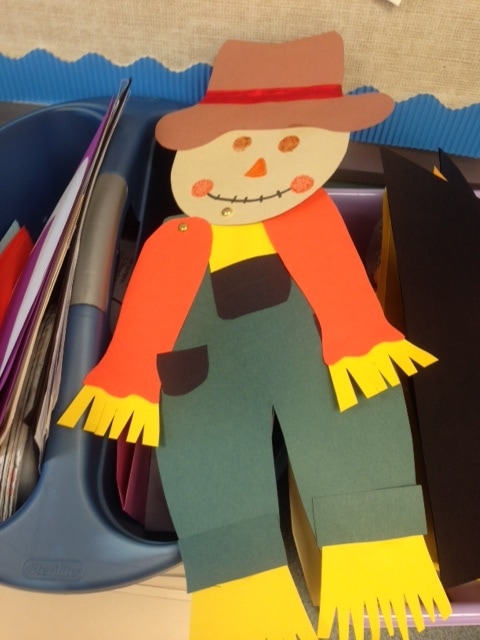
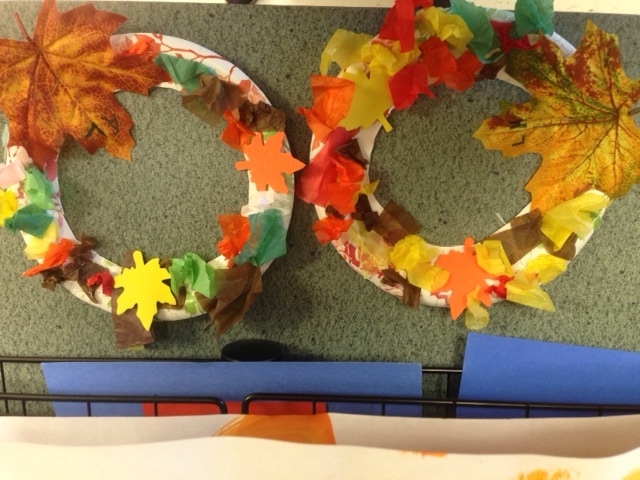
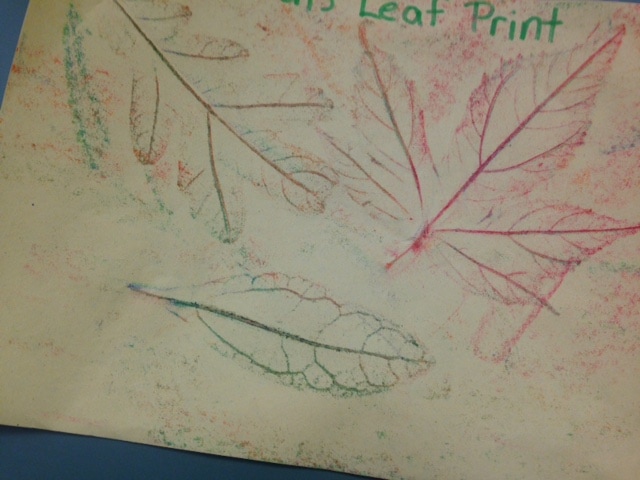
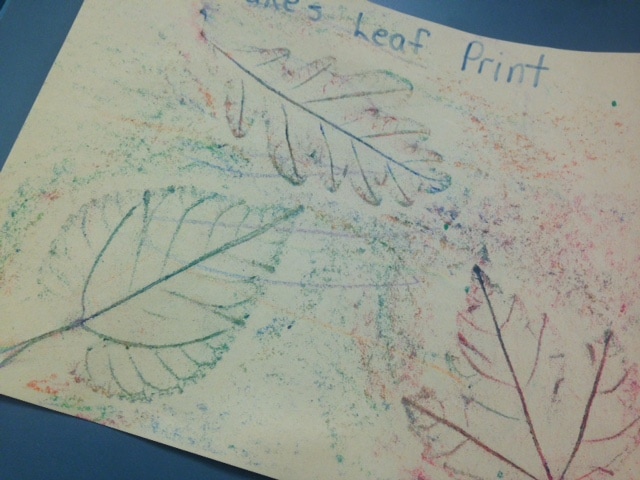
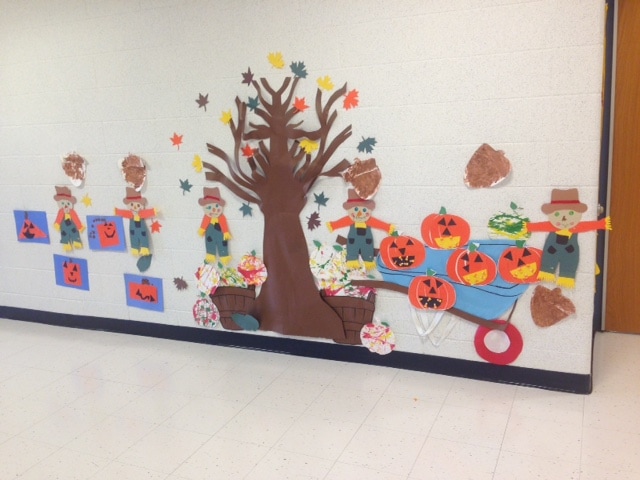
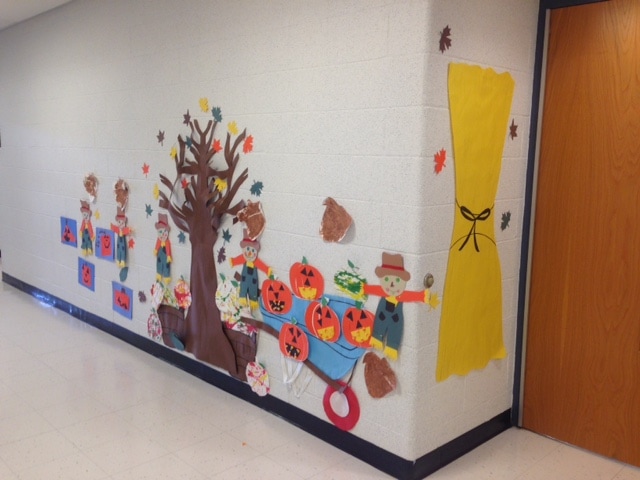
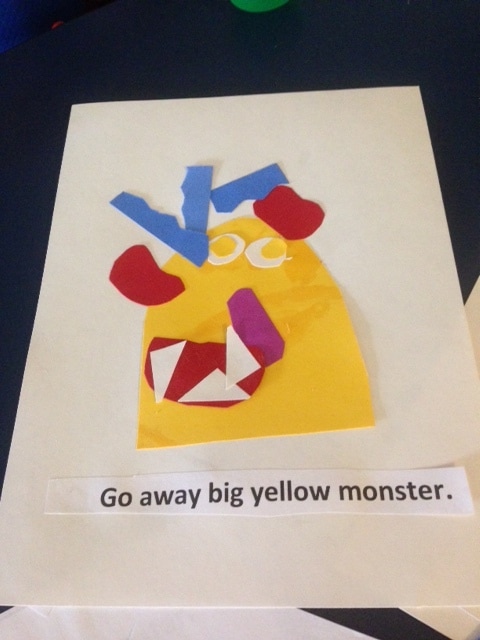
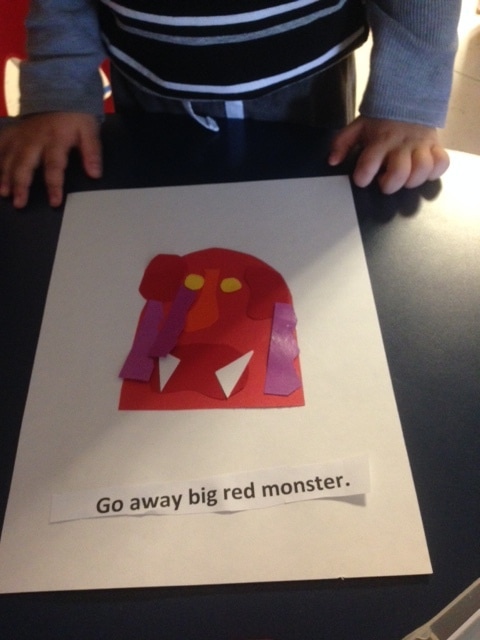
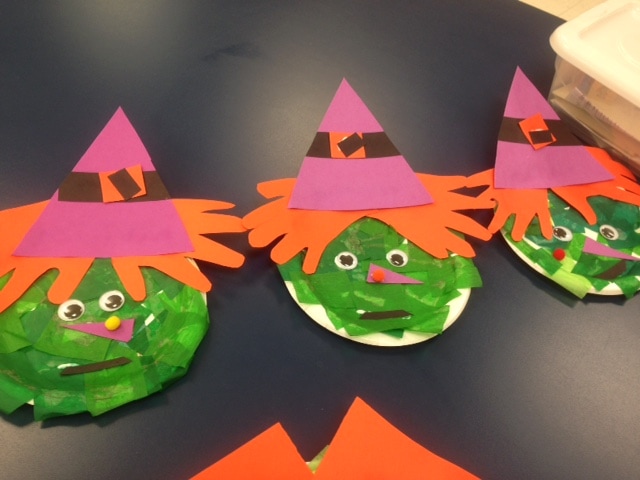
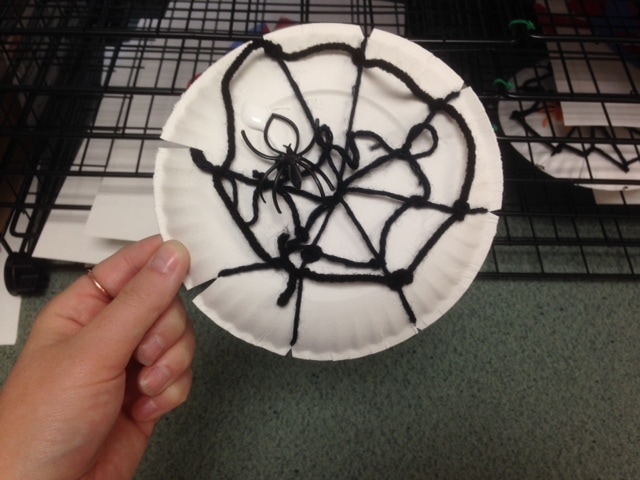
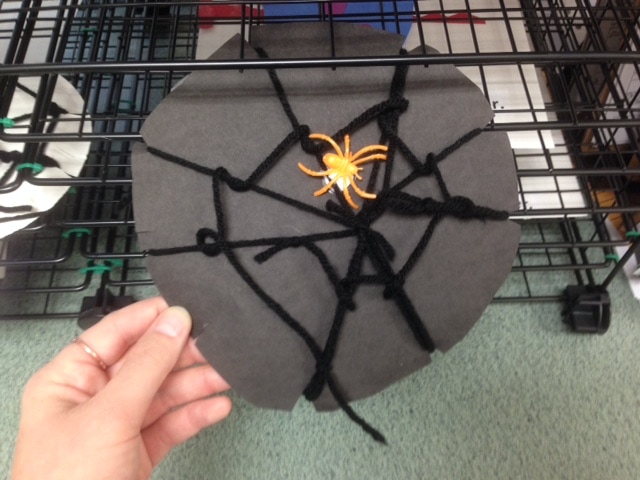
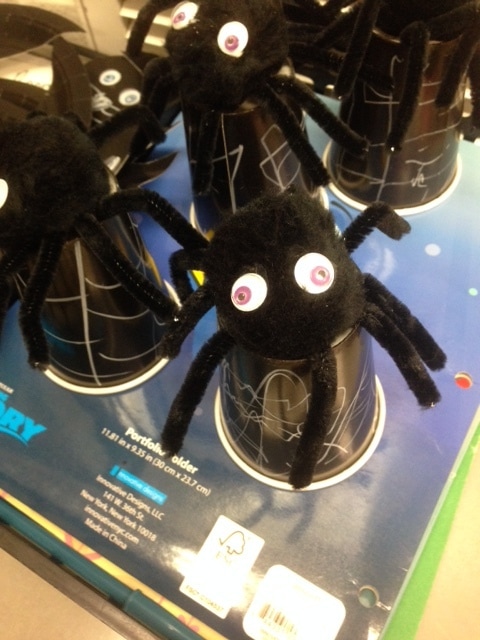
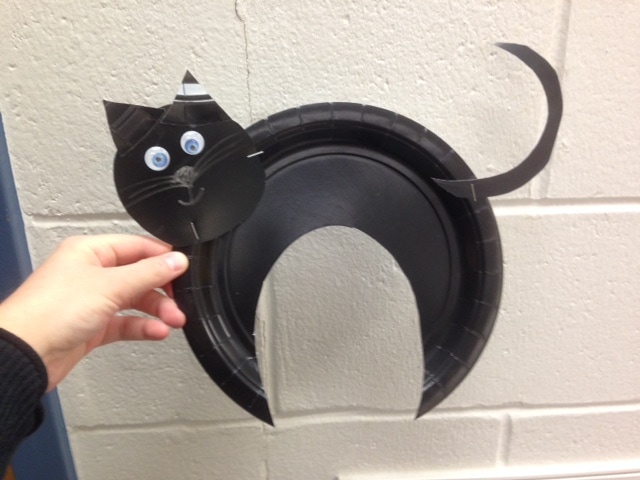
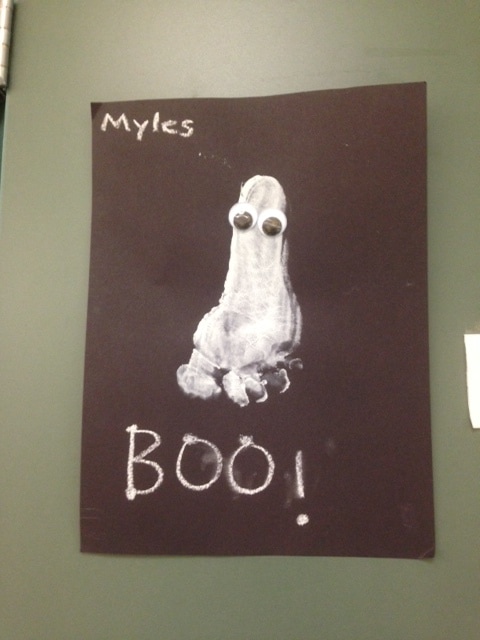
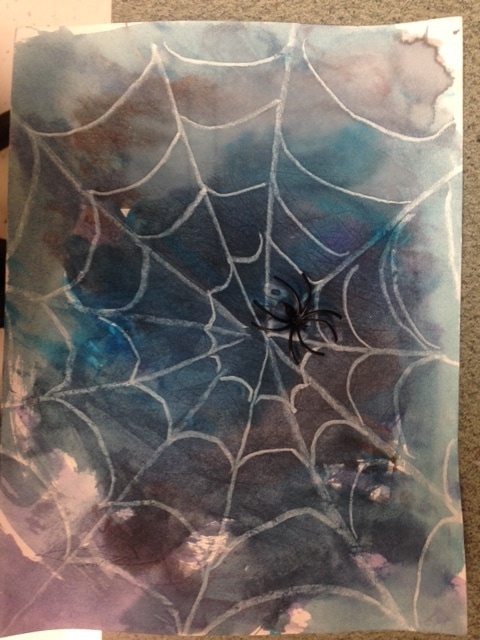
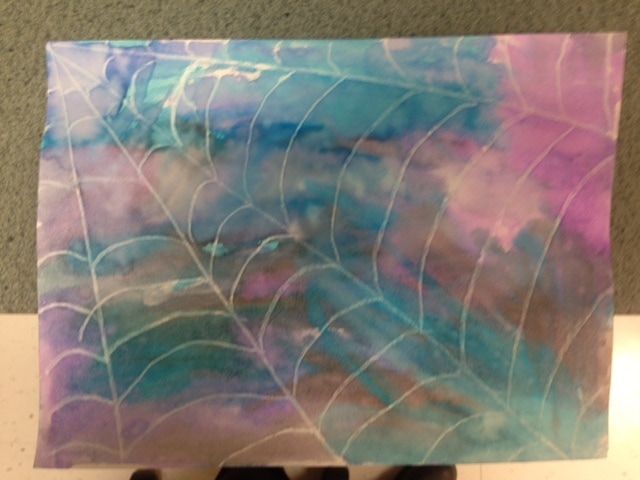
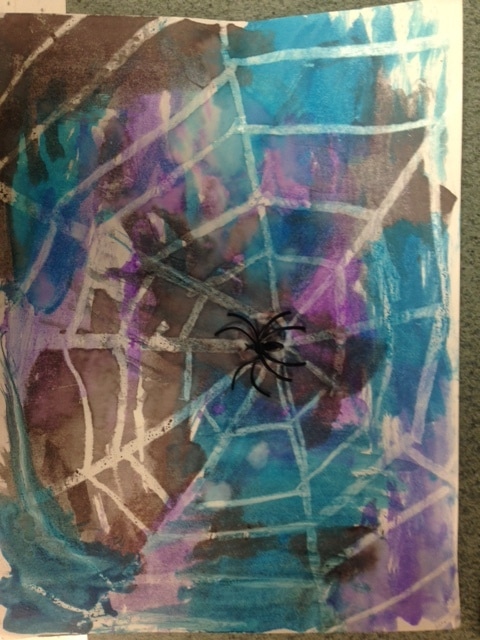
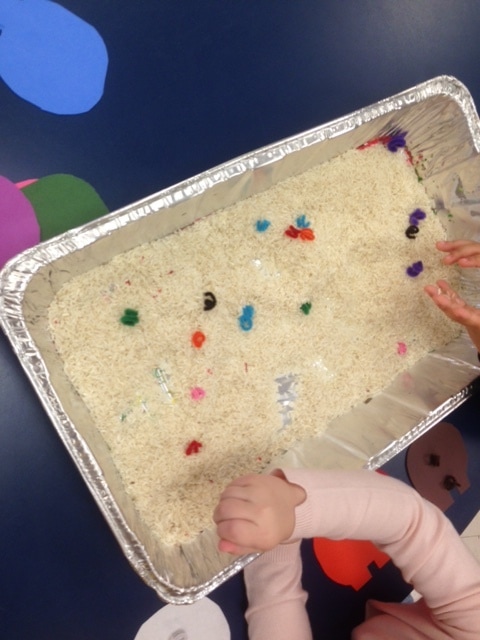
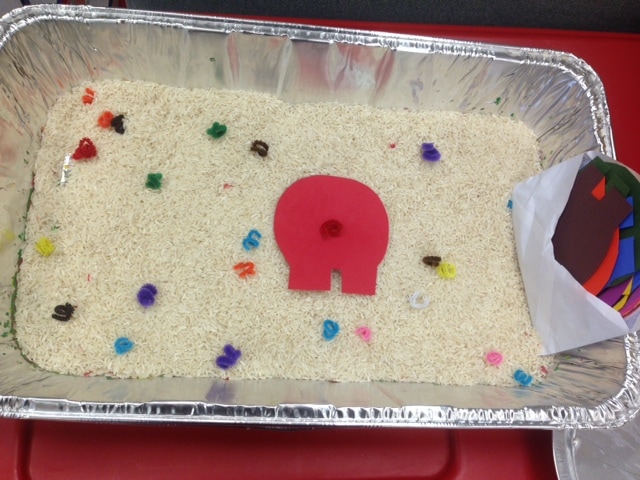
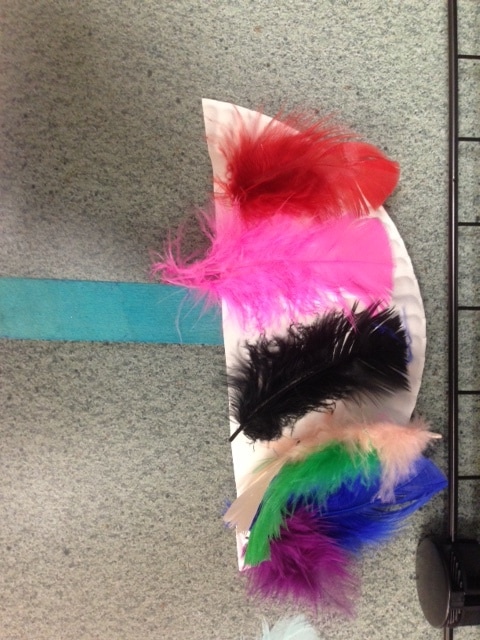
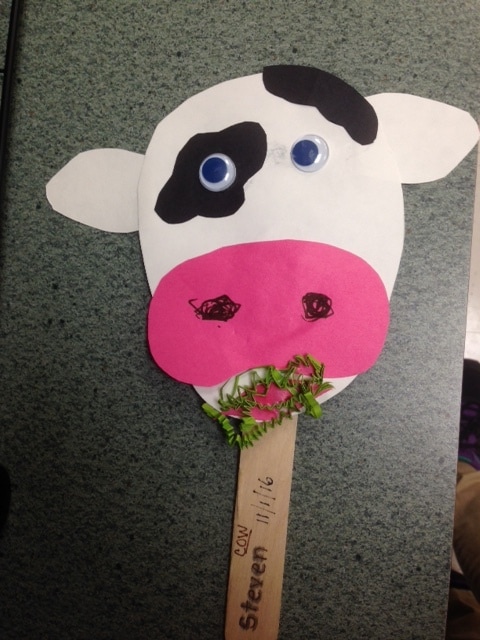
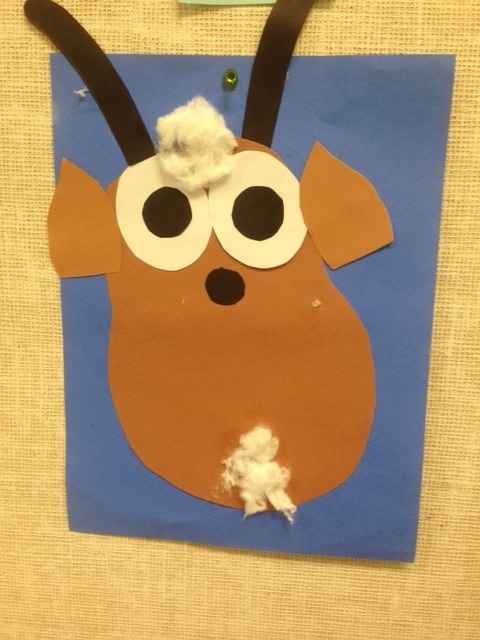
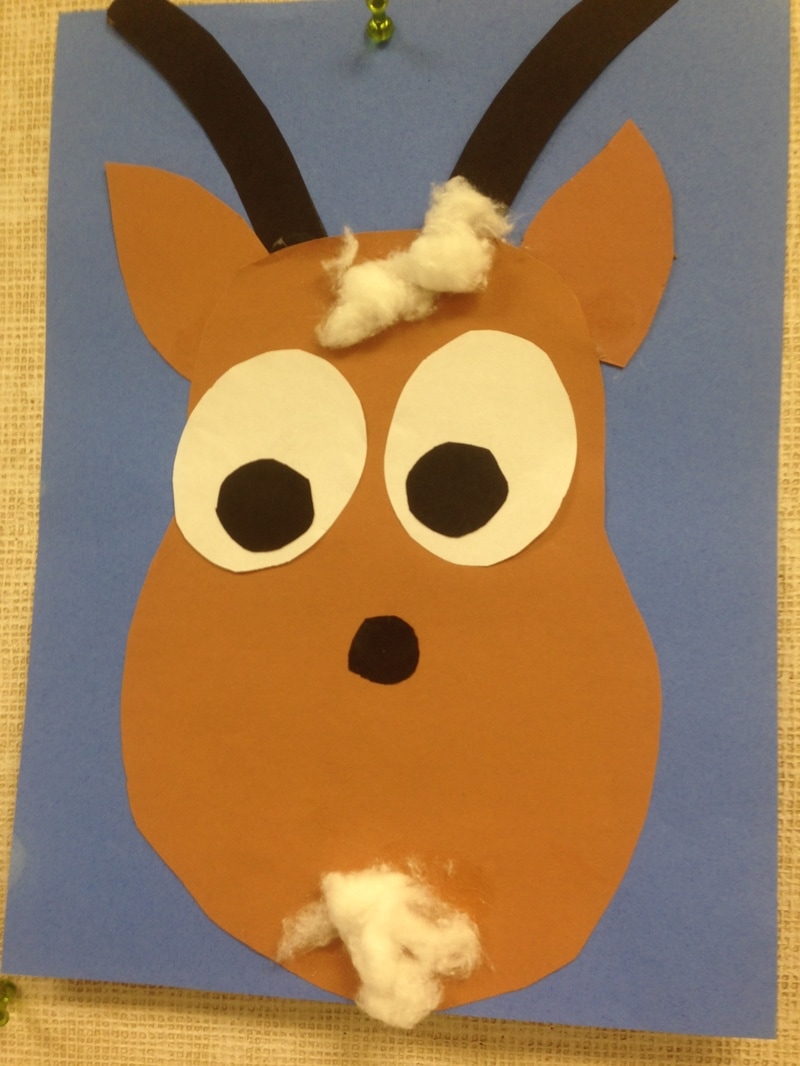
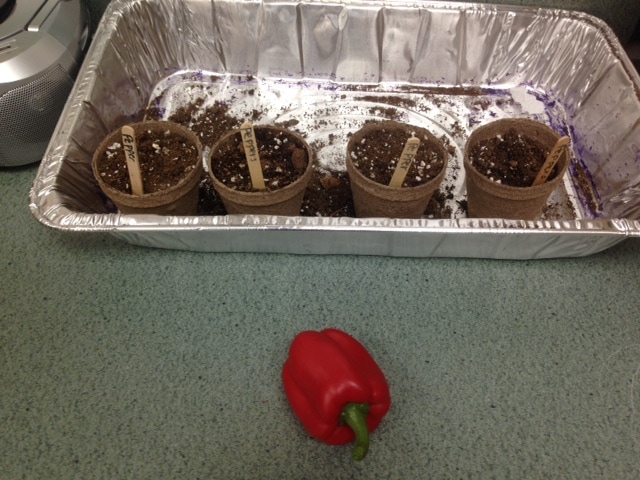
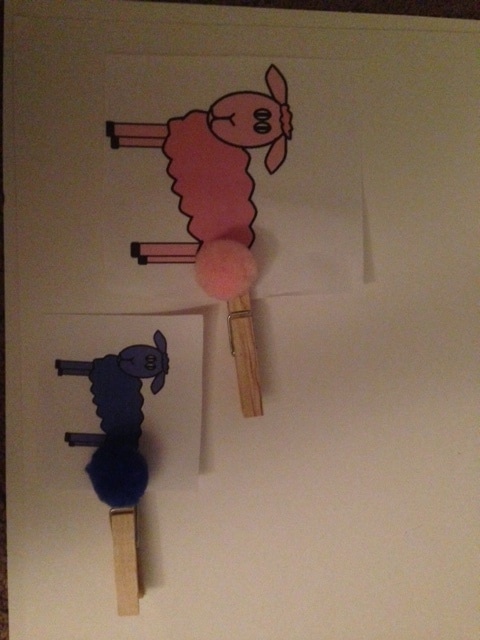
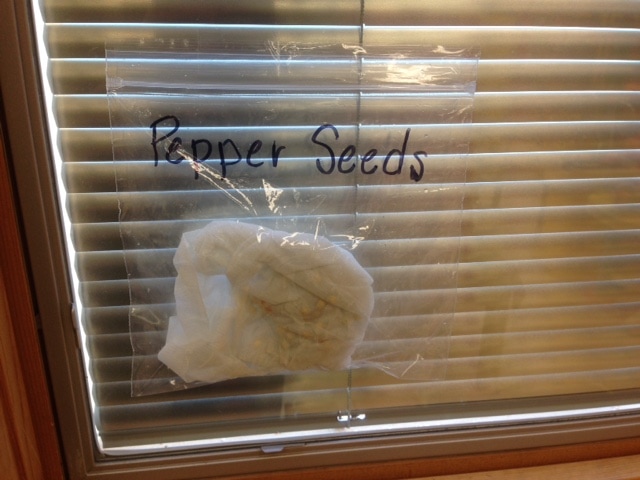
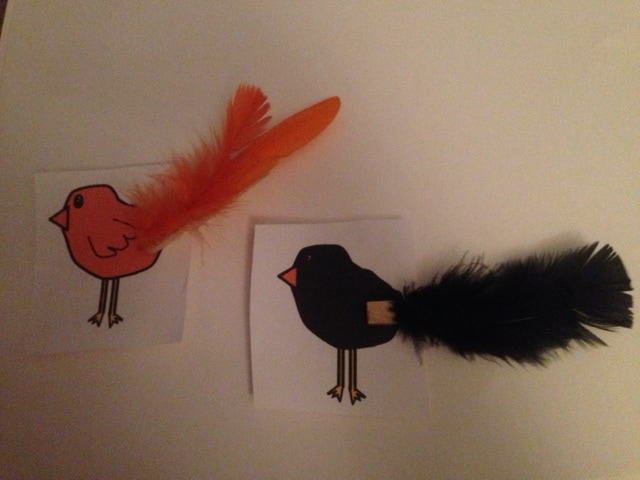
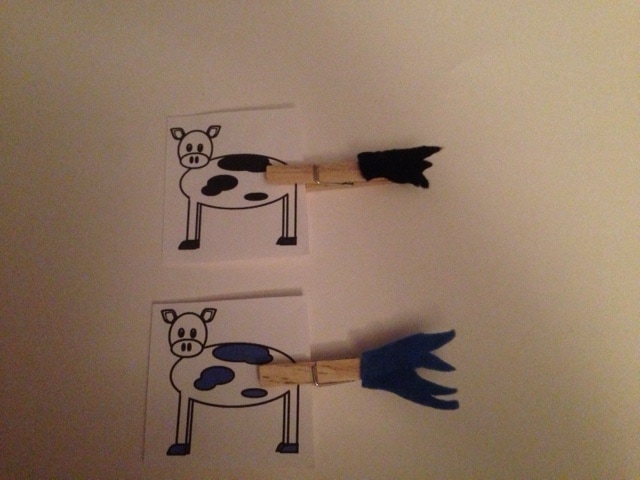
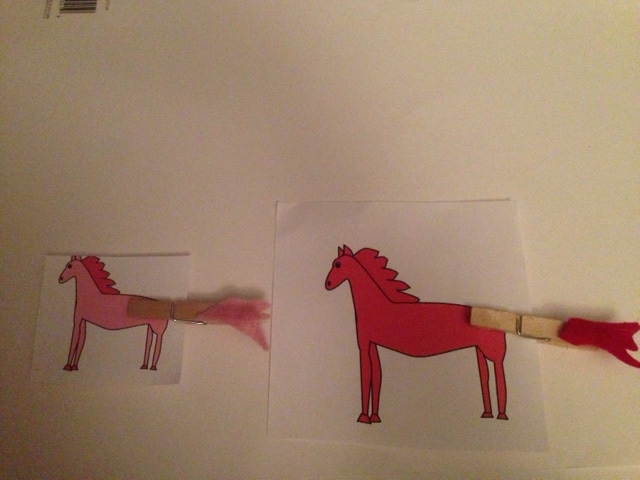
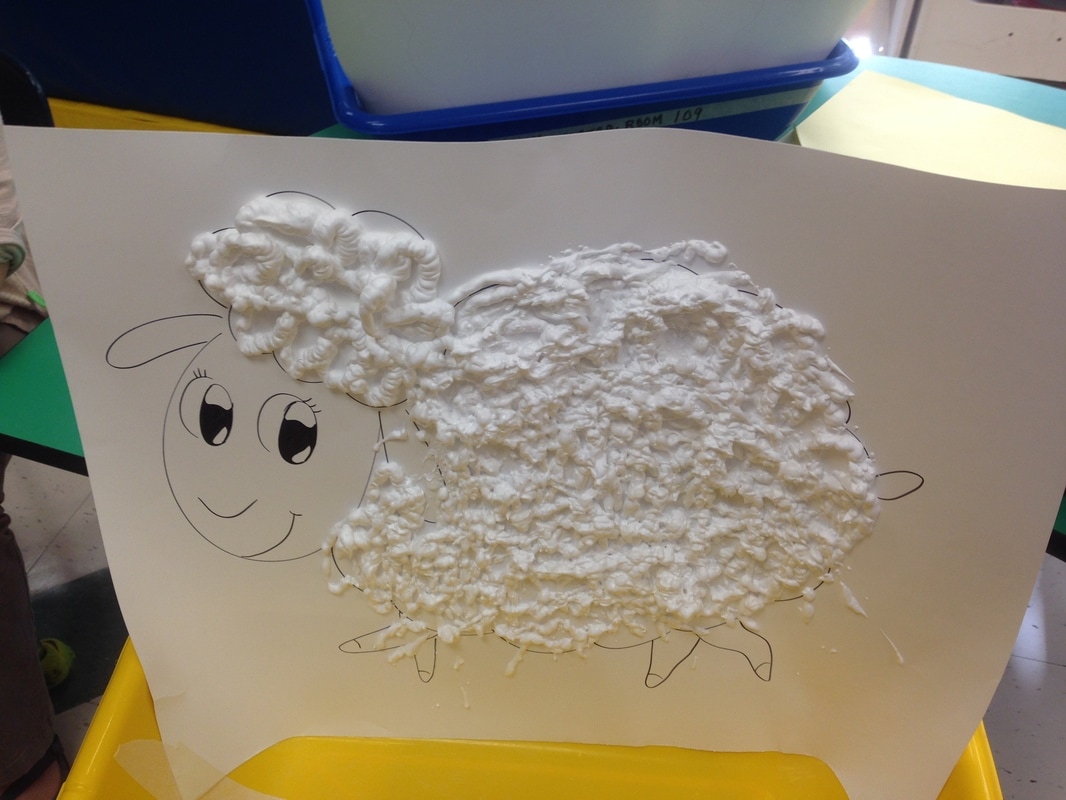
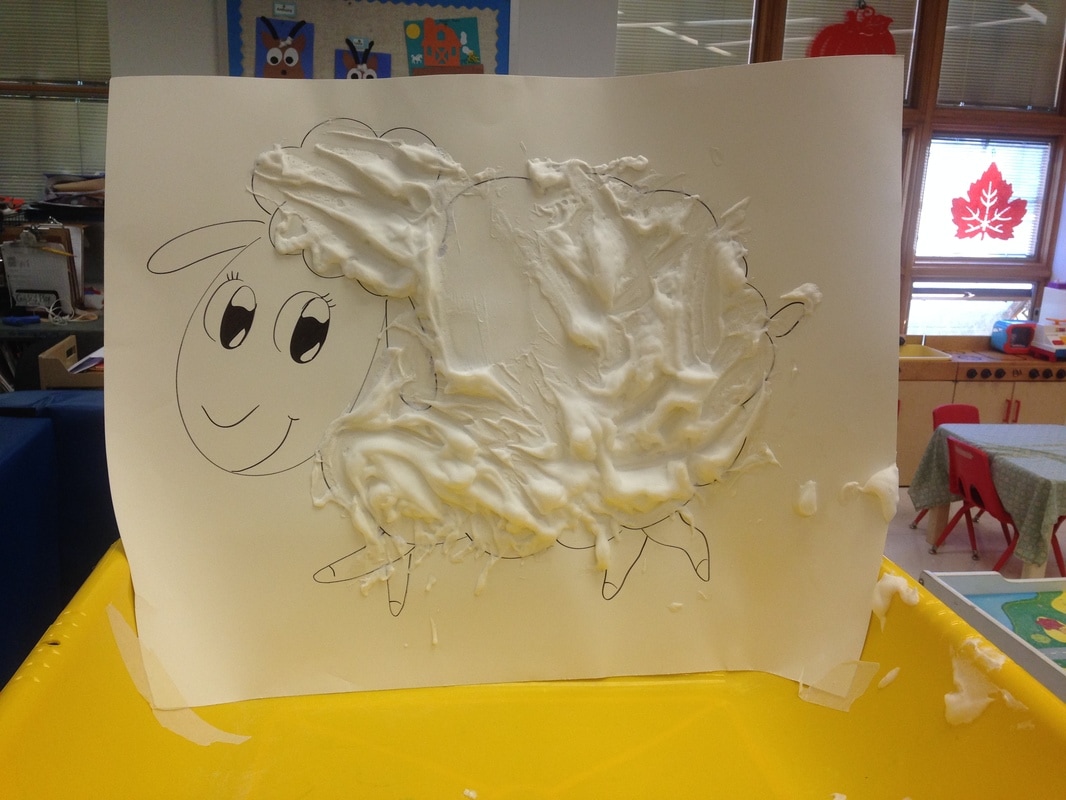
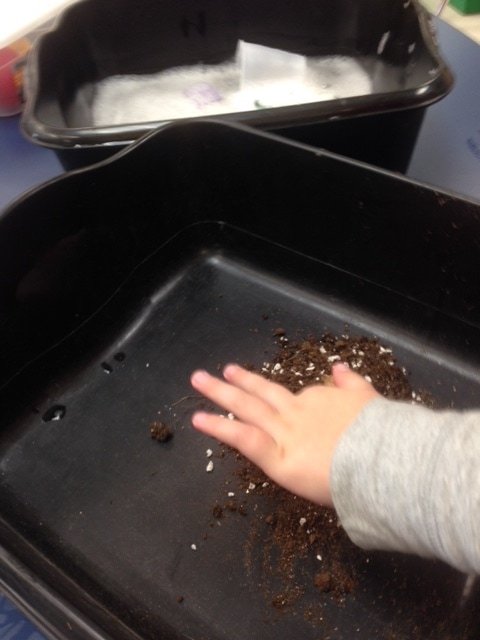
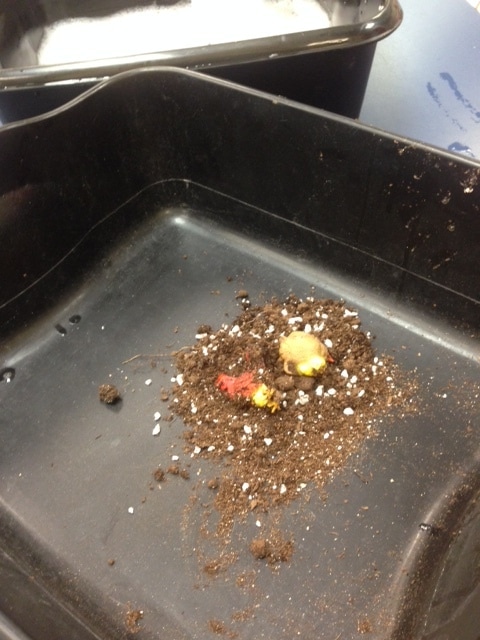
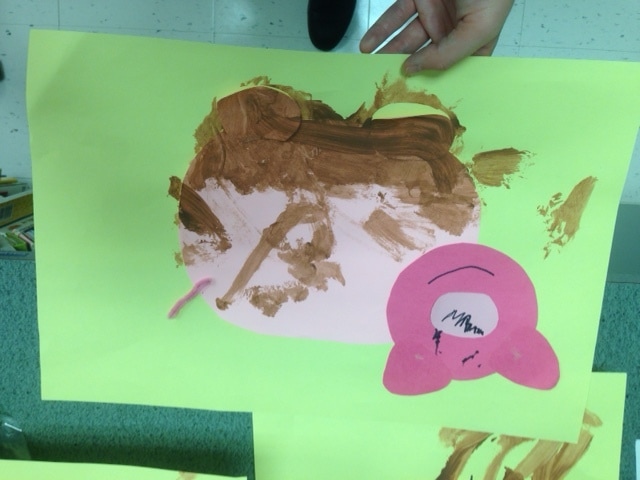
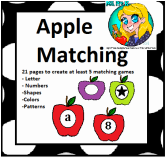
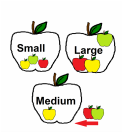
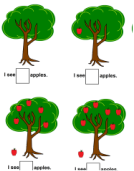
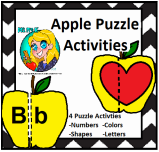
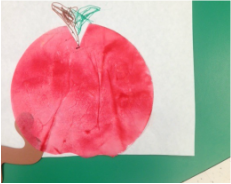
.-We did pumpkin lacing cards (see photo below): We used card stock to hole punch holes along the edge of the pumpkin. Then we cut enough yarn to lace through the pumpkin. Each student was able to lace each pumpkin more than once. -We carved a Jack-O-Lantern. The students took turns scooping out the pumpkin insides (which made a fun sensory bag after!). To connect with our Feelings unit, the students picked they wanted a happy pumpkin. We used a flash light inside our pumpkin to illuminate it’s face. We also tried cooked pumpkin seeds! We did a follow up activity the next day with 'What's Inside a Pumpkin?' where the students glued cut up pieces of orange yarn and pumpkin seeds. (see photos below) -We were learning about feelings-happy, sad and mad. We sorted then. Next we made Jack-O-Lanterns with felt and made our pumpkins look happy, sad or mad to connect with our pumpkin carving activity. (see photos below). -Emergent Reader books: Emergent Reader Book pumpkin seed counting & pumpkin counting (in color or black & white) and squirrel colors & squirrel acorn counting -Pumpkins Activities: We were able to do follow up activities to work on counting, shape, colors, letters and numbers while matching and sorting. Find them here- Counting activity, shape activity, Pumpkin matching with shapes, colors letters & numbers. -Squirrel Activities: More fall activities found here- Shape Matching, Five Little Acorns Freebie, letter matching , Grey Squirrel song freebie -Tree activities: More fall activities found here for color sorting and matching with Tree Mats for color sorting, acorn counting , leaf salt water color art craft freebie -We did pretend pumpkin and apple picking: we used paper plates with pumpkins on them and wrote each letter onto each plate. Then we had apples with each letter on it. Students had to 'pick' the apples and match it to the pumpkins in the 'pumpkin patch'. -'Pumpkin' Toss: Bean bag tossing into buckets with orange bean bags. -Parachute fun with spiders, leaves and other fall items. Once they popped out of the parachute we took turns putting them back onto the parachute. But first we needed to identify what it was or it’s color! -Pumpkin Painting: mini pumpkins and open ended painting. -Water Bottle Pumpkin craft: Fine motor activity filling up a pumpkin with cut up tissue paper -Pumpkin Puzzle: cutting up the pumpkin pieces and then gluing them onto paper. -Feeling puppets: the students picked a feeling and used felt pieces to create the puppets on Popsicle sticks. -Do-a-dot fall activity: students used the freebie do-a-dot sheets and used black beans to place onto each circle. (Get freebie on The Resourceful Mama) Spooky Walk- We used a CD that had the Spooky Walk on it. It is similar to 'We Are Going On A Bear Hunt' but it is going on a spooky walk instead. The students loved this! We also watched videos of "Dem Bones" and "Five Little Pumpkins" on Youtube. We read "The Little Old Lady Who Wasn't Afraid of Anything" and used musical instruments for each sound (the pants, hat, etc). -A is for acorn: We cut out the lower case letter a with brown construction paper. Students followed directions while following the model. We wrote in "a is for acorn" after. -Scarecrow: Students completed this activity during two work sessions. Students work on cutting out the pieces first and then the next session putting the scarecrow together with brads. -Leaf wreath: This was an open-ended activity for students to use foam and silk leaves to glue onto a pre-cut out wreath made from a paper plate. -Leaf rubbing: Students picked different leaves and put onto the table. Then we took a piece of paper, taped it down, and used a crayon with the paper pulled off and rubbed it over the leaves to create leaf rubbings. -"Spookly the Square Pumpkin" activity: If you look at our classroom display, you'll notice shape pumpkins. We listened to "Spookly The Square Pumpkin" on video and then did a follow up craft. Each student picked a shape and then created their shape pumpkins with pre-cut out shapes and do-a-dot markers. -Go Away Big ____ Monster: I printed up the phrase with different colors "Go Away Big __ Monster" after reading the story. Each student picked a color and then created their own monster with pre-cut materials. If students needed extra help where to place items, we would place an 'x' where they needed to add glue and/or the pre-cut materials. -Fine motor witch: Using a paper plate as the face, students glued on pre-cut green tissue paper onto the face. The students used other pre-cut pieces to create the rest of the materials. -Lacing Web: Using a small paper plate, or a black piece of construction paper, we cut slits into them. Then the students wound black string around the paper and/or plate to create a web. -Spider: Students used glue, large black pom pom, googly eyes, black cup and a silver marker pen to create the spider activity. Students followed a model made by one of the paraprofessionals. -Black Cat: Using a black paper plate, cut out a C shape or crescent shape. Use the material cut out of the plate to make the face and triangles for ears. Use construction paper to cut out a curved tail. Use model when doing activity with your students and googly eyes. -Ghost: Paint your students foot with white paint. Press foot onto black construction paper. Then glue on eye balls and use white crayon or chalk to write "Boo!" -Water color Web: Use a white crayon to draw a web on a white piece of paper. Then use water color paint to paint over the paper. The wax with bead off the water color to show the web that was drawn. We used the colors black, purple and blue. Then we glued on a spider onto the paper once it dried. Also, find a freebie of spider size sorting here & a spider counting activity here. - We enjoyed singing songs like "Old MacDonald", "Farmer & The Dell" & "BINGO". We also read some stories that followed up with these songs. -Sensory Pig Tail Sort: I found this on Pinterest and was trying to find the link to share as my inspiration. (If someone finds the link, please post it in the comments so I can edit & add it on here. ) We cut up little pipe cleaners and then twirled them to look like pig tails. We cut up multiple pig tails for each color and put them into rice. We cut out a pig behind -Feather Fan: We were working on the Letter F for farm. Using Popsicle stick and a paper plate cut in half, students were able to decorate with feathers to create a fan. -Cow Puppet: We used green crinkly grass material that people used in Easter Baskets to look like grass in the cows mouth. We used pre-cut construction paper, googly eyes, Popsicle stick, black crayon and glue to create this craft. -Goat Craft: Inspiration found here! We used pre-cut out pieces of construction paper and cotton balls. - Milking cow activity: We made chocolate milk by milking a cow with a latex free glove (after washing it & putting a tiny hole into it) into a glove. We wrapped up a box with paper and made it look like a cow. Inspiration found here. -Pepper activities: Freebie recipe of Pepper Lantern. We used the seeds to germinate with a sandwich bag and a damp paper towel to wrap seeds into and tape to a window. Once the seeds started to sprout, we planted. -Farm Animal tail matching: Farm Animal Color Matching activity found here. Also, find a freebie of pig shape matching here & a shape barn matching freebie. -Sensory Sheep Sheering: I tried to find the inspiration I found on Pinterest for the activity but each domain was no longer in use. The class listened to an adapted story about farm animals and what we get from them. They learned they get wool from sheep and also get hats, sweaters, etc. I had my boyfriend, who is an artist, draw the cute sheep onto poster board. Then we used shaving cream to cover the sheeps body to look like sheeps wool. We taped the paper board to bins so the excess shaving cream could fall into them. The students each got a wide popsicle stick to 'sheer' the sheep. They took the shaving cream and spread it onto a photo of a shirt, hat or mittens to show the wool goes to these objects. -Farm Animal cleaning: We used two different buckets with water& soap and the other one had dirt in it. The plastic farm animals were found in the bucket with dirt. Students had to take the dirty farm animals and then place into the soapy water to clean. This was a great sensory activity to work on fine motor skills to clean each animal. -Pig in Mud craft: Students glued down the pre-cut construction paper materials. Then they used brown paint to cover the pigs to show the mud. It was a great activity to work on fine motor skills and following directions.  We just finished a theme on Apples and The Five Senses/body parts in our preschool special education class. There was definitely some learning experiences (i.e. the popcorn machine ended up being broken and we didn't get to have freshly pop popcorn in front of us). We did a lot of exploring with apples with touching, painting and even tasted a few different types. We did taste testing with Granny Smith apples, Red Delicious and Golden Delicious. We also made Apple Pizza and a No Bake Apple pie. Even our pickiest eaters loved our No Bake Apple Pie. (Get freebie visual recipe by clicking the links) We did some sensory painting with cinnamon and red paint onto paper plates to make apples. The whole class smelled great! We also created place mats and art work from apple prints with paint. We touched and felt the seeds and apples. With students with disabilities or autism, a lot of times these children are very picky or reluctant to try new foods. The more they do activities with these foods and become used to having them even the classroom, or their space in front of them, the more likely they are to try these foods or give them a 'kiss'. 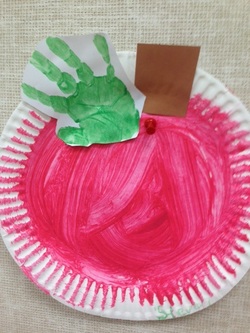 We read some books to go along with our apple theme and sang some songs or did felt board activities like: A-P-P-L-E- this is to the tune of BINGO, Apples Falling- and we would throw apples into the air and pick them up after singing this song, Wiggly Worm- felt board activity with hiding the worm under what apple color? (get the freebies to these songs with the links in the titles) We also did a lot of activities with apples like sorting colors, sorting pom poms on top of each apple according to its colors red, yellow or green, alphabet matching, shape sorting and some more crafts. We did a lot of file folder activities that can be found below. Here are some links to some academic apple activities: -Apple puzzles (colors, shapes, numbers and letters) -Size Sorting (Small, medium and large) - Apple & Leaf Counting mats -Apple Tree counting Emergent Reader Book - Apple Counting emergent reader book -Apple name song freebie - Apple Matching (colors, letters, numbers, shapes & patterns) - Apple color emergent reader book Some other crafts we did included marble painting- placing paper into a low cardboard box (we used one like you'd get from Togo at an Italian restaurant) or a low tin foil that you'd bake a casserole in. Tape down and then let children squeeze a little drops of paint in. We did only red, green and yellow. Then drop in marbles and let the children roll it around. After they dried, we cut out a apple shape from it and added a stem and leaf. We also did a craft with coffee filters, coloring markers on top and then 'painting' with water. After they dried we added a little shape to it, added a die-cut worm to it.
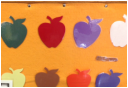
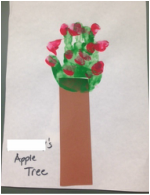
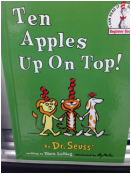 We did some activties to go along with "Ten Apples Up On Top!" by Dr. Seuss. The students loved reading it! It is a longer book and we did have to break it up between two Story Times though. We also created "Apple Tree" art with hands and created number bushels with our students finger prints. I created a graph using yellow, green and red die-cut apples to have students place their name under which apple they liked best after trying different apples and if they liked the different recipes we tried. Unfortunately, due to time constraints (i.e. fire drills) or other beginning of the year issues, we did not get to complete these graphs. But I can't wait to try them next year!
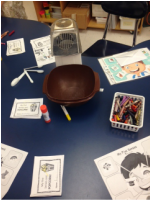
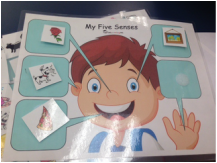
 Apples tied in very nicely with working on Body Parts and The Five Senses. I had these plastic body parts (a plastic mouth, ears and nose) that had string to attach to your face if you wanted. It made a good object to pass around when introducing different body parts. We learned through a lot of songs like "Head Shoulders, Knees & Toes" and "Tony Chestnut". We taught the students "Five Senses" song. It was a easy song for my students to learn. After reviewing body parts, we played a game with Mr. Potato Head. I got the idea and free spinner at this site. I also got a lot of ideas for The Five Senses theme activities here. The site gave a lot of visuals and ideas. I used their idea to create a Five Senses book after learning about each sense with an activity to go along with it. Next year I will take photos of our books we create. Intro activity- Mr. Potato Head Activity Seeing- We looked at color of items and also used mirrors to look at ourselves and the color of our eyes. Hearing- activity with easter eggs. Then creating a page for book with an ear made of construction paper Tasting- Apple tasting & page for the book with a mouth on it. Touching- Touchy feely bags with brown bags. See website for more ideas. & then we created a page for our book. We also did an activity with touching during small groups with making a hand and items you can feel which we used as our page for our book. Smelling- Jars or old spice jars or a jar with a cotton ball in it with liquid squeezed onto it like vanilla. I used cinnamon, lemon, vanilla, and some other scents they would recognize. I got the idea from this site with their baggies but just tweaked it to what I had in my apartment and classroom. Then we created a page for our book with a nose and things you can smell like a flower on it with dotters. Closing activity- Popcorn activity with making homemade popcorn and this freebie popcorn book. and this interactive board- I laminated and put velco on it. But also made a copy for my students to cut and glue. Students that needed a challenge, they were able to glue all of the options onto the board. Students that needed more time to complete, were given less. I wish I took more photos during the book making process and the activities we did. Hopefully I'll remember next year to. I'm so thankful to the other people that blog about their ideas that I was able to use in my classroom this year. I hope that my ideas will be helpful to other teachers or parents as well. I also have to send a HUGE thank you to my amazing team that is the true glue that keeps are classroom running, the paraprofessionals in my classroom and the speech therapist. I can't take credit for all the amazing activities in my class because they have made so many and have came up with a lot, especially the cute art activities. They also are amazing for baring with me these last few months while I've been getting settled in the new classroom and helping me out above and beyond what is required. They are so sweet for letting me take photos of some of their crafts to share with everyone on here. So thank you ladies! Thanks for reading and happy teaching!
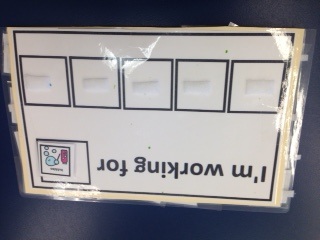
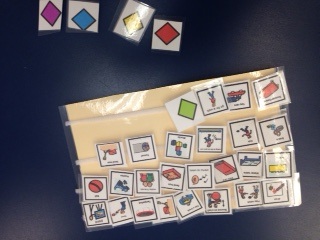
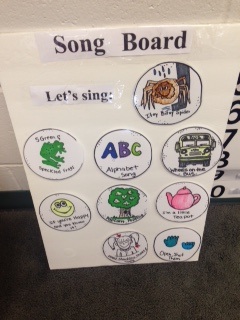
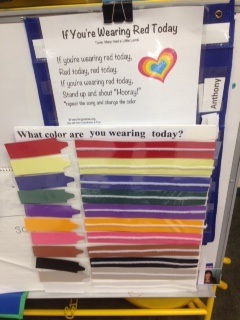
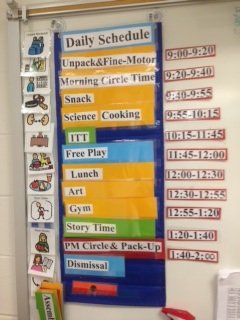
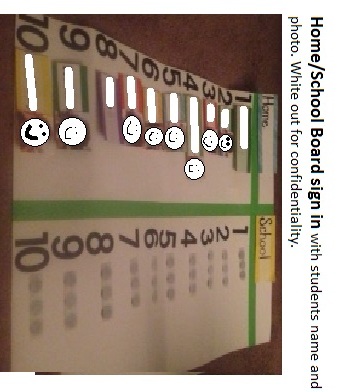
The beginning of a new school year is always hectic. Add beginning of a new school district on top of that and it becomes doubly hectic. September is always a fresh start. New students, new pencils, new clothes, new behaviors, new everything. It is always exciting. I always find myself losing sleep with nerves and excitement prior to the first days of school. I always want everything to be perfect for the beginning of the school year. School years always start with meetings, reviewing procedures of the school and introducing new ones. This year mine started with New Hire Orientation. Thankfully, I was able to start working during Extended School Year in July- August for six weeks. This was a great transition to meet some of my new co-workers, get to know some of my students, learning how to get around the building, some of the program, start unpacking materials, familiarizing myself with what was in the classroom already, organizing, and setting up the classroom with how I want it to be set up. This is always a tough process, especially when taking over an already established classroom. I'm so happy I was able to transition over the summer. If I didn't, I would have been so lost come September and beyond overwhelmed. Instead, I was able to start September slightly overwhelmed. After six years of teaching, I feel like a first year teacher already. I'm trying to set up materials for the program they use, VBMAPP. As I am learning the program, I think it is really good. In order to work on generalization, I need to create extra materials to go with each section. This took over a lot of my time in September. With a new classroom and new students in a special education classroom, there are always different abilities to plan for. I have several students that have very limited language or are non-verbal. I had visuals in my old Preschool Disabled (PSD) classroom, but some do not work with this program. Now I need to create new visuals or materials to assist in my classroom. All of this is very time consuming. I became a bit of a workaholic during September trying to set up everything for this new classroom. Some visuals I set up- home & school sign in board, chart for "picking a song", visuals for some songs (free printables here- wheels on the bus, Itsy Bitsy Spider & Bear Hunt), visual to go along with shirt song for circle, time, class visual schedule, weather bear and items to go along with our weather activity, visual necklaces(freebie link) for myself, speech teacher and the paraprofessionals in my class and visuals for work schedules. Although it has been extremely hectic during September, it has been a very rewarding month. The class is great and the school has been very welcoming. I am very happy to be in this new position. I am starting to get into a rhythm and I am setting some new goals for the upcoming months. October my goal is to try to find a little more balance with my work/home life. Upcoming soon, I will be sharing some of the activities we have been doing for Septembers Apple theme, Five Senses and Fall themes. Thanks for reading! Ms. Pre-K This summer starts a new chapter for my professional life. Before I can move forward, I have to take us backward in how I got to this new chapter.
Political drama and layoffs filled my old school district, which we will call Springfield for the sake of keeping things anonymous. I started in Springfield three years prior thinking I had landed my dream job. I had always wanted to work at an urban school. I wanted to be the best teacher I could be to students that deserved good teachers. While in college I had a couple professors who were pro-teaching at urban school districts. It piqued my interest. Then I had placements for observations or to teach lessons at a few urban schools and it confirmed where I wanted to teach. One of my placements landed me at a school that was in an extremely poor area. No one wanted to substitute there. It was second grade and I was supposed to observe reading lessons. My mentor teacher was great and gave me experience teaching in front of the classroom utilizing the "Direct Instruction" program they used. The day my mentor teacher was absent was the day I observed an incident that forever changed my teaching career. Since they did not get substitutes when someone was absent, a specialist teacher would come in to cover when available. After they were no longer available, the students got split into other classes, even ones that were not their own grades. It was frustrating for me to see this for several reasons. One- I had my substitute certificate but because I was in another state, they had different rules for substitute teachers. In my home state, you just need 60 college credits. In the state I went to college, you needed to have your teaching certificate. Two- this was a whole days lost for the students in many subjects. Three- it was a huge disruption to the other students trying to learn and the teachers trying to teach. And four-it made this incident that I observed. I'm sure the specialist teacher was not excited about being in another classroom, losing a prep period or whatever inconvenience it caused her to provide coverage for the class. I don't even remember at this point if the specialist was attempting to do the substitute plans or what anymore. All I remember is, a little girl was antsy (as any second grader can be) and was moving her leg or tapping it quietly. With no warning or anything, the specialist got within inches of the little girls face and screamed at her to keep still and quiet. I was horrified for what I witnessed and had no idea how to react. All I could do was go over to the little girls desk and put my hand on the desk as to show her "I'm here for you" without stepping on this crazy ladies toes. (Later- I told my professor about the situation and she informed me she would tell the principal.) The little girl, only in second grade, muttered under her breath, "I didn't want to come to school today. I knew I shouldn't have came to school today." No Student that young should ever feel this way about school! I was heartbroken for this girl. I was heartbroken for every teacher that goes above and beyond. I was heartbroken for all the children who will or has ever felt this way. I vowed to myself that I would be the teacher that makes kids love school and want to be there every day. It was a huge learning experience. Three years ago I thought I had landed my dream job working at an urban school district. After a ton of pro and con lists, I had quit my previous job at another school district (that's a whole other story for another day). I was scared and excited to start at a new school but was welcomed with wide arms into a new school family. It was a dream come true to be teaching preschool special education. It was a huge change since I used to teach 15-21 year olds with Autism. But I would get to be the teacher I had always wanted to be.. the one that makes kids run to school and never want to leave. I was on cloud 9. Walking around the hallways with such a huge smile on my face. Then I started to learn the political drama that would later fill our school and then result in our closing. I'll touch on this a little more in another blog another day. So the saying goes, "One door closes and another will open." I am back to that feeling I had three years ago, scared and excited to start a new school district. I'm excited to start this new chapter in my professional career. It may not be the urban school district that I had dreamed of making a career at but I'm hoping this is where I will stay until I retire. Wish me good luck! Love, Ms. Pre-K |
AuthorMy name is Ms. Pre- K. I am new to blogging but not new to the education world. I will be going into my sixth year of teaching special education this September. Archives
March 2017
Categories |


 RSS Feed
